Subscriptions Imports: A Step-By-Step Guide
What Are Subscriptions?
In the CrowdFiber platform, you can consider Subscriptions or Subscribers as synonyms for your pre-existing customers or any customers acquired outside of your CrowdFiber registration processes.
How to Import Subscriptions
Part 1) Create Your CSV
To import Subscribers into your CrowdFiber platform, you'll need to prepare a CSV that includes two required columns alongside any additional subscriber data you would like to add to your CrowdFiber database.
Required Fields
-
GUID (Globally Unique ID) Column
A unique identifier for each of your Subscription records.
- Your GUID needs to be unique for every subscriber you import into CrowdFiber.
- Your GUID can be any alphanumeric string.
- Typically, you will want your GUID to come from your billing or other systems - as a unique ID that identifies the subscriber (e.g. Subscription ID, Customer ID, etc.
- CrowdFiber will use this GUID field to match records that you import or re-import. If we find a Subscription with a matching GUID when you import your data, we will update any fields included in that import.
- Name Column
- Enter the subscriber's first and last name in a single cell.
Optional Fields
-
Billing date
The day of the month the subscriber billed.
- Enter the day of the month an invoice is sent to the Subscriber
-
Billing Frequency
Define the billing cycle of a subscriber
- Enter one of the following options to establish the Billing Frequency for a subscriber in CrowdFiber:
- bi weekly
- daily
- one time
- Monthly
- weekly
- Enter one of the following options to establish the Billing Frequency for a subscriber in CrowdFiber:
-
Service Class Column
Define a subscriber as a Residential or Commercial subscriber.
- Enter the number 1 to create a Residential Subscription record.
- Enter the number 2 to create a Commercial Subscription record.
-
Product Column
Associate products with a Subscription record.
-
Enter the Product ID(s) associated with the product(s) a subscriber has purchased
The Products ID is the number seen in the ID column of the Products page in your Admin Dashboard that is associated with the product the subscriber has purchased.
- To add multiple products to a single Subscription record, separate your products IDs by commas (without spaces in between the numbers or commas)
For example:
1,2,3
-
-
State Column
The status of your subscriber's service.
- The following options are available for defining a subscriber's state in CrowdFiber:
- active
- canceled
- expired
- future
- initial
- paused
If you choose to import States, all states entered into your CSV must be typed in lower case.
- The following options are available for defining a subscriber's state in CrowdFiber:
-
Service Address Column
The subscriber's service address.
- Enter the street address associated with the subscriber's services.
- Include unit numbers, if applicable.
- Do not include a zip code in this column.
-
Zip Code Column
The zip code is associated with the subscriber's service address. * Enter the zip code associated with the subscriber's service address
You may add a zipcode +4 to this column.
-
Additional Custom Data
If you would like to import Subscriber data that does not match CrowdFiber's standard fields, you can create Dynamic Fields (click here for more details) to incorporate the data into your Subscription records.
Part 2) Upload Your CSV
- Click the Subscriptions link located on the left-hand rail of your Admin Dashboard.

2. On the Subscriptions page, click the blue Import Subscriptions button located in the upper right-hand corner of your Subscriptions Index.

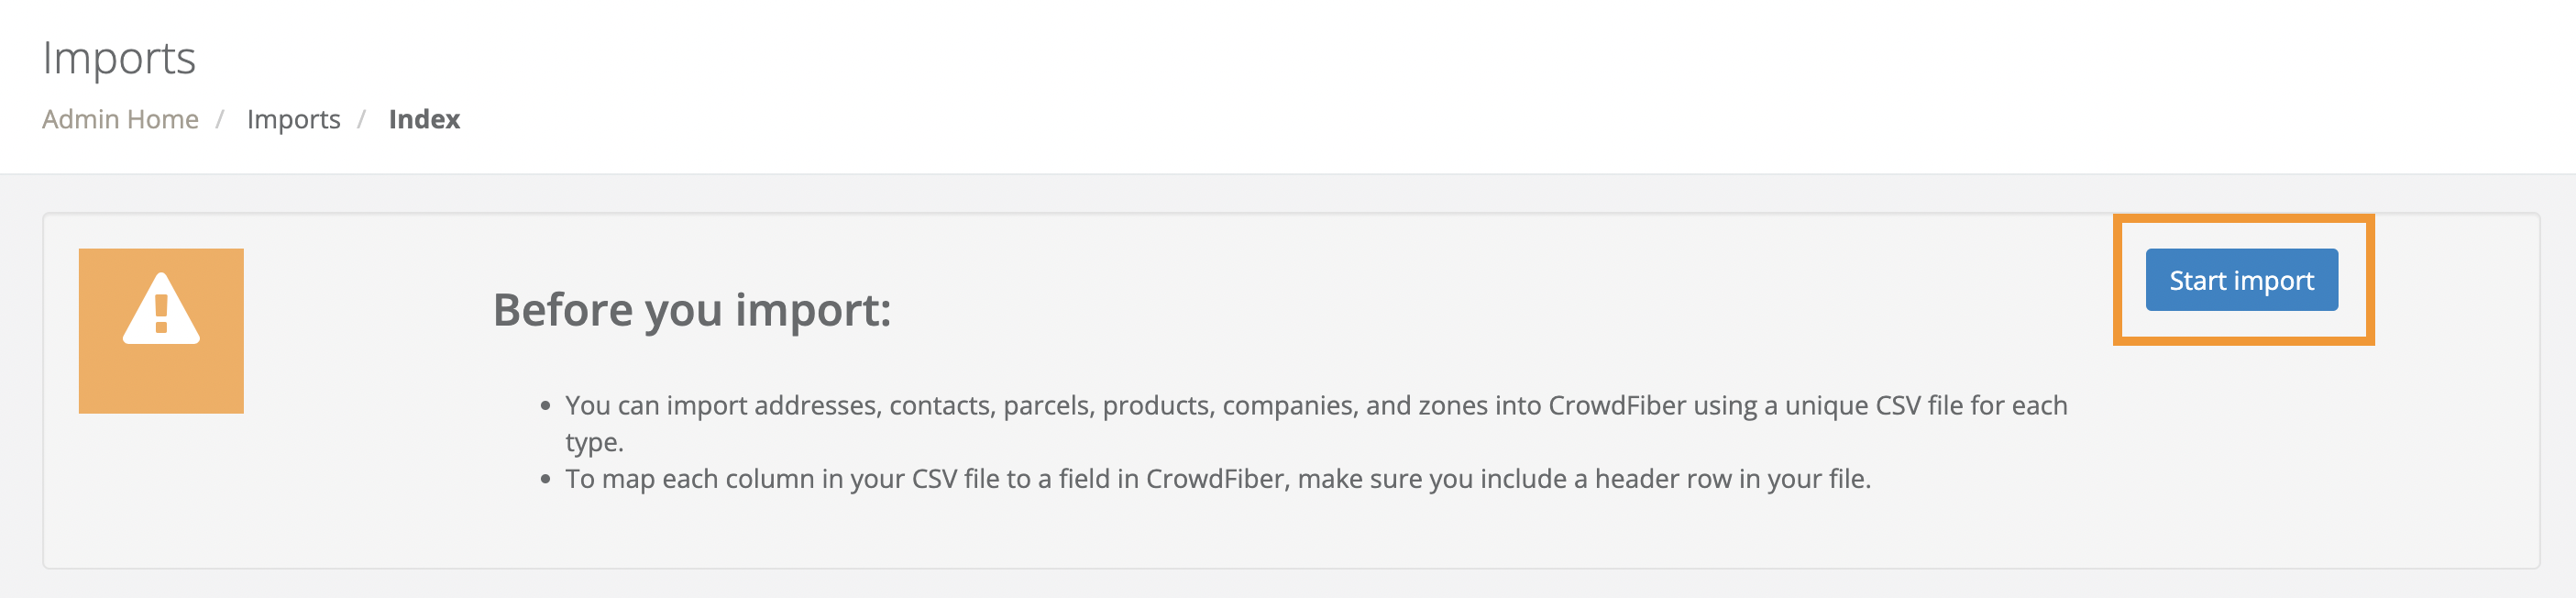
3. On the Imports Page, click the blue Start Import button located in the upper right-hand corner of the screen.
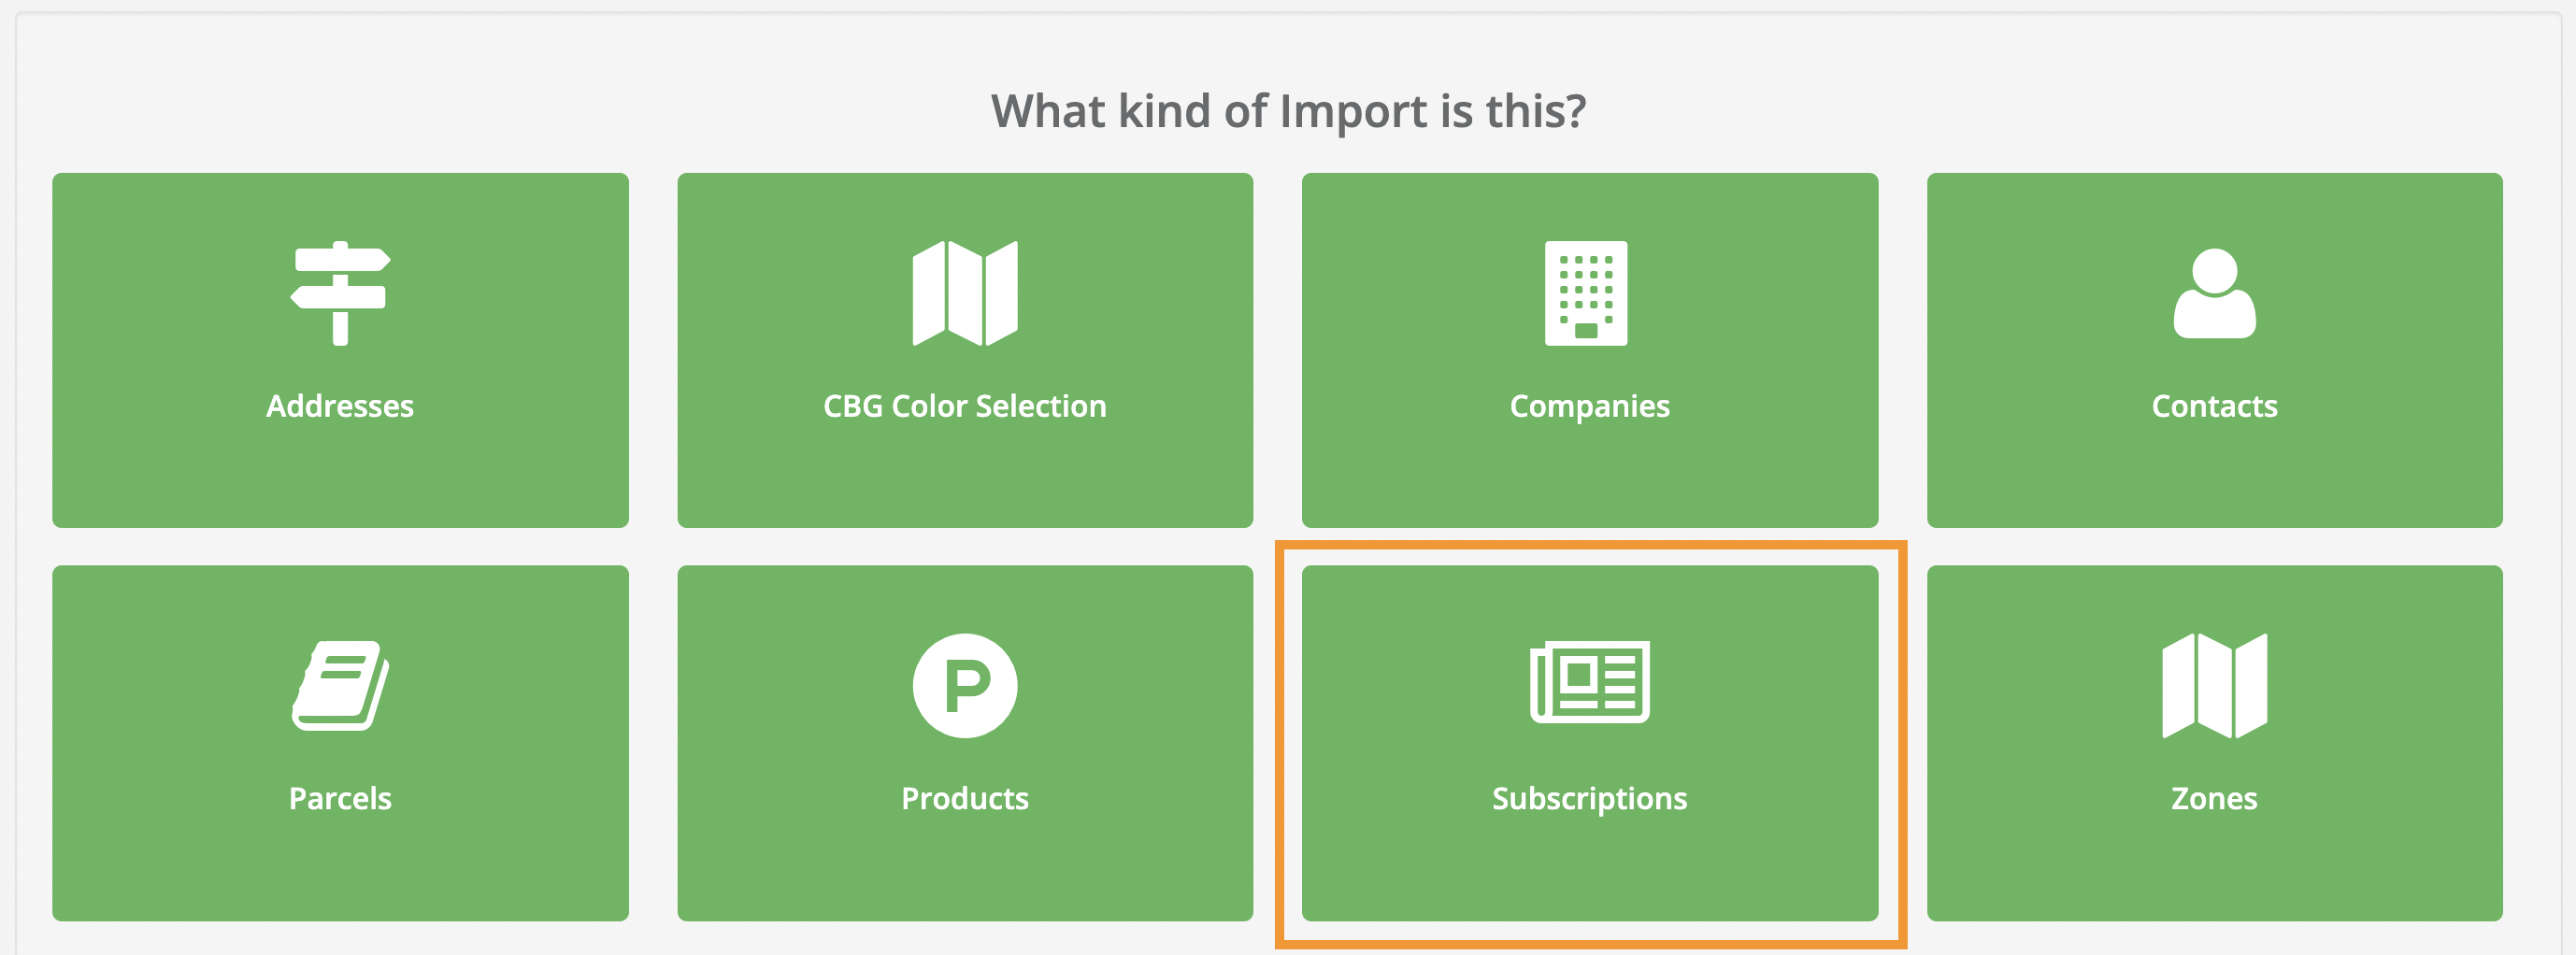
4. On the following page, click the green Subscriptions button (see Step 4 screenshot below).
5. On the next page, click the Upload File button to select your subscriptions CSV to upload.
Part 3) Map Your CSV Columns to Subscription Record Fields
Once your CSV has been uploaded to the platform, you will need to map your fields. This is how you'll get the data in each column of your CSV into the correct attributes of your subscription records.
To do this, simply use the drop-down menus to select the CrowdFiber property/subscription attribute that you'd like to assign to each column in your CSV.
How Mapping Affects Existing Data
- If no CSV column is mapped/passed in the import, the value of that attribute in your platform will remain unchanged.
- If data is re-imported and data is mapped to any attribute (like "State"), that data will overwrite the existing value of the current attribute.
- If you map an empty column in your import to fields that contain an existing attribute in CrowdFiber, the blank column is going to update the mapped attribute with an empty field (it will appear as if the attribute's data has been erased).
Do not map the values in the Required Fields a second time in the Optional Fields section.
Part 4) Start Your Import
After you have mapped your fields, click the blue Start Import Button.
Part 5) Import Processing & Completion
The time it takes to import your subscriptions will vary based on the number of subscriptions and the number of subscription attributes that are being imported. Larger files will naturally take longer to process and complete.
You'll be able to monitor your import's progress from Pending, to Processing, to Completion by watching the Status Column on your Imports Page.
Once your import is complete, your data will be readily accessible in the Subscriptions area of your platform.