Dynamic Fields: Feature Overview
What is a Dynamic Field?
Dynamic Fields give you the ability to create custom filters throughout your CrowdFiber Admin Dashboard, so you can customize the way you search, sort, manage and monitor activity across your platform.
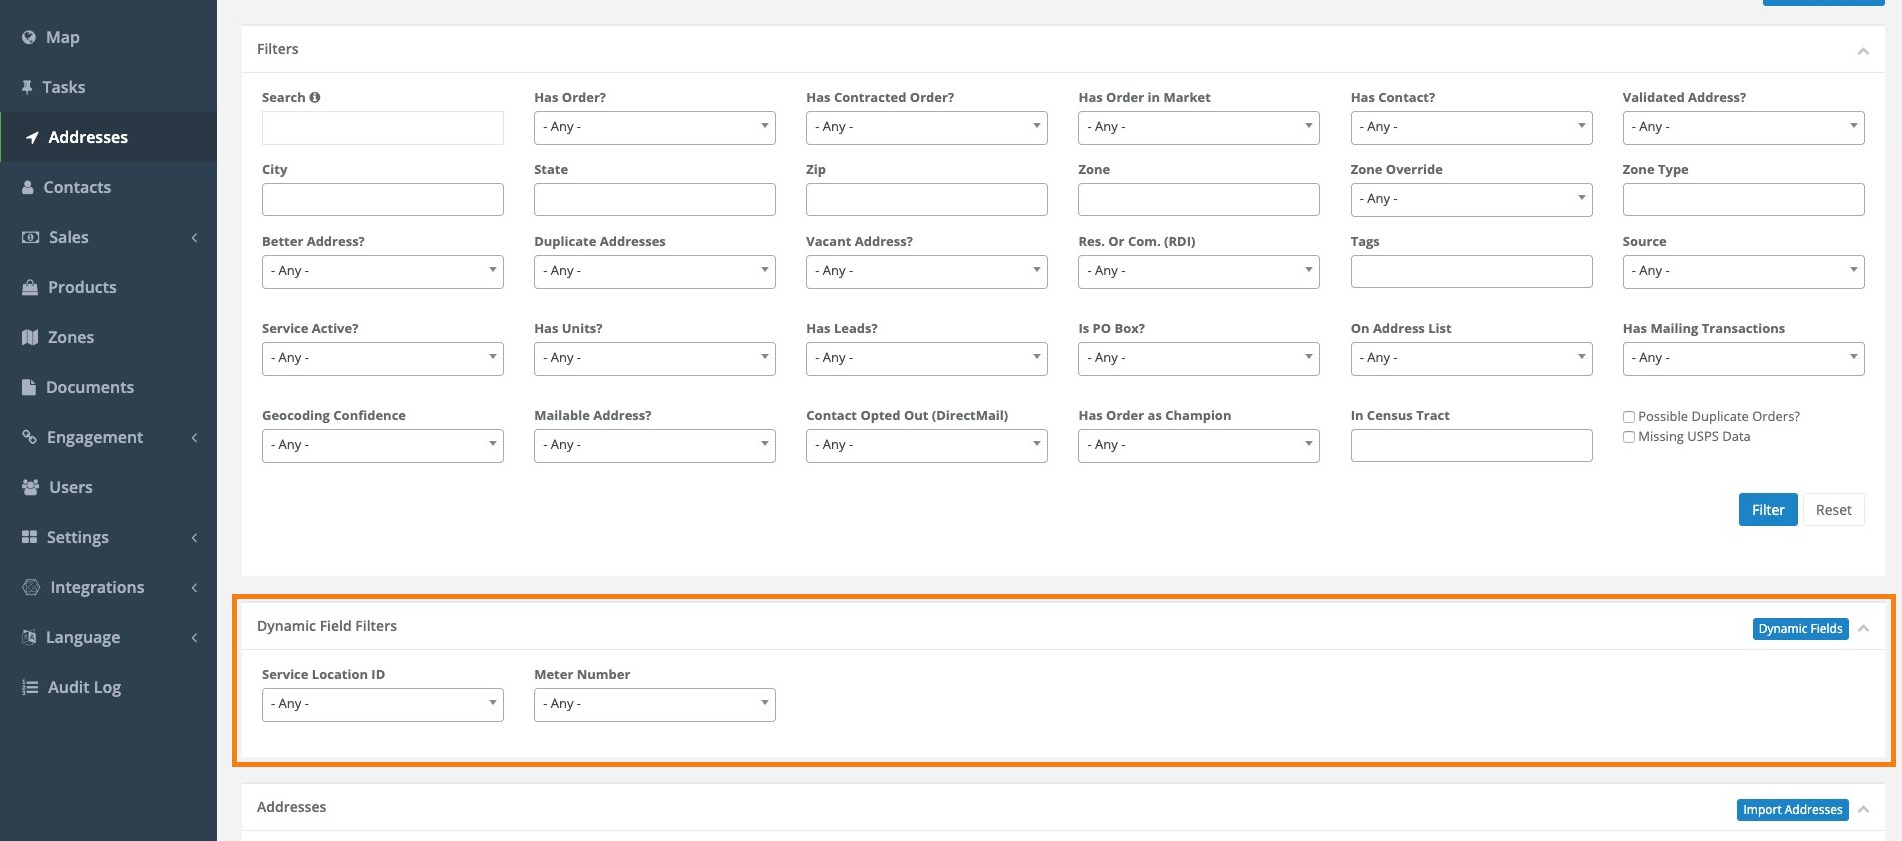
When you create a dynamic field it is immediately available to use. It instantly displays as an attribute within records, as a filter in the Dynamic Fields Filters section of a page in your Admin Dashboard, and as an additional column in an exported CSV.
Dynamic fields are unique to each record type; they can be created in the following four areas of your CrowdFiber Admin Dashboard:
- Addresses
- Contacts
- Orders
- Zones
Create a New Dynamic Field
-
In the left-hand rail of your Admin Dashboard, click on the area of the platform where you would like to add a dynamic field (Addresses, Contacts, Zones, or Sales > Orders).
-
Click the blue Dynamic Fields button located in the upper right-hand corner of the Dynamic Field Filters section of the page.
-
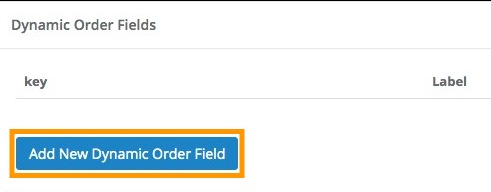
On the following page, click the blue Add New Dynamic Field button located in the bottom left-hand corner of the page.
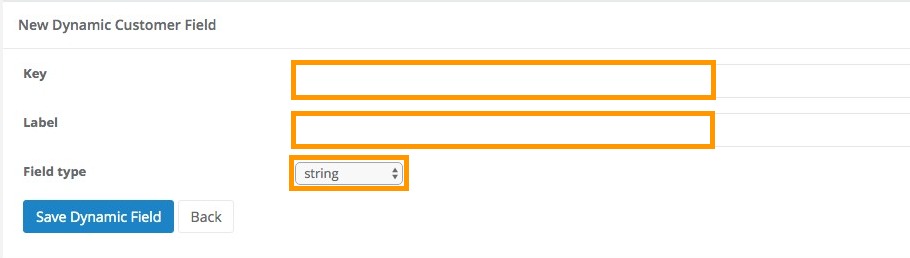
4. Enter the following field information in the New Dynamic Field section:
-
Key
- An internal-only name, the key allows the software to reference the field.
Note: the key cannot have spaces. Use underscores to create spaces between words when creating a key (ex. "has_dog").
When importing data into CrowdFiber you will be able to import data into dynamic fields by mapping a column in your imported CSV to the key you create in this step.
- Label
- This is the name of the field that will display to all platform users within their admin dashboards.
-
Field Types
- Boolean: a drop-down menu with in the filter section with values of Yes, No, or Any, and a corresponding drop-down menu in a record, with the vlues "True" and False."
- True = Yes
- False = No
- Datetime: a drop-down calendar where you can click on both a date and time to establish data within a dynamic field
- Floating_point: numeric values with a decimal
- Integer: whole numbers
- String: custom text
- Boolean: a drop-down menu with in the filter section with values of Yes, No, or Any, and a corresponding drop-down menu in a record, with the vlues "True" and False."
5. Lastly, save and activate your new dynamic field by clicking the blue Save Dynamic Field button in the lower left-hand corner of the page.
Edit a Dynamic Field
- Click the Dynamic Fields button located in the upper right-hand corner of the Dynamic Field Filters section of your Addresses, Contacts, Orders, or Zones page.
-
On the following page, click the Edit link located in the far right-hand column of the row containing the dynamic field you’d like to edit.
 3. Adjust your dynamic field settings using the following parameters:
-
Key
- An internal-only name, the key allows the software to reference the field.
Note: the key cannot have spaces. Use underscores to create spaces between words when creating a key (ex. "has_dog").
When importing data into CrowdFiber you will be able to import data into dynamic fields by mapping a column in your imported CSV to the key you create in this step.
- Label
- This is the name of the field that will display to all platform users within their admin dashboards.
- Field Types
- Boolean: a drop-down menu with in the filter section with values of Yes, No, or Any, and a corresponding drop-down menu in a record, with the vlues "True" and False."
- True = Yes
- False = No
- Datetime: a drop-down calendar where you can click on both a date and time to establish data within a dynamic field
- Floating_point: numeric values with a decimal
- Integer: whole numbers
- String: custom text
- Boolean: a drop-down menu with in the filter section with values of Yes, No, or Any, and a corresponding drop-down menu in a record, with the vlues "True" and False."
4. Lastly, click the blue Save button in the lower left-hand corner of the page to save and activate your new dynamic field settings.
Delete a Dynamic Field
- Click the Dynamic Fields button located in the upper right-hand corner of the Dynamic Field Filters section of your Addresses, Contacts, Orders, or Zones page.
- On the following page, click the Delete link located in the far right-hand column of the row containing the dynamic field you’d like to delete.

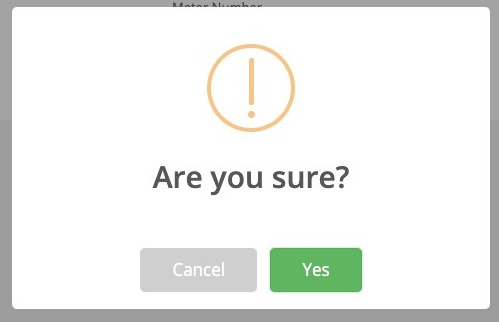
- A window will pop up asking, “Are you sure?" Click the green Yes button to permanently delete the dynamic field or the grey Cancel button to return to the previous page.