Calendly Integration: Setting up Install Scheduling
Calendly is a scheduling automation platform that can be used to set up Install Scheduling on your CrowdFiber platform.
First things first, you'll want to reach out to support@crowdfiber.com and let the Customer Success Specialists know that you'd like for them to set up Install Scheduling on your page. Once you hear back from them that the setup has been completed, you'll be able to continue with the following steps.
Step 1: Navigating to the Install Scheduling Page
- The Install Scheduling page can be found in Settings (Install Scheduling and is the very last option at the bottom of the menu)
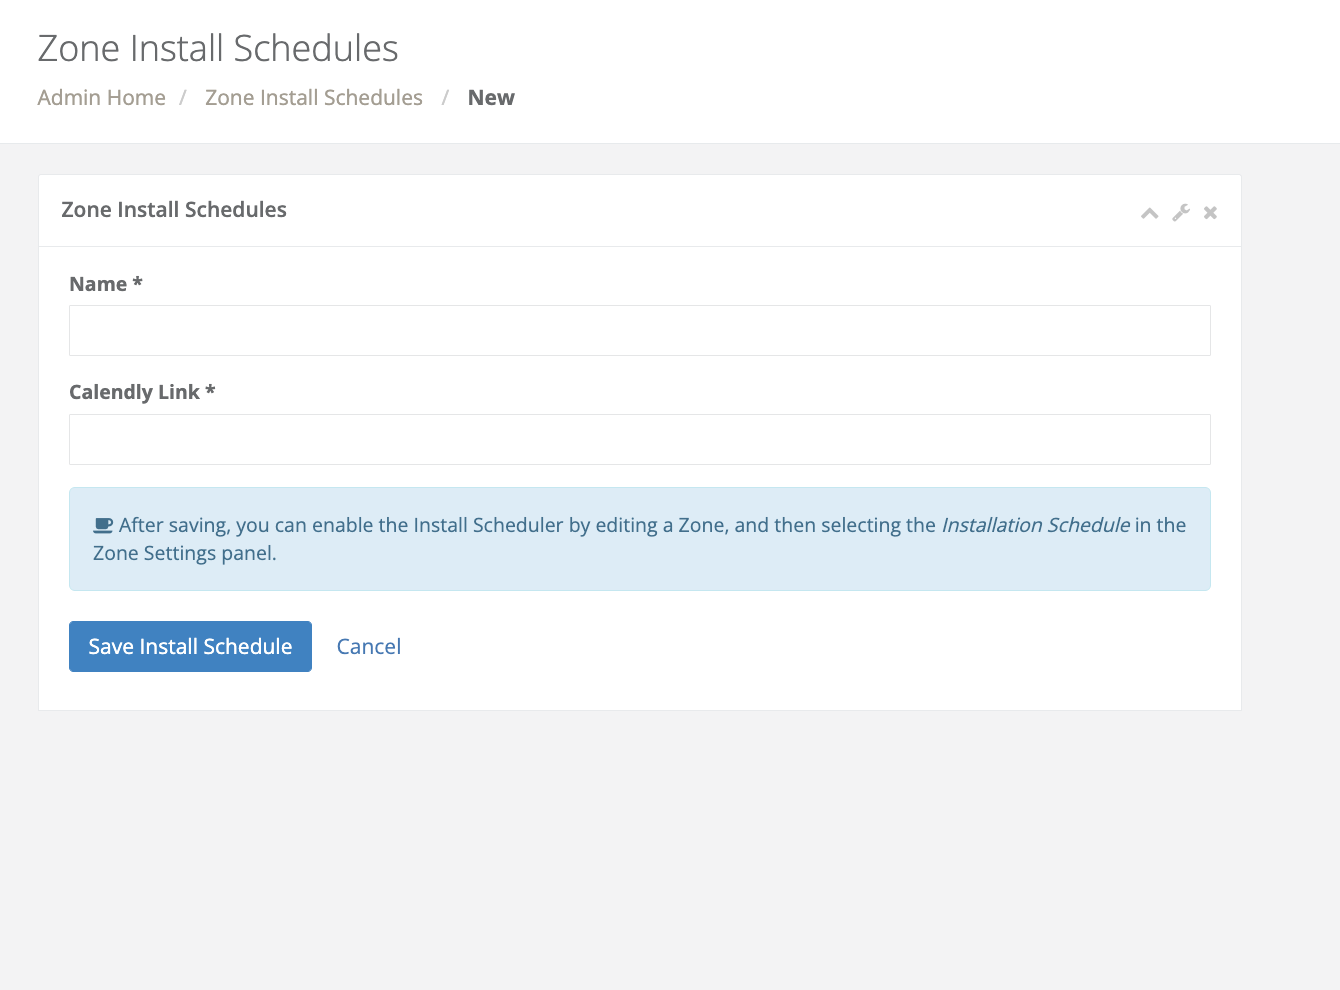
- Once you're on the Install Schedules Index, navigate to the right side of the page and click the New Install Schedule button
-
Fill out the appropriate information, including the name of the Schedule and the link to the Calendly schedule itself then save the Install Schedule using the blue button
-
Once it's been saved, the newly created Install Schedule will appear in the Install Schedules Index
Step 2: Completing your Install Scheduler Set Up
-
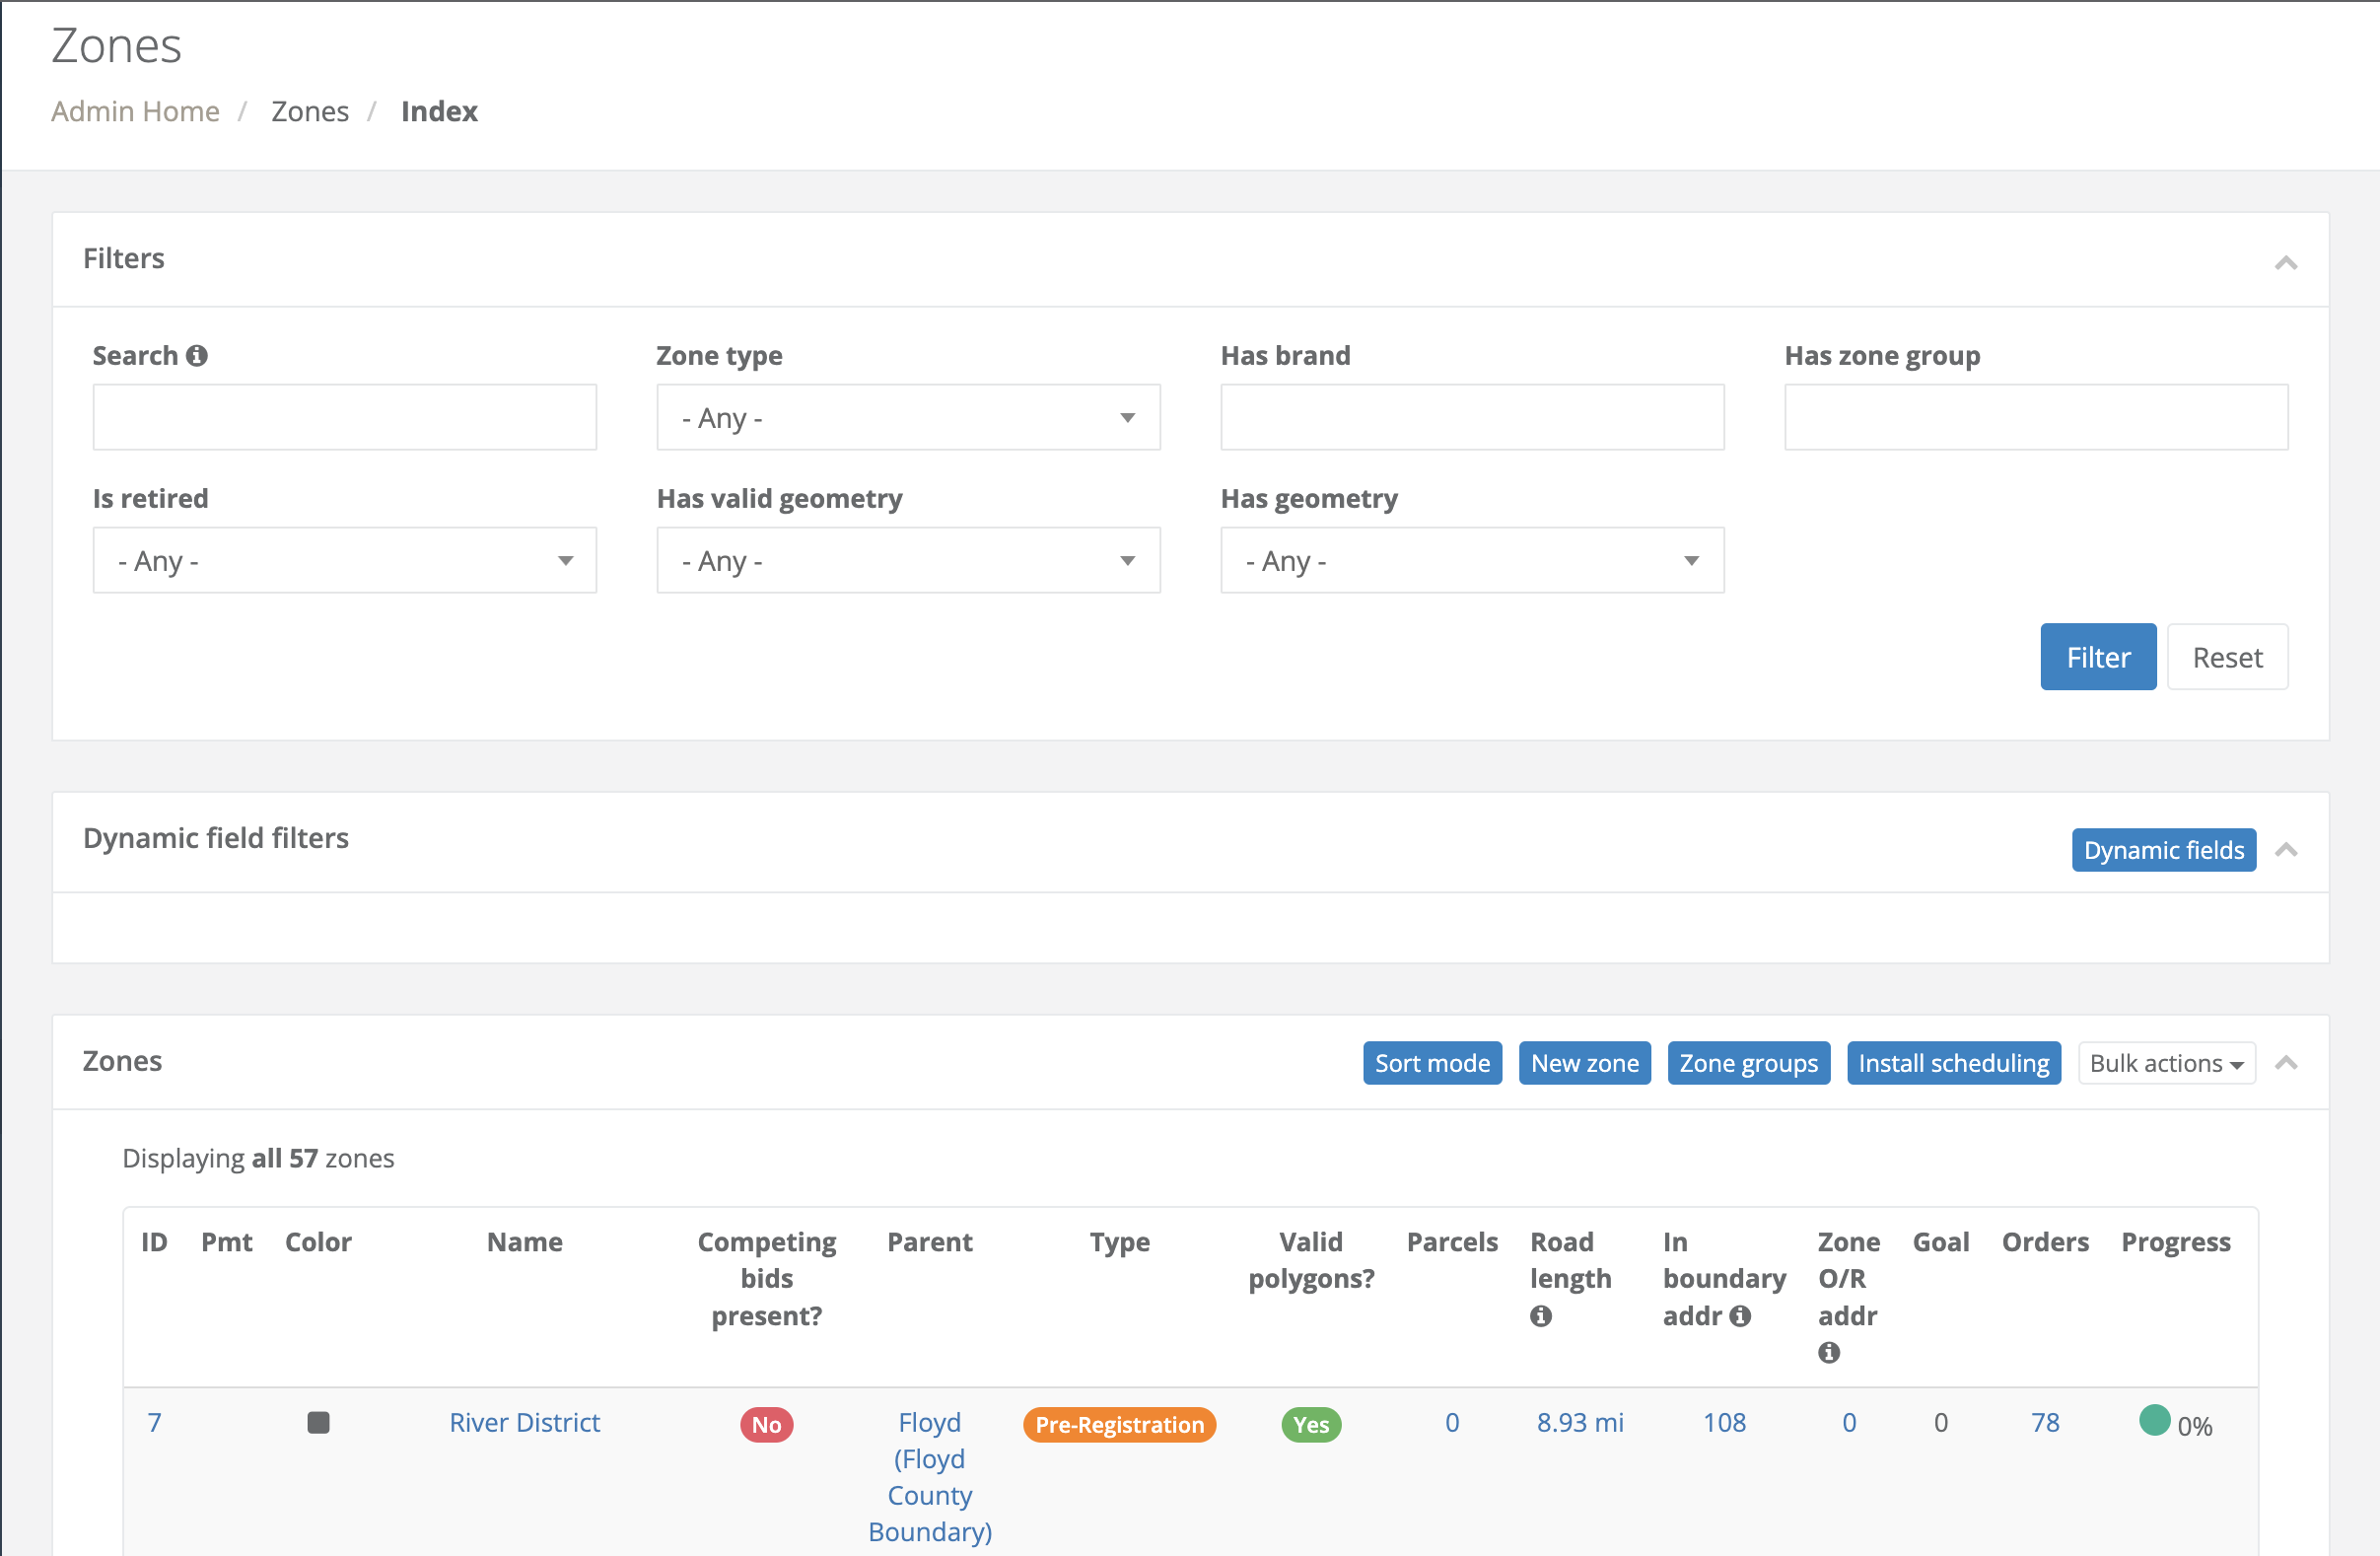
Once you've set up your Install Schedule, navigate to your Zones index
-
Select the zone you'd like to have the Install Scheduler tied to
-
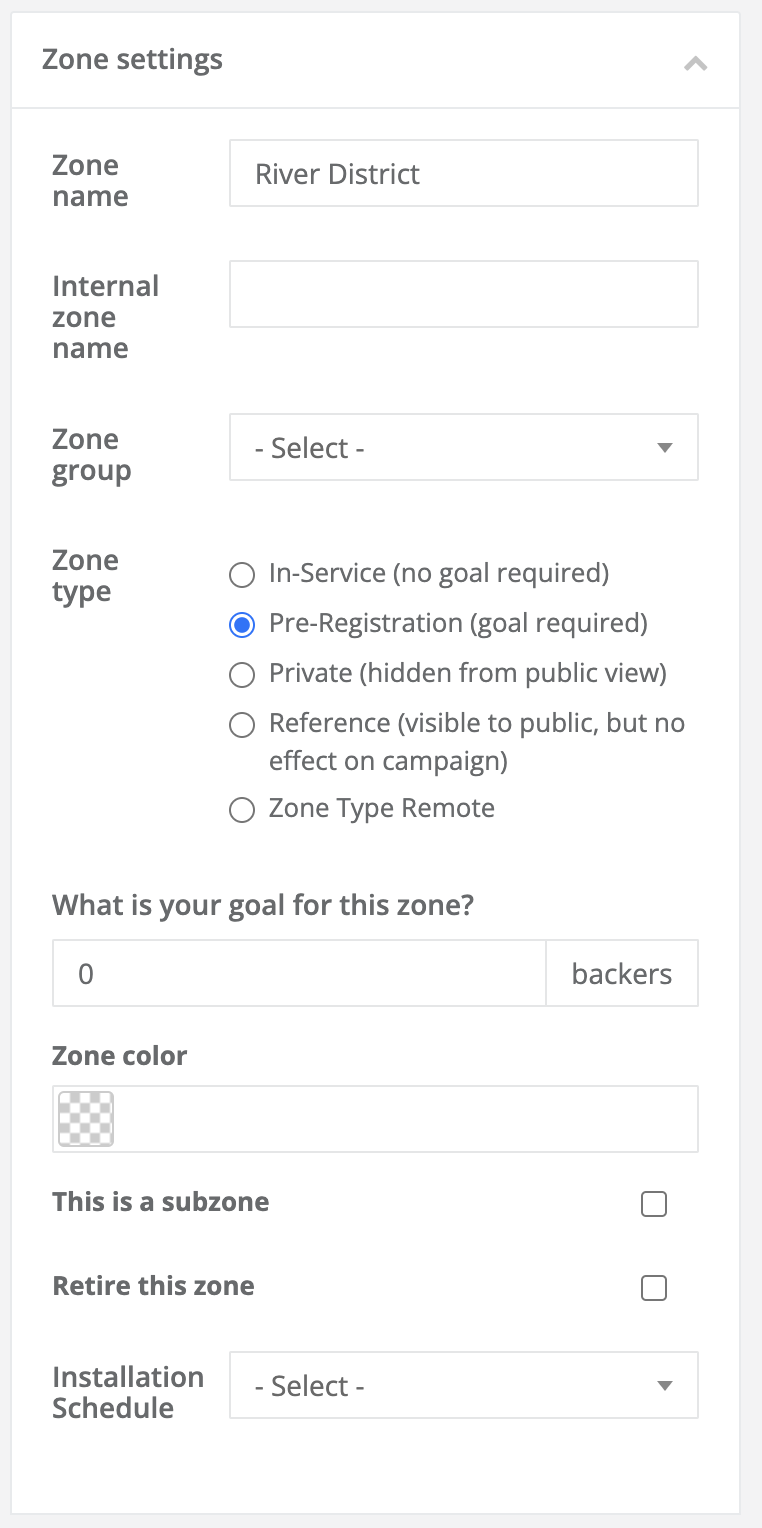
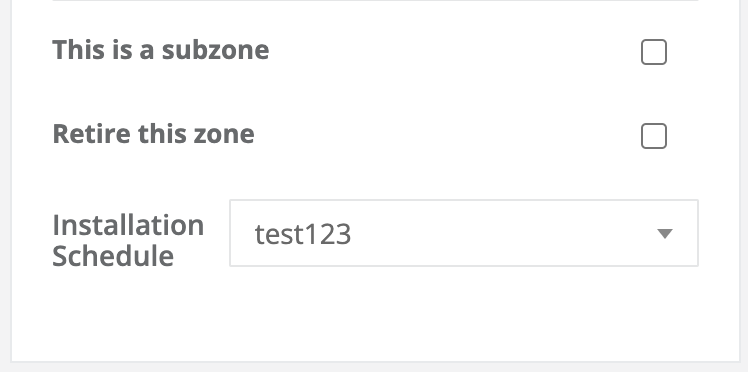
In the Zone Settings box of the Zone record is the option to select your Installation Schedule
-
Select the appropriate Installation Schedule for that zone and save the zone record
-
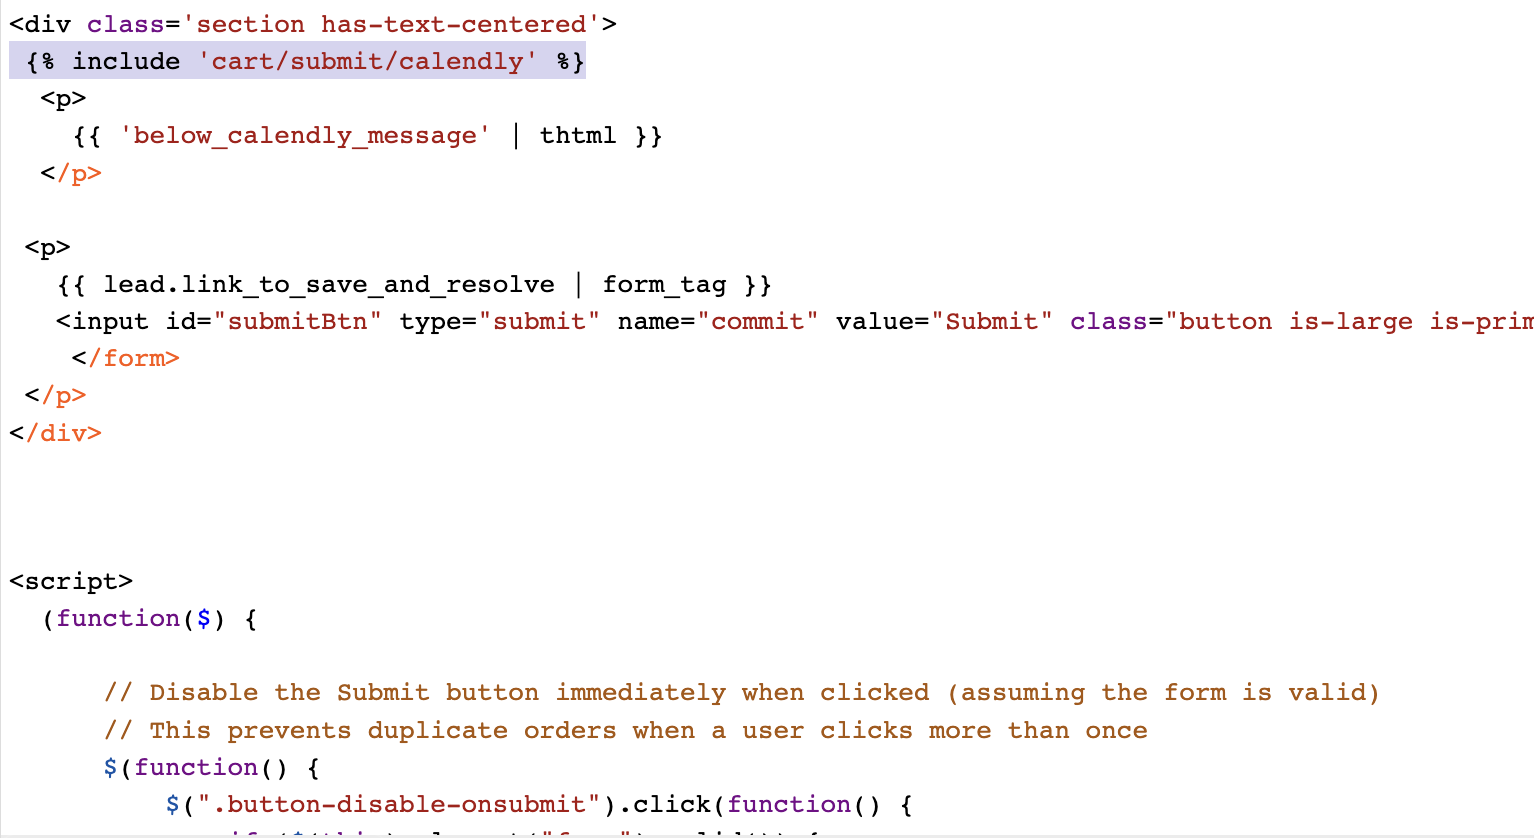
Navigate to Settings > Themes and using the Actions dropdown menu of the Default Theme (look for the blue badge) open the Markup Editor. Open the Cart Folder and navigate to the Submit folder then to the index.liquid file. Scroll to the very last < div > section of the index.liquid file and create a new line between the first < div > tag and the first < p > tag. In that empty line, put the code below and save the file.
{% include 'cart/submit/calendly' %}
Should you require assistance on this step, please don't hesitate to reach out to support@crowdfiber.com and we'll be glad to help
Once the zone record and theme file have been saved, you'll be able to see your live Installation Scheduler on the very last page of your registration process, the same page where you review your order prior to submitting it.