Tagging
- Tagging items in CrowdFiber allows for more specific filtering of orders, contacts, addresses, zones and companies.
- Tagging can be done through import, bulk action, or editing the item.
-
Tags can be very useful when filtering for exports or creating lists as only the items with a tag will be selected for the task at hand!
When creating your tag, be sure there are no spaces between characters. Use underscores or hyphens to separate characters.
- Example tags:
- discount_applied_10
- servicable-available-2025
- Example tags:
Importing Tags
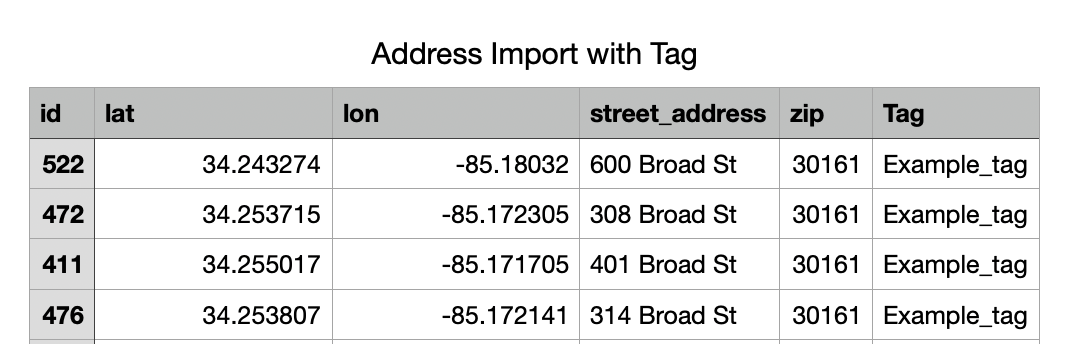
When importing data into CrowdFiber, a CSV can have a column labeled tags. Here is an example of an address import with a tag:
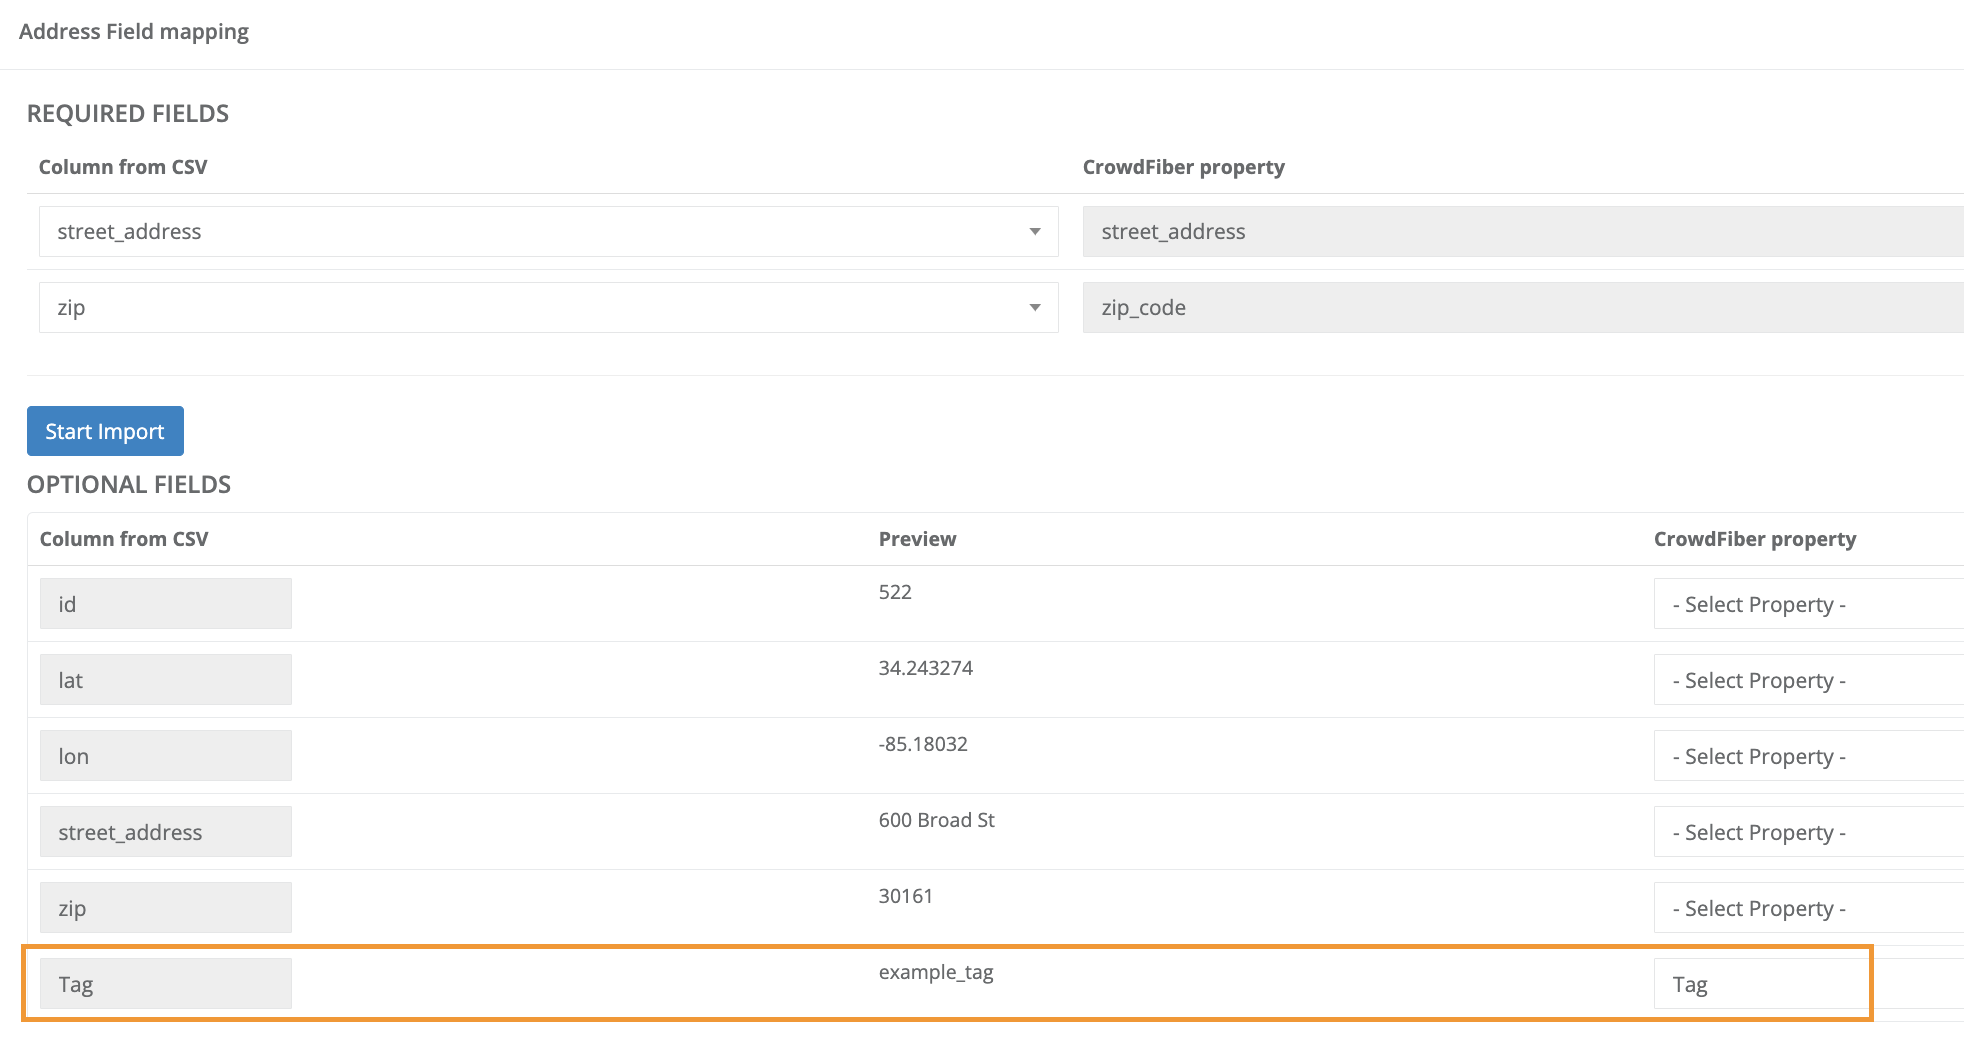
1. Once the spreadsheet is ready for import, you will want to be sure to select the matching CrowdFiber property field for tags. Click on Start Import to start the process. (Click here if you need help with address imports!)
2. Once the import page shows that the items have been added, go to your Address index.
3. Filter the addresses by the tag you imported by searching the tag and clicking Filter.
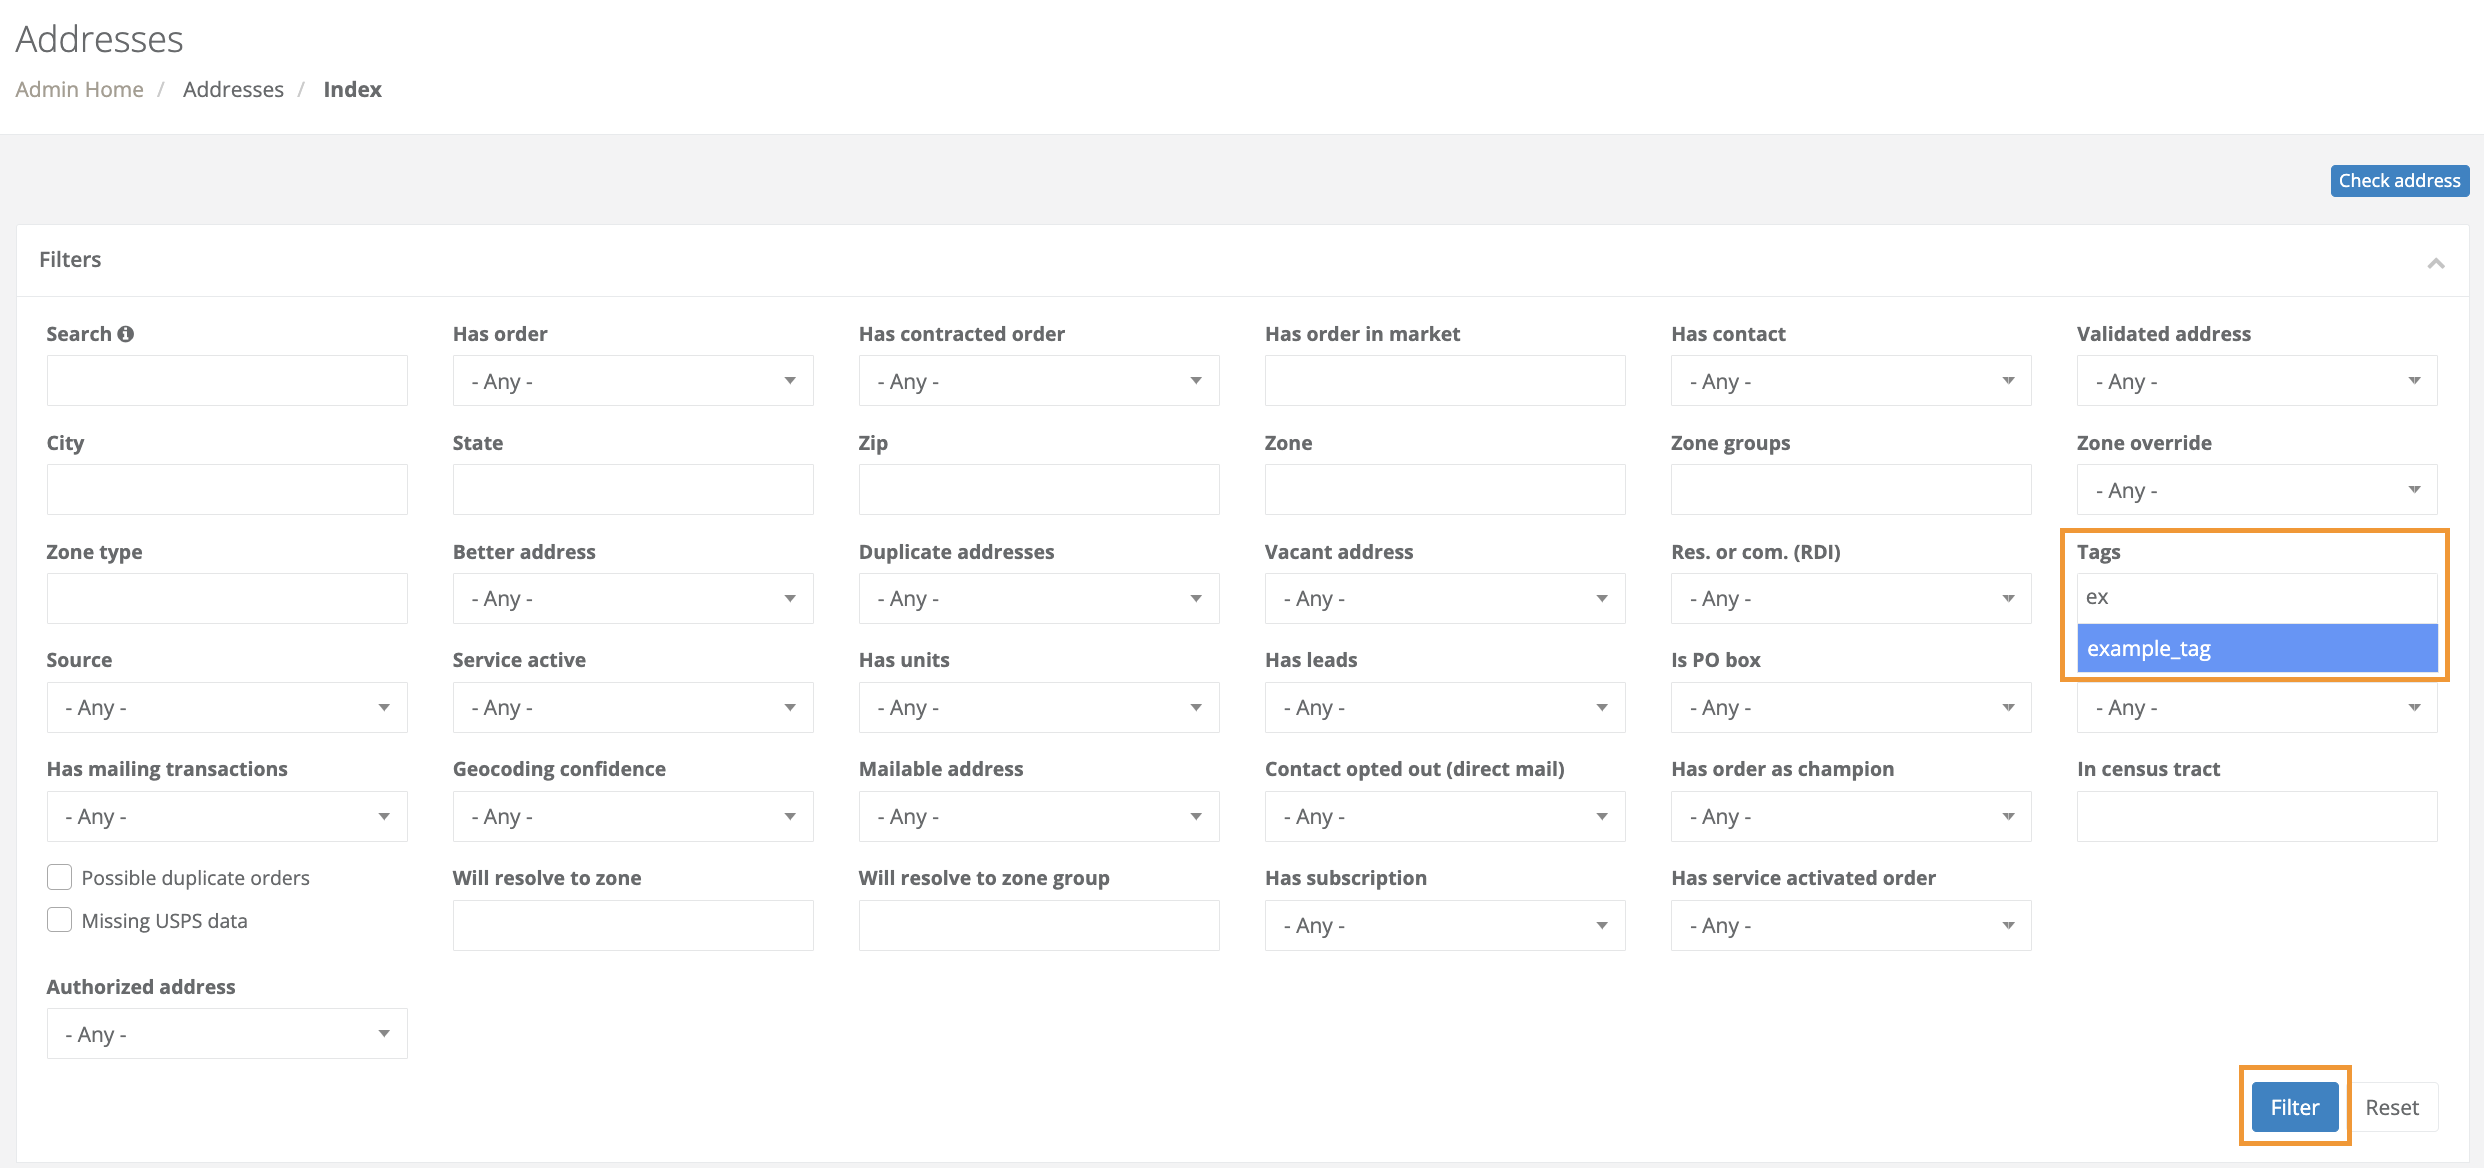
4. The addresses you tagged will appear in the index.
Tagging Via Bulk Actions
If you have a set group of data filtered, you can tag it using the Bulk Actions menu. Below is an example of tagging orders.
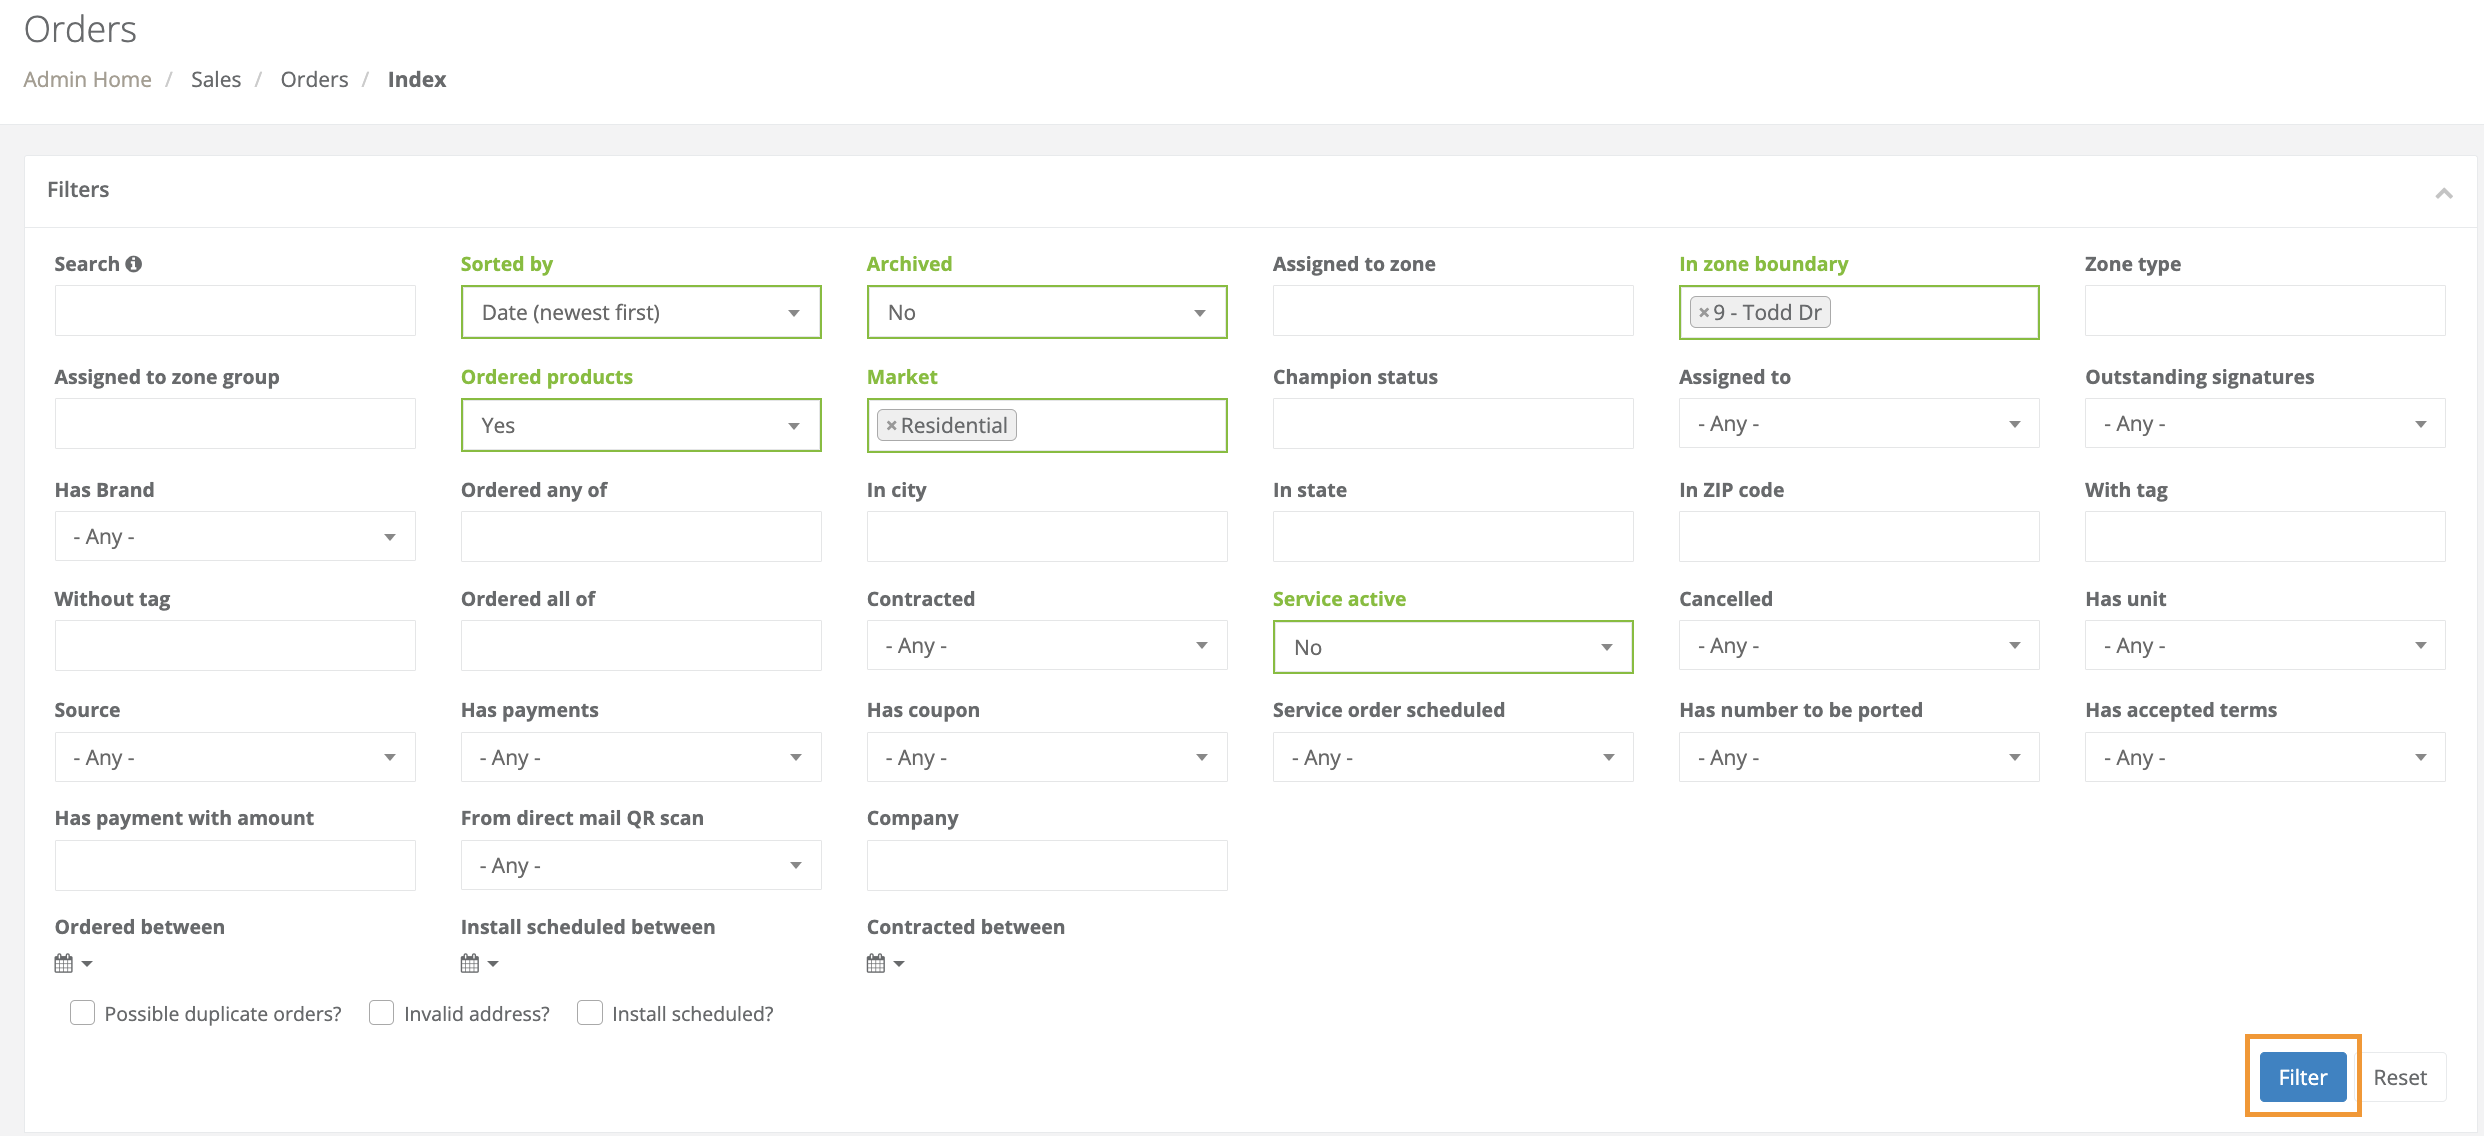
1. In the orders index, I have filtered the orders as shown here:
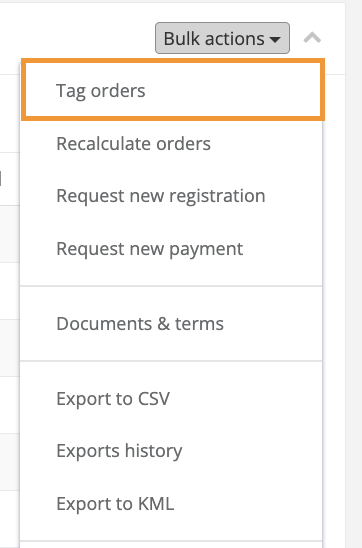
2. From here, I will use Bulk Actions to create the unique tag for this set of orders. In the Bulk Actions menu, select Tag orders.
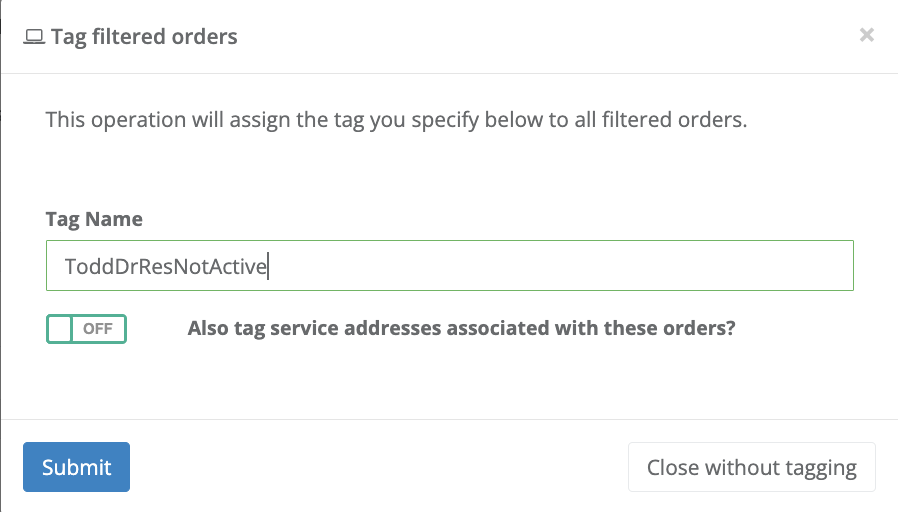
3. This menu will come up to fill out the tag you want to apply. You will create your tag, select if you want the addresses to also be tagged, and then Submit.
4. Now all of the filtered orders are tagged and you can use one filter instead of multiple the next time you need them.
Tagging Items Individually
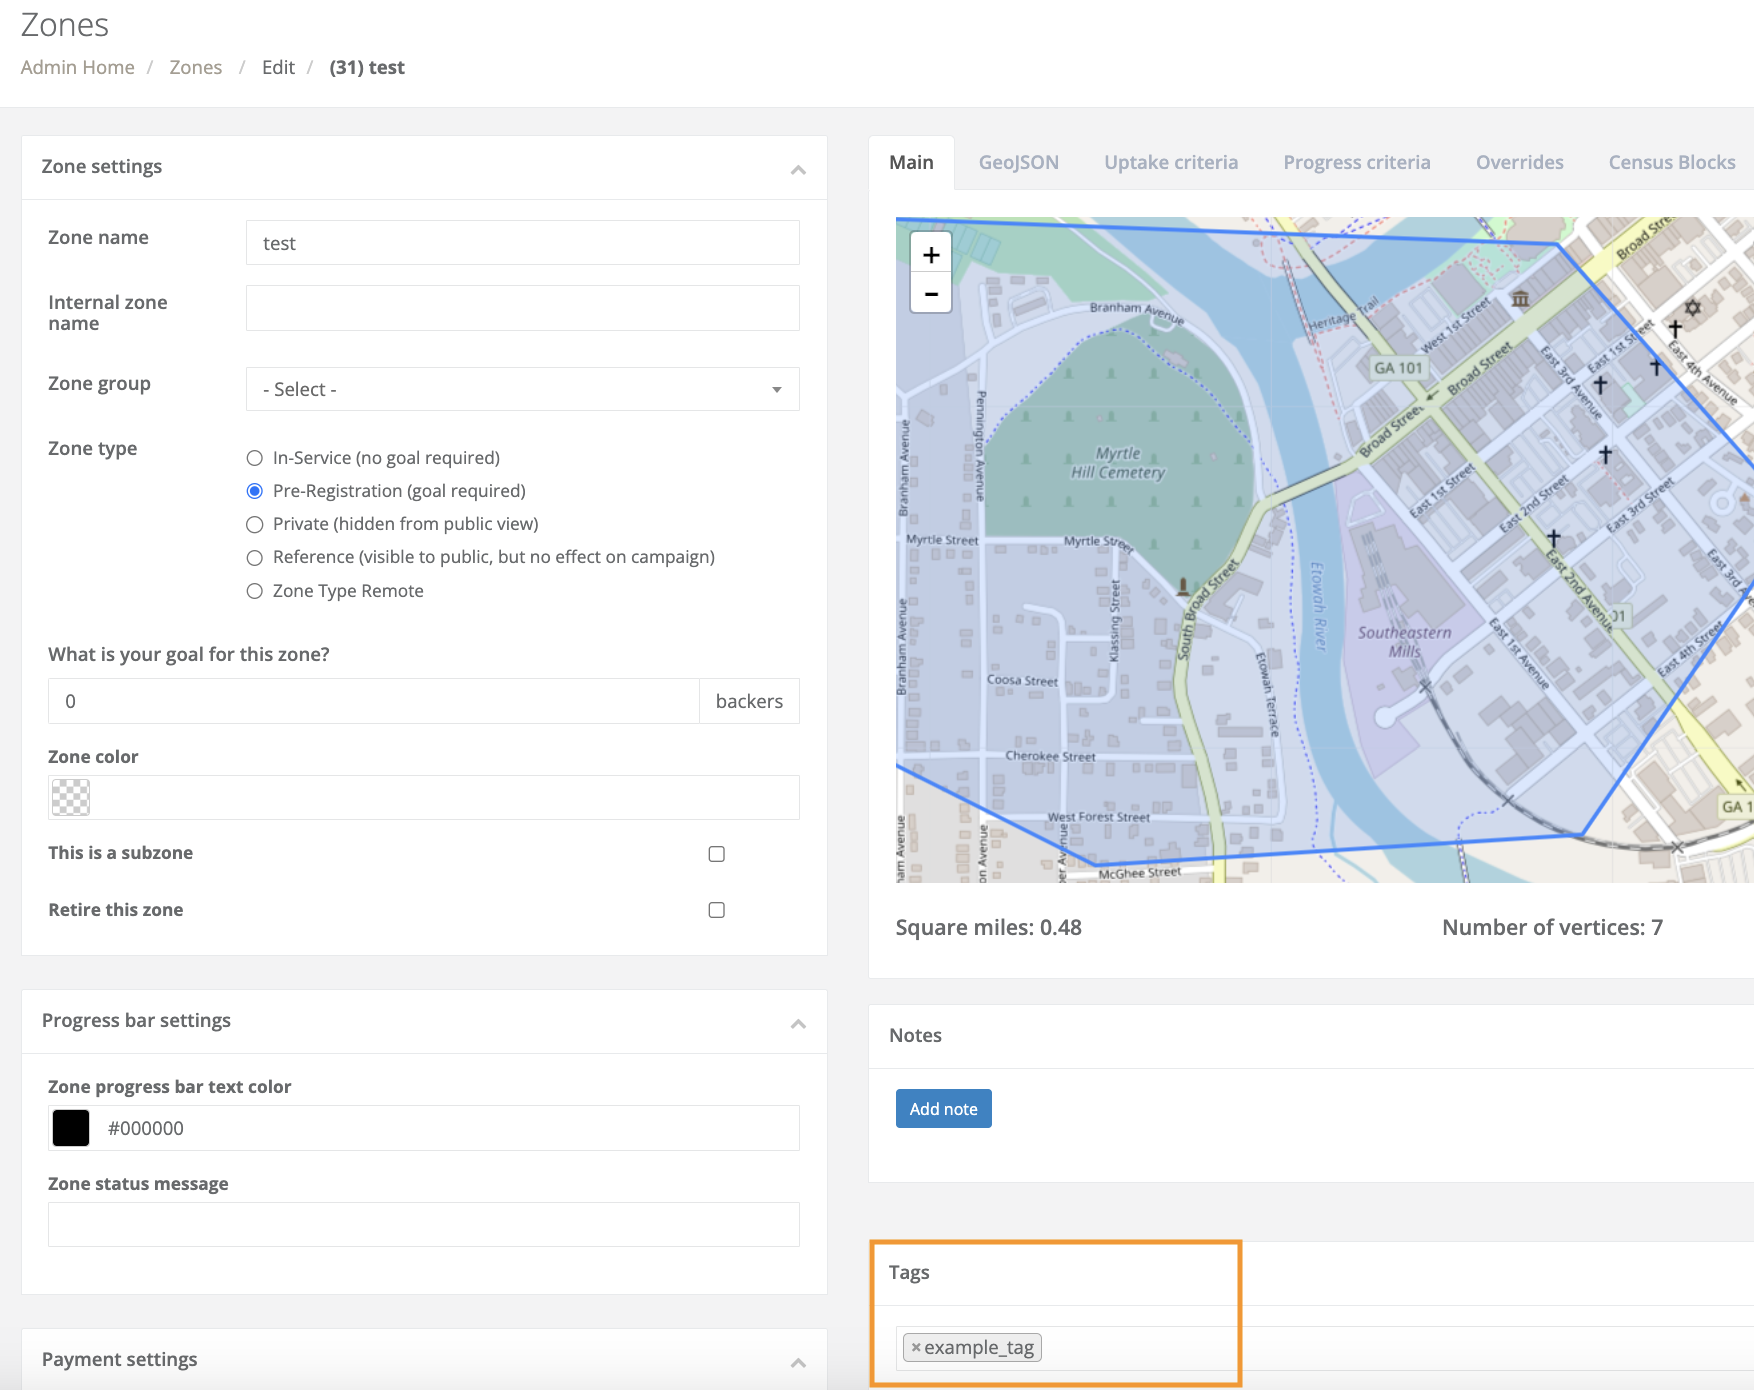
Going into a record allows you to make changes to a singular item. Here I will show an example of tagging a zone.
1. Visit the applicable page in your Admin Area and open the individual record you would like to tag.
-
All records can be accessed in two ways:
i. In the left-most column in an index, click the number seen in the ID column.
ii. In the right-most column in the index, click the Actions button. Then, in the Actions drop-down menu, select Edit
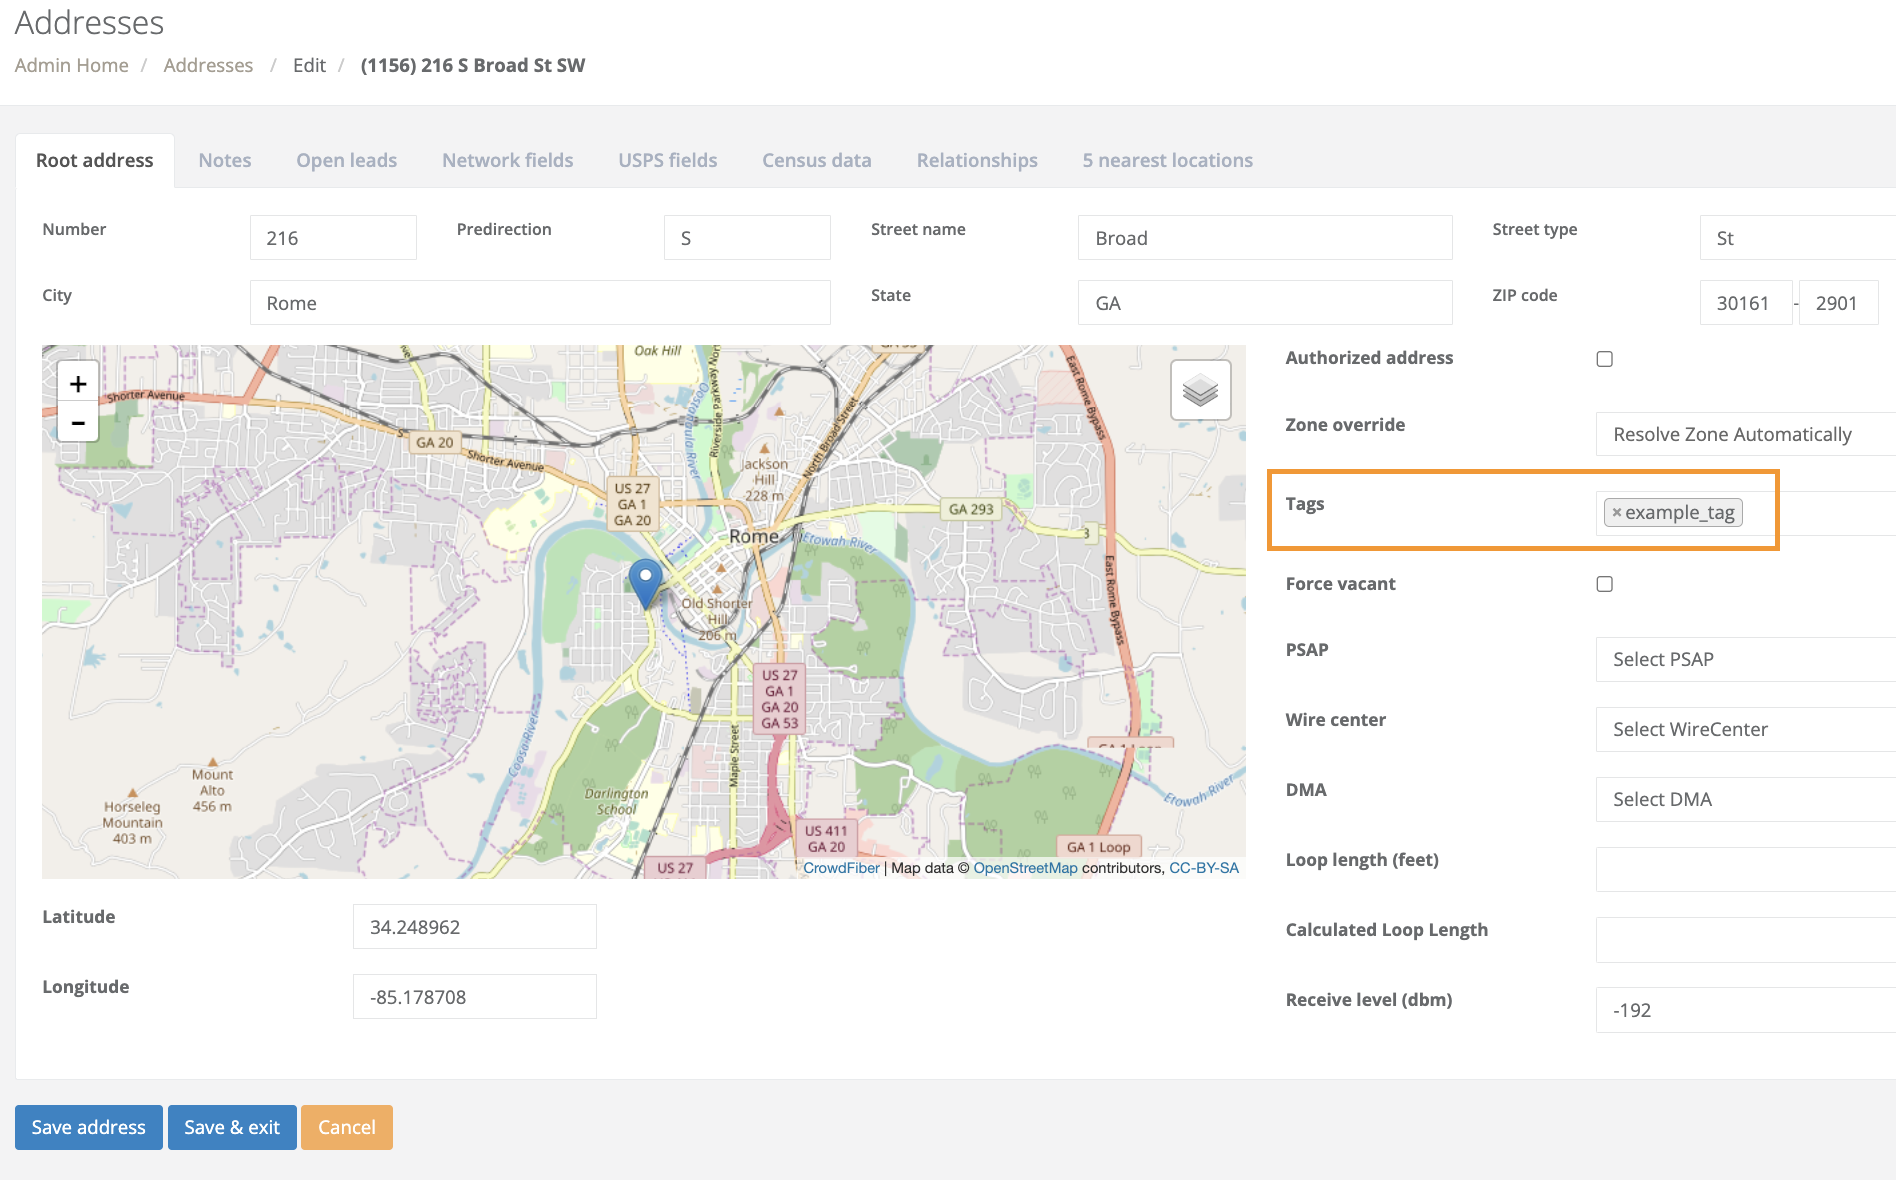
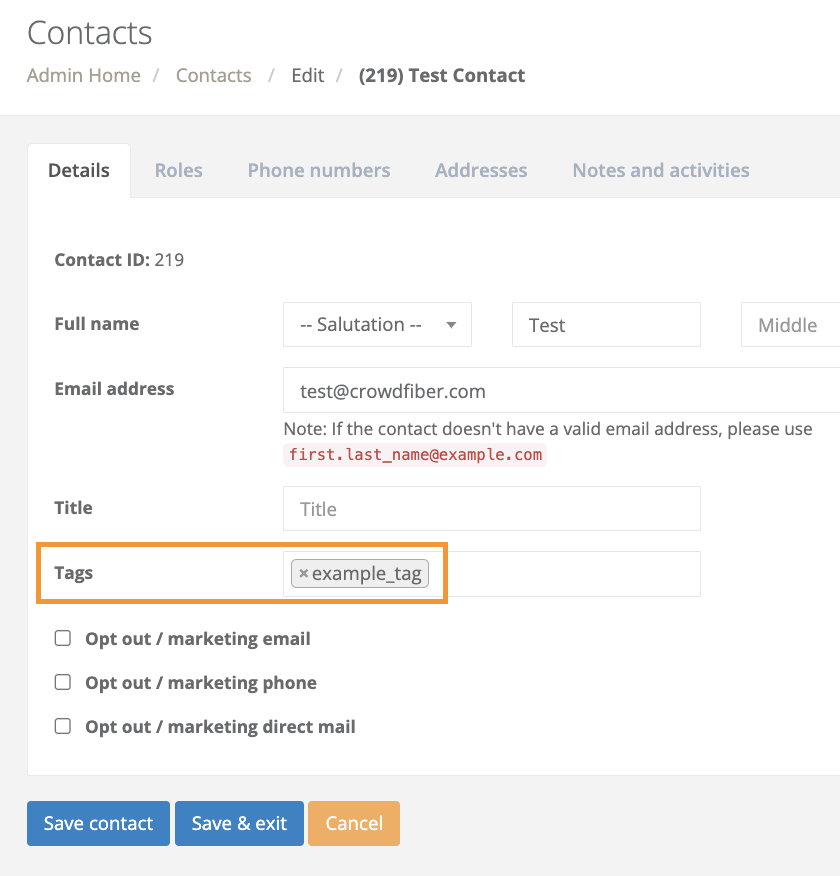
2. Within the record, locate the Tag field.
3. Add all tags you want to apply to the record in the Tag field
4. Click one of the blue Save buttons seen in the bottom left-hand corner of your screen to save and apply the tag(s) to the record.
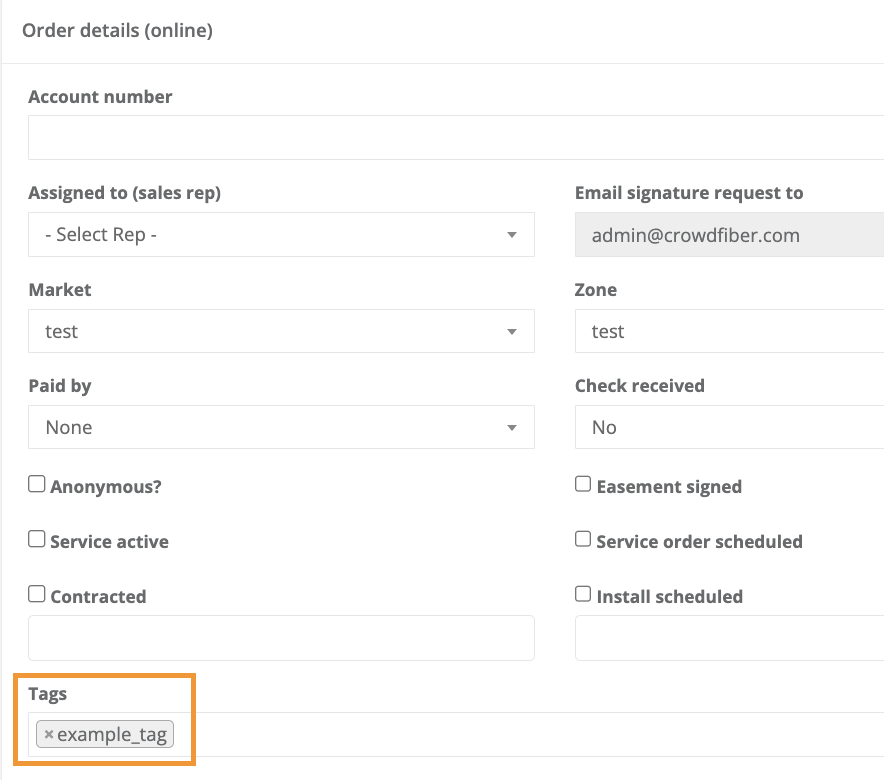
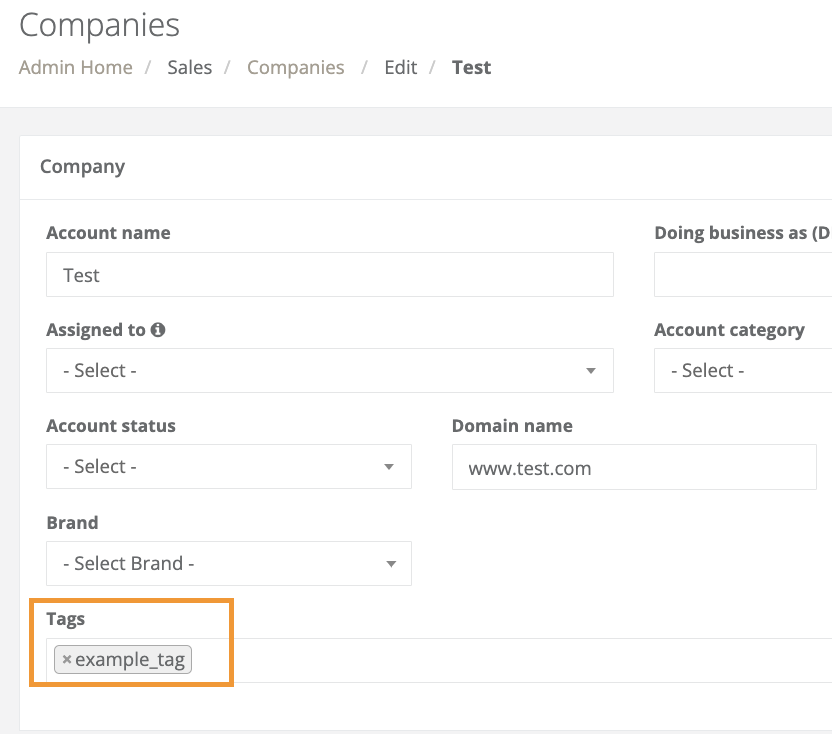
Here are examples of where to tag individual records for other items that can be tagged:
Address Record
Contact Record
Order Record (scroll to Order Details within the record)
Company Record
Zone Record