Direct Mail (QR Code): Create a Campaign
Step 1: Create Your Address List
An address list will allow you to create groups of customers and/or pre-registrants who share common interests and live within specific geographic areas, so you can create targeted, relevant messaging that resonates with your individual customers at scale.
With a single message, you can guide entire groups of your customers who have specific products, order statuses, and service areas toward taking the specific actions you need these customers to take in order to move your company forward. Click here to learn how to create an address list.
To qualify for our Money Back Guarantee on any postcards that are returned to sender during your direct mail campaign, your Address List must include two filters:
- Is Deliverable address = Yes
- Is Vacant Address = No
Step 2: Create Your Artwork
Artwork Guidelines (follow these rules to avoid upload errors):
- All artwork needs to have a bleed area of .25" or ¼" (your final artwork should be submitted as .25” larger than your postcard (e.g., a 4"x6" postcard’s artwork should be submitted as 4.25"x6.25").
- The safe area for artwork is ⅛” inside the trim/final dimensions of your artwork.
- Do not include crop marks in your uploaded PNG or SVG file (they're not necessary, and they will print if they're inside the trim area).
-
Make sure all fonts are embedded in your artwork.
-
Artwork Templates (click to download)
All artwork must be a .png or .svg file type.
-
Step 3: Create a New Postcard
-
In the left-hand rail of your Admin Dashboard, click Settings.
-
In the Settings drop-down menu, select Themes.
-
On the following page, in the top right-hand corner of the Themes index, click the blue New theme button.
-
On the New Theme settings page, complete the following fields:
-
Name
- Enter a descriptive name for your campaign that will make it easy for your team to identify the campaign in the future. (ex. Central Zone 6x11 Q1).
-
Theme Type
- In the drop-down menu, select Postcard.
-
Active checkbox
- Check the Active checkbox to activate your postcard.
-
Upload theme file
- Click the Choose File button
- Upload your post-card theme in the .zip format.
-
Save
- Click the Save & exit button to save your Postcard.
-
Step 4: Customize Your Postcard
-
On the Themes page in your Admin Dashboard, Scroll down to find the postcard theme you just created.
-
In the row containing your new theme, click the Actions button.
-
In the Actions drop-down menu, select Theme elements.
-
On the following Theme Elements page, click each of the five theme elements located on the left-hand side of the page to complete your customization
-
back_image
- Click the Choose File button.
- Upload the applicable image that will contain your QR code and indicia.
- Click the blue Save button located in the bottom left-hand corner of the theme element editor.
-
front_image
- Click the Choose File button.
- Upload the applicable image that will contain your full-page artwork.
- Click the blue Save button located in the bottom left-hand corner of the theme element editor.
-
qr_code_left_edge_offset
- Adjust the location of the QR code from the left edge of your postcard by adding the offset to Line 1 of the theme element editor. This value is in inches.
- Click the blue Save button located in the bottom left-hand corner of the theme element editor.
-
qr_code_size
- Establish the size of the QR code by adding the desired size of your QR code to Line 1 of the theme element editor. This value is in inches.
- Standard sizes are:
- 1.00
- 1.5
-
qr_code_top_edge_offset
- Adjust the location of the QR code from the top edge of your postcard by adding the offset to Line 1 of the theme element editor. This value is in inches.
- Click the blue Save button located in the bottom left-hand corner of the theme element editor.
-
Step 5: Create a New HTML Campaign
-
In the left-hand rail of your Admin Dashboard, click Engagement.
-
In the engagement drop-down menu, select Direct Mail.
-
On the following page, click the blue Create HTML Mailing button located in the upper right-hand corner of the Direct Mail index.
Step 6: Establish Your Mailing Details
- Mailing name (for internal use only)
- Give your campaign an internal name (this name will display in your list of direct mail campaigns on the Direct Mail Page of your Admin Dashboard).
- Address List
- In the drop-down menu, select the address list that should receive your postcard.
- Money back guarantee
- On: the Money back guarantee is applied to your campaign (if the following two filters are applied to your address list).
- Is Deliverable address = Yes
- Is Vacant Address = No
- Off: the Money back guarantee is not applied to your campaign.
- On: the Money back guarantee is applied to your campaign (if the following two filters are applied to your address list).
-
To Name
-
Enter the name that will display above the recipient's address on your mailer.
Examples include:
- "Dear Neighbor"
- "Valued Customer"
A contact's first name cannot be included in the To Name at this time.
-
-
From Name
-
Enter the name that will display above the return address on your mailer.
Examples include:
- "Your Friends at [your organization name]"
- "[your organization name]"
-
-
Return Address
- Confirm or edit your return address.
Step 7: Select theme details
- Select the postcard size
- Click the radio button next to the size of your postcard (as defined by your artwork).
-
Select a postcard (Settings>Themes)
- In the drop-down menu, select the name of the postcard created from Step 3.
Step 8: Review your Pricing & Save your Campaign
-
At the bottom of the page, review the total cost of your campaign.
-
Click the green “Save” button to save your campaign settings.
Saving your campaign does not send your direct mail campaign.
-
Price per postcard:
- 4X6 Postcard = 0.77
- 6x9 Postcard = 1.13
- 6X11 Postcard = 1.22
For Money Back Guarantee, multiply the price by 1.2
-
Step 9: Preview & Send
CrowdFiber takes care of sending your artwork to the printer and sending your printed artwork to the post office for delivery. Here’s how to send your direct mail campaign:
-
From the Direct Mail Page in your admin dashboard, find the direct mail campaign you’d like to send in the Mailings Table seen on this page.
-
Click the “Actions” button located in the right-most column of the row containing the campaign you’d like to send.
-
Select “Preview & Send” from the Actions Button’s drop-down menu.
-
On the following screen, a high-resolution preview is automatically generated. The preview will:
- Notify you of any errors.
- Provide a link that allows you to download a high-resolution copy of your artwork (you’ll see a text link on the bottom left corner of your screen).
-
Scroll to the bottom of the page to check the "I approve this proof and agree to place this mailing order" checkbox.
-
Send your campaign to the printer:
-
To immediately send your direct mail to the printer, click the "Send Now" button.
Non-holiday delivery dates are approximately 5-7 days after the postcard is sent to the printer.
-
To schedule your postcard to be sent to the printer at a later date:
- Check the "I want to send this to the printers at a date chosen below. I understand the recipient list for this direct mail campaign will be locked once "Send Now" is clicked, even if this campaign is targeted to a dynamic address list" checkbox.
- Click or tap the Sent at textbox.
-
in the following calendar widget, select the applicable date you would like to send your postcard to the printer
Non-holiday delivery dates are approximately 5-7 days after the date selected in this textbox
-
Note:
Mailings can be canceled within 4 hours of being sent.
To cancel a campaign
-
Visit the Direct Mail Page in your Admin Dashboard
-
In our Direct Mail index, in the far righthand column, click the Actions button that is associated with the campaign you'd like to cancel.
-
In the Actions drop-down menu, click Cancel.
Step 10: Campaign Monitoring
Delivery Timeframe
After the time you send your campaign to the printer, it takes approximately 5-7 business days for your mailer to be delivered to your address list.
Monitoring Delivery
CrowdFiber makes it easy for you to monitor the printing, transit, and delivery of your direct mail campaigns. To track the progress of your campaign:
-
Click the "Engagement" link located in the left-hand rail of your Admin Dashboard.
-
Select Direct Mail from the Engagement drop-down menu.
-
On the Direct Mail Page, you'll be able to check the status of all direct mail campaigns.
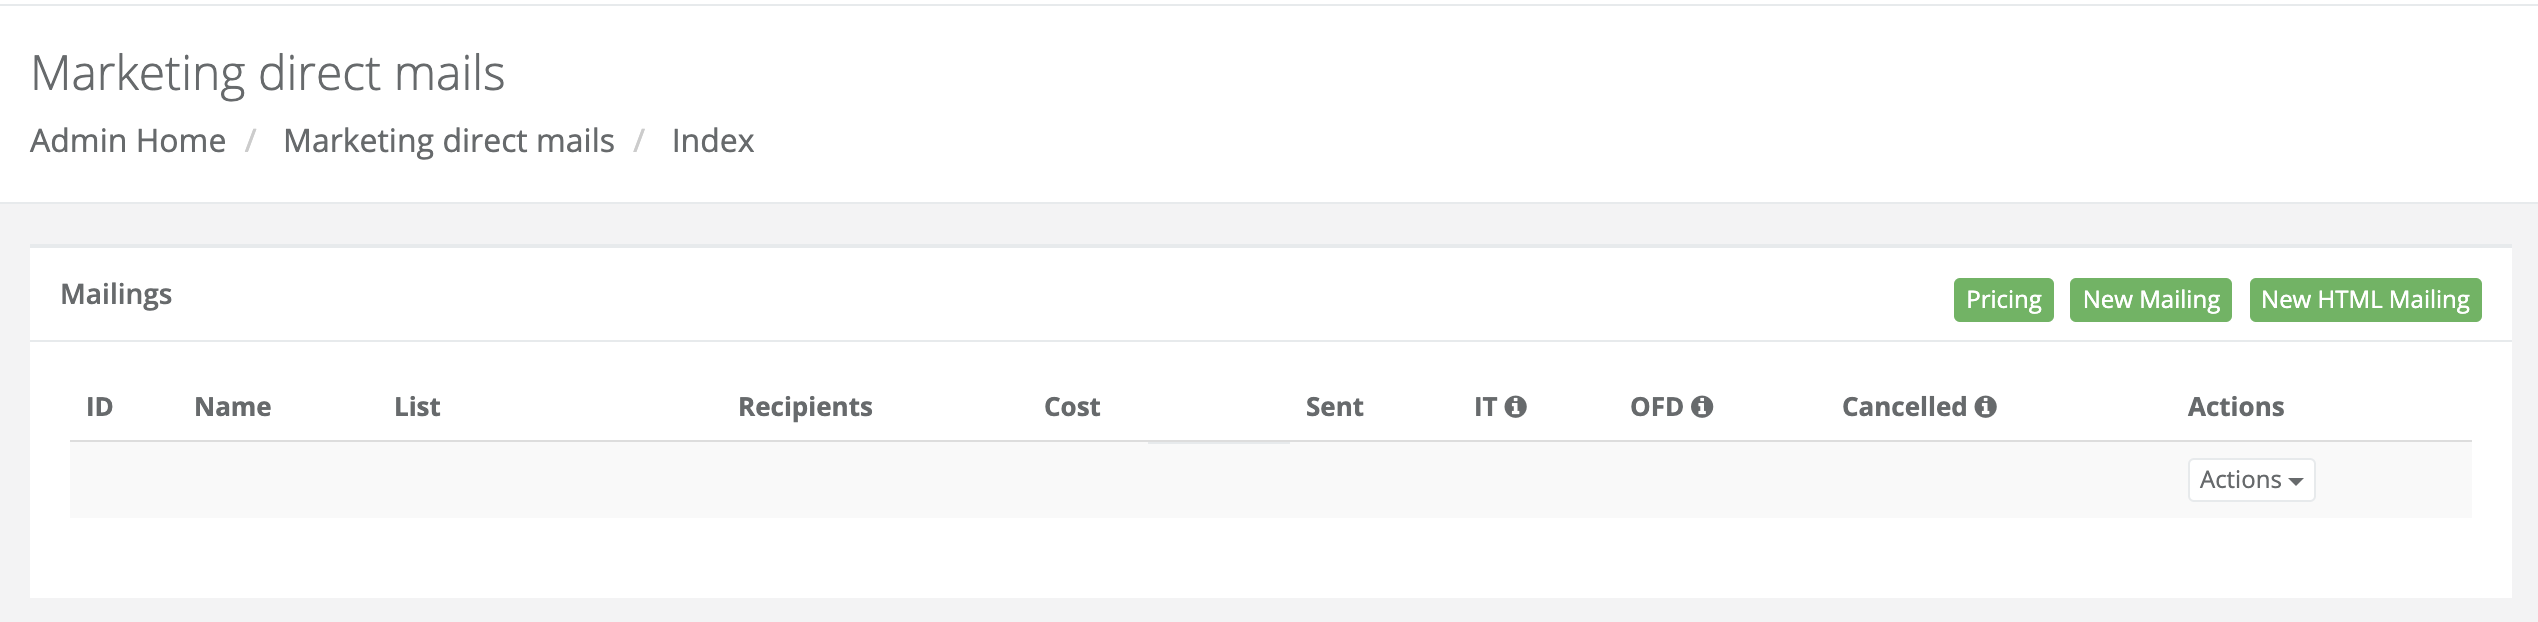
CrowdFiber Direct Mail Campaign Vocabulary:
- Name
- The name is established in the "Mailing Name" textbox of your direct mail campaign settings.
- List
- The address list applied to your campaign.
- Cost
- The total cost associated with the delivery of your artwork.
- Sent
- Your campaign settings and artwork have been approved by you or your team, and your artwork has been sent to a printer.
- IT
- Your artwork is in transit from the printer to your local post office(s).
- OFT
- Your direct mail piece is on mail trucks and being placed into the mailboxes on your address list.
- Canceled
- You've canceled this direct mail campaign.
Returned Mail
We always aim for 100% delivery. If the Money Back Guarantee is applied to your campaign and you receive returned mail due to vacant or undeliverable addresses, we’ll credit your mail invoice with the full cost of the direct mail that is returned to you.
Invoicing
The invoice for every direct mail campaign will be sent to you during the month following the delivery of your campaign.