Create a Donut Hole in Your Zone
Donut holes serve a variety of purposes, from sectioning off an area that's intended to be a different zone type than the shape around it or if you're needing that area to follow separate specifics (perhaps a certain survey or need a term specifically for that area that's not needed in the area surrounding it).
While donut holes can be made in a majority of mapping software, from ArcGis to Qgis, donut holes can also be made in CrowdFiber through the usage of the GeoJSON tab.
-
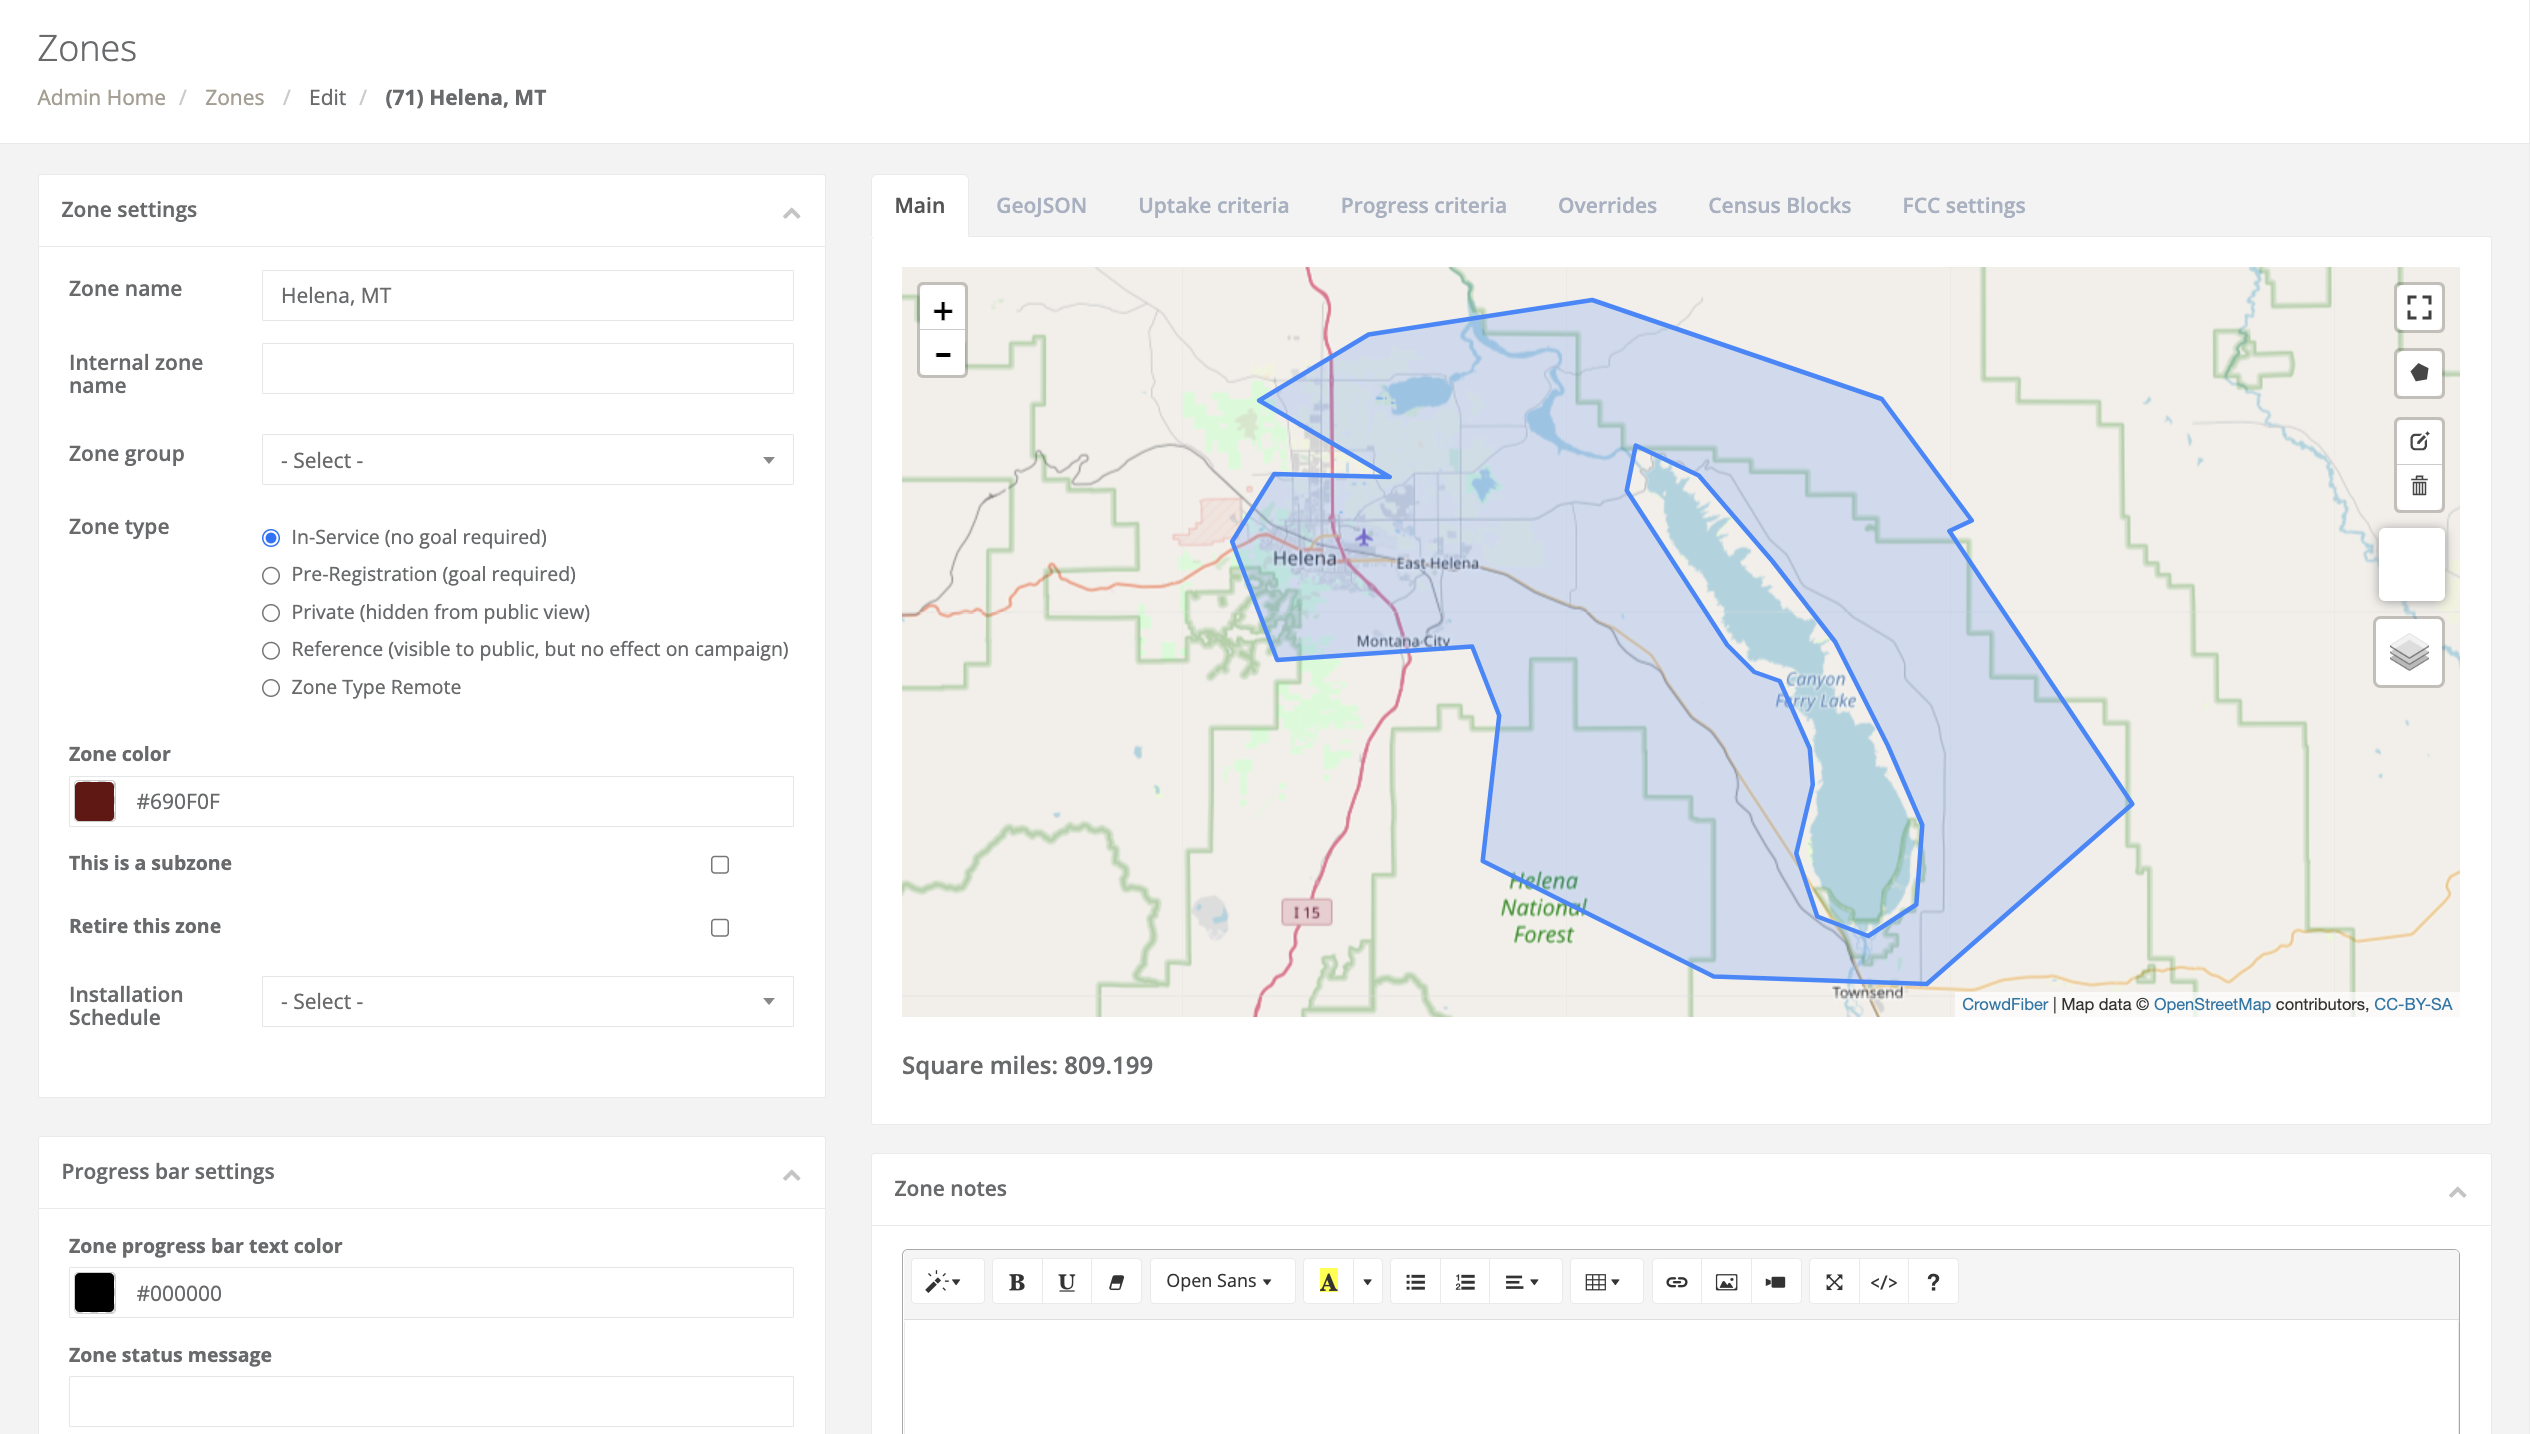
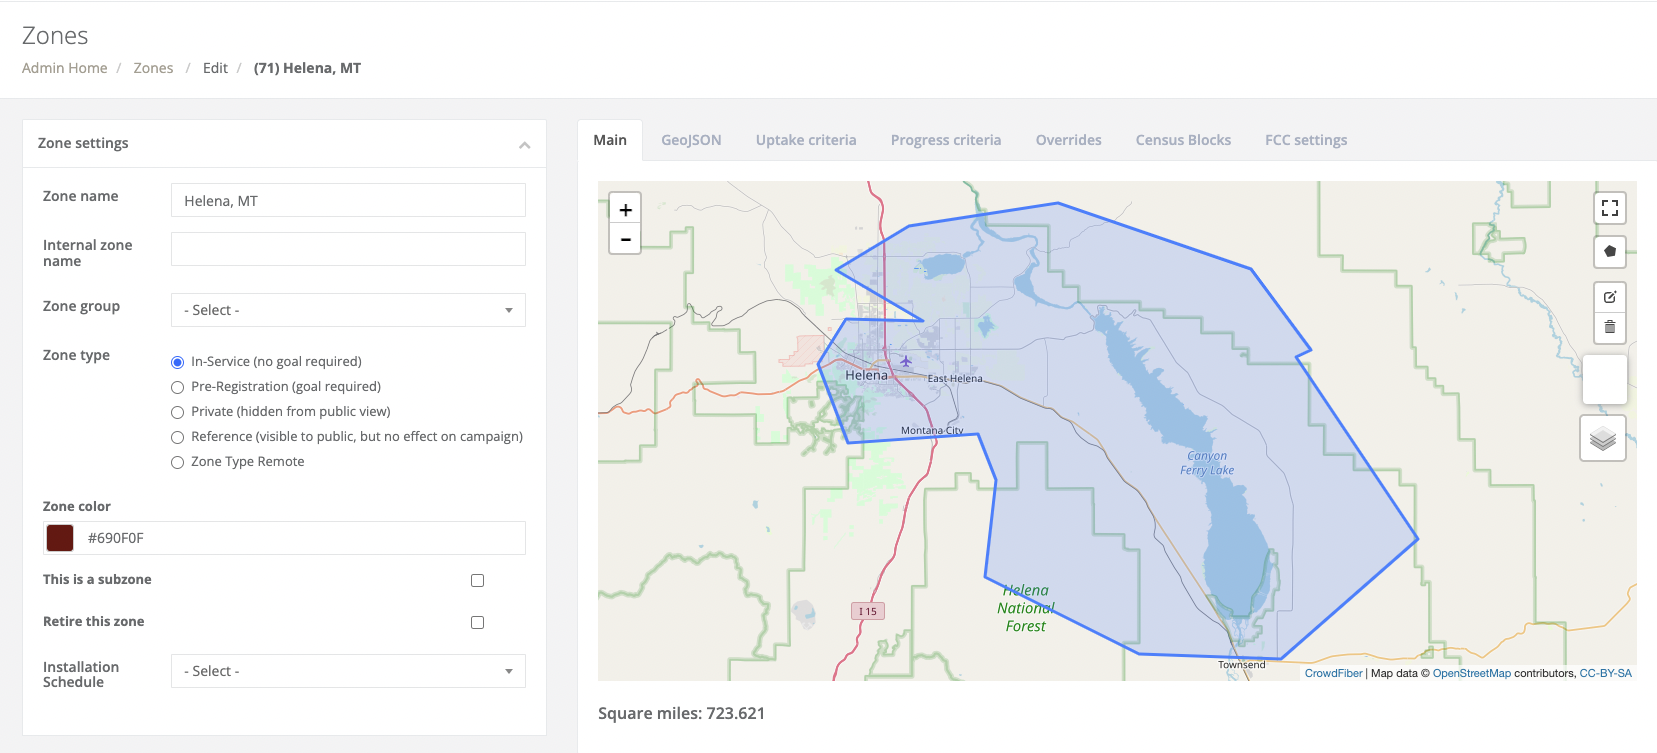
Navigate to the zone record where you will be drawing out the donut hole
-
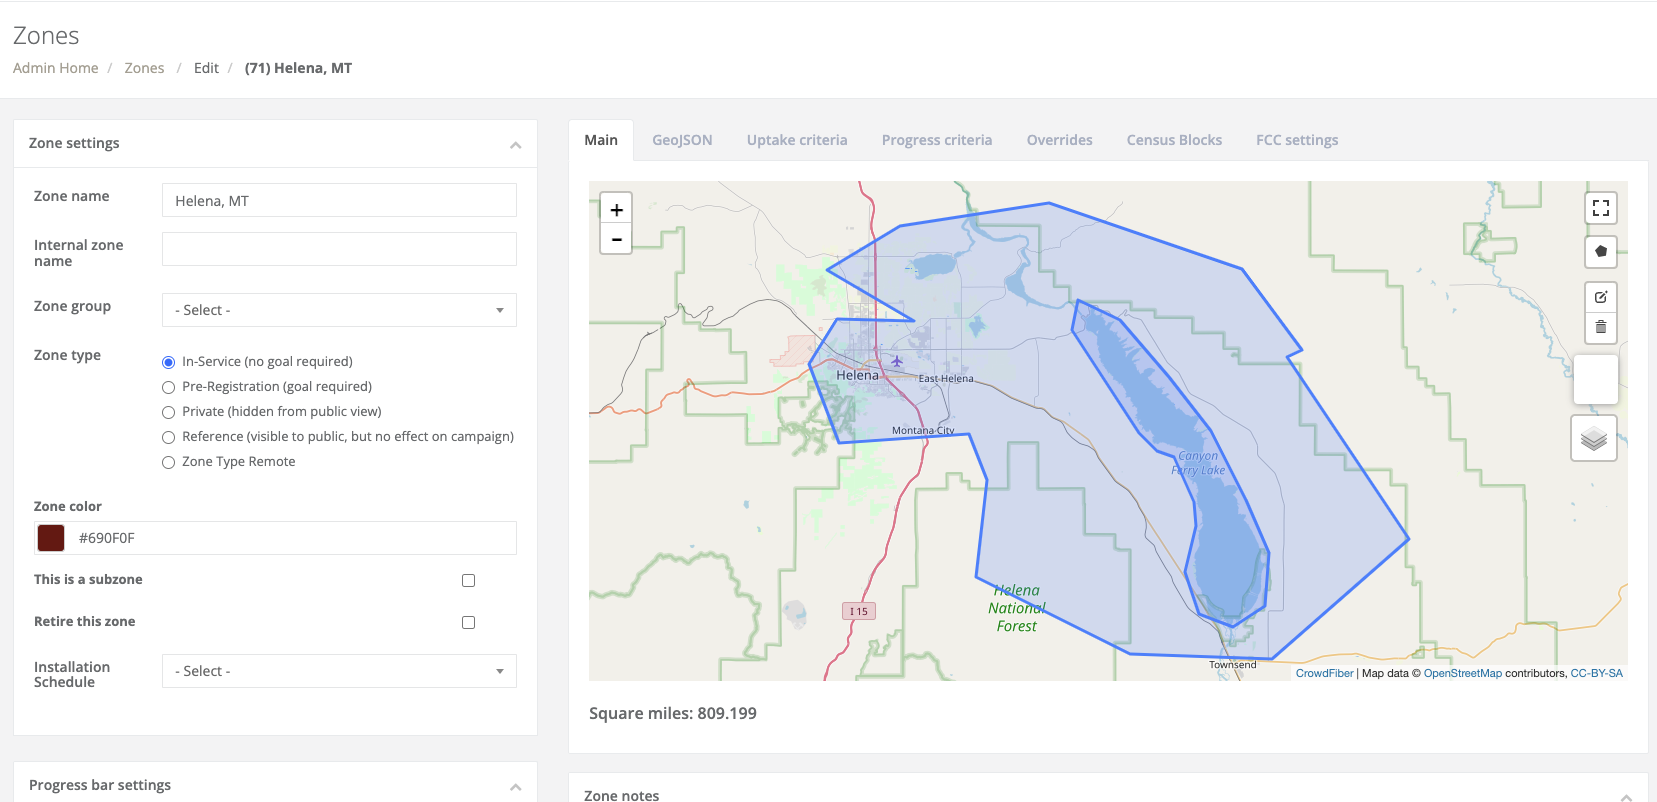
Draw out your donut hole using the Shape Drawing tool, and then click finish when you've finished drawing it out

-
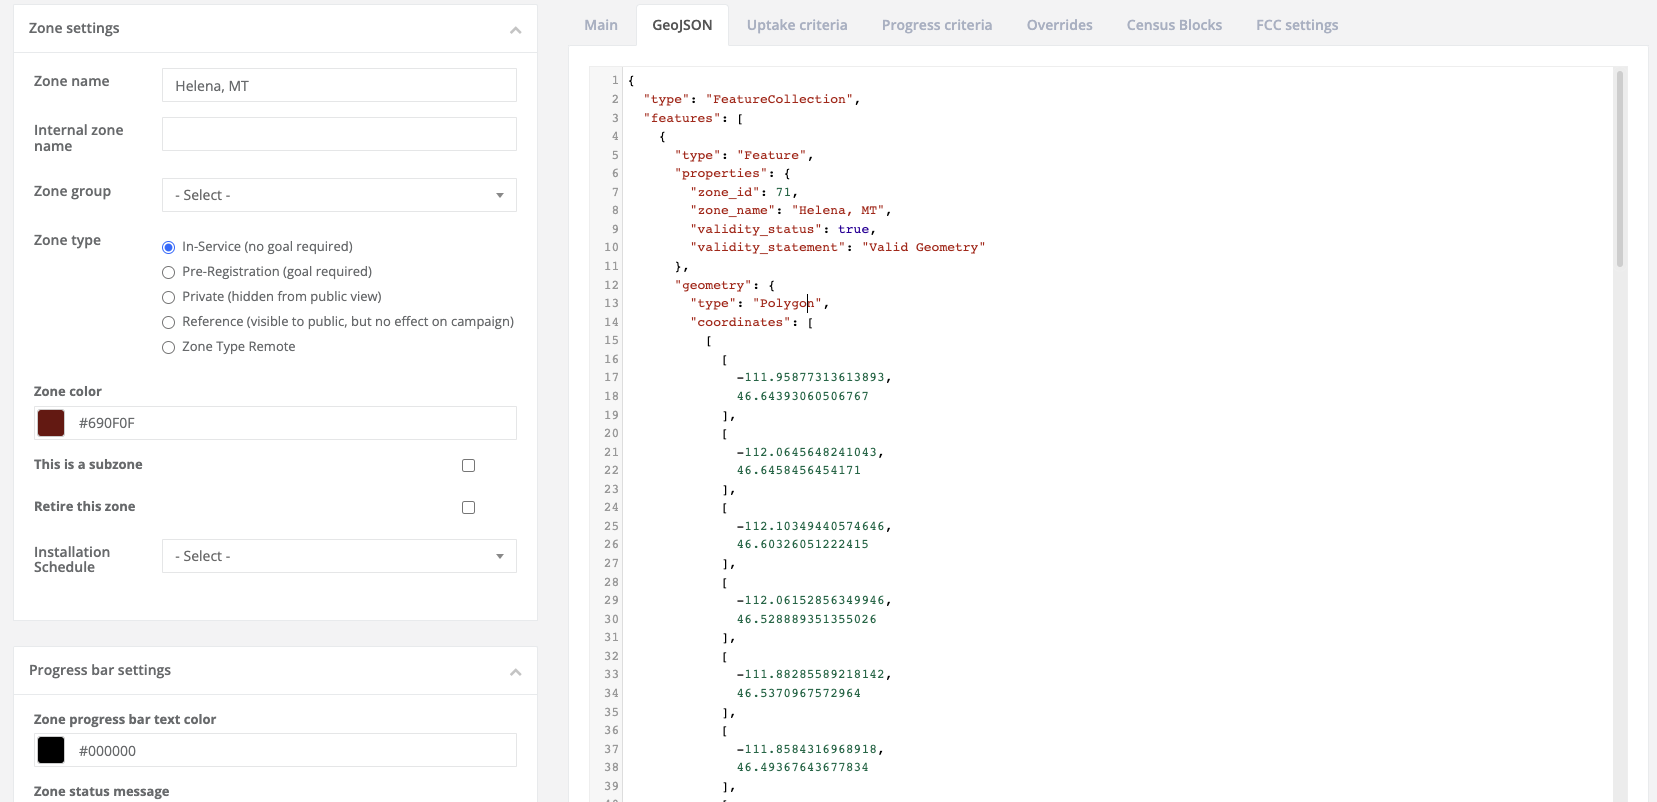
Click on the GeoJSON tab on the right-hand side of the page
- First is the feature Collection; these single pairs of curly brackets ( { } ) and square brackets ( [ ] ) will surround your shape(s)
-
Next comes the feature itself, or, your polygon/shape; this contains the information about this shape including its geometry, ID, name, and validity status
- There is one feature per shape, so if there is a zone that contains 12 separate shapes within the record, 12 features will be listed in the GeoJSON tab
-
Your new shape, the one that will soon be the donut hole, should be listed last as it was freshly created and the newest shapes are always moved to the last place
-
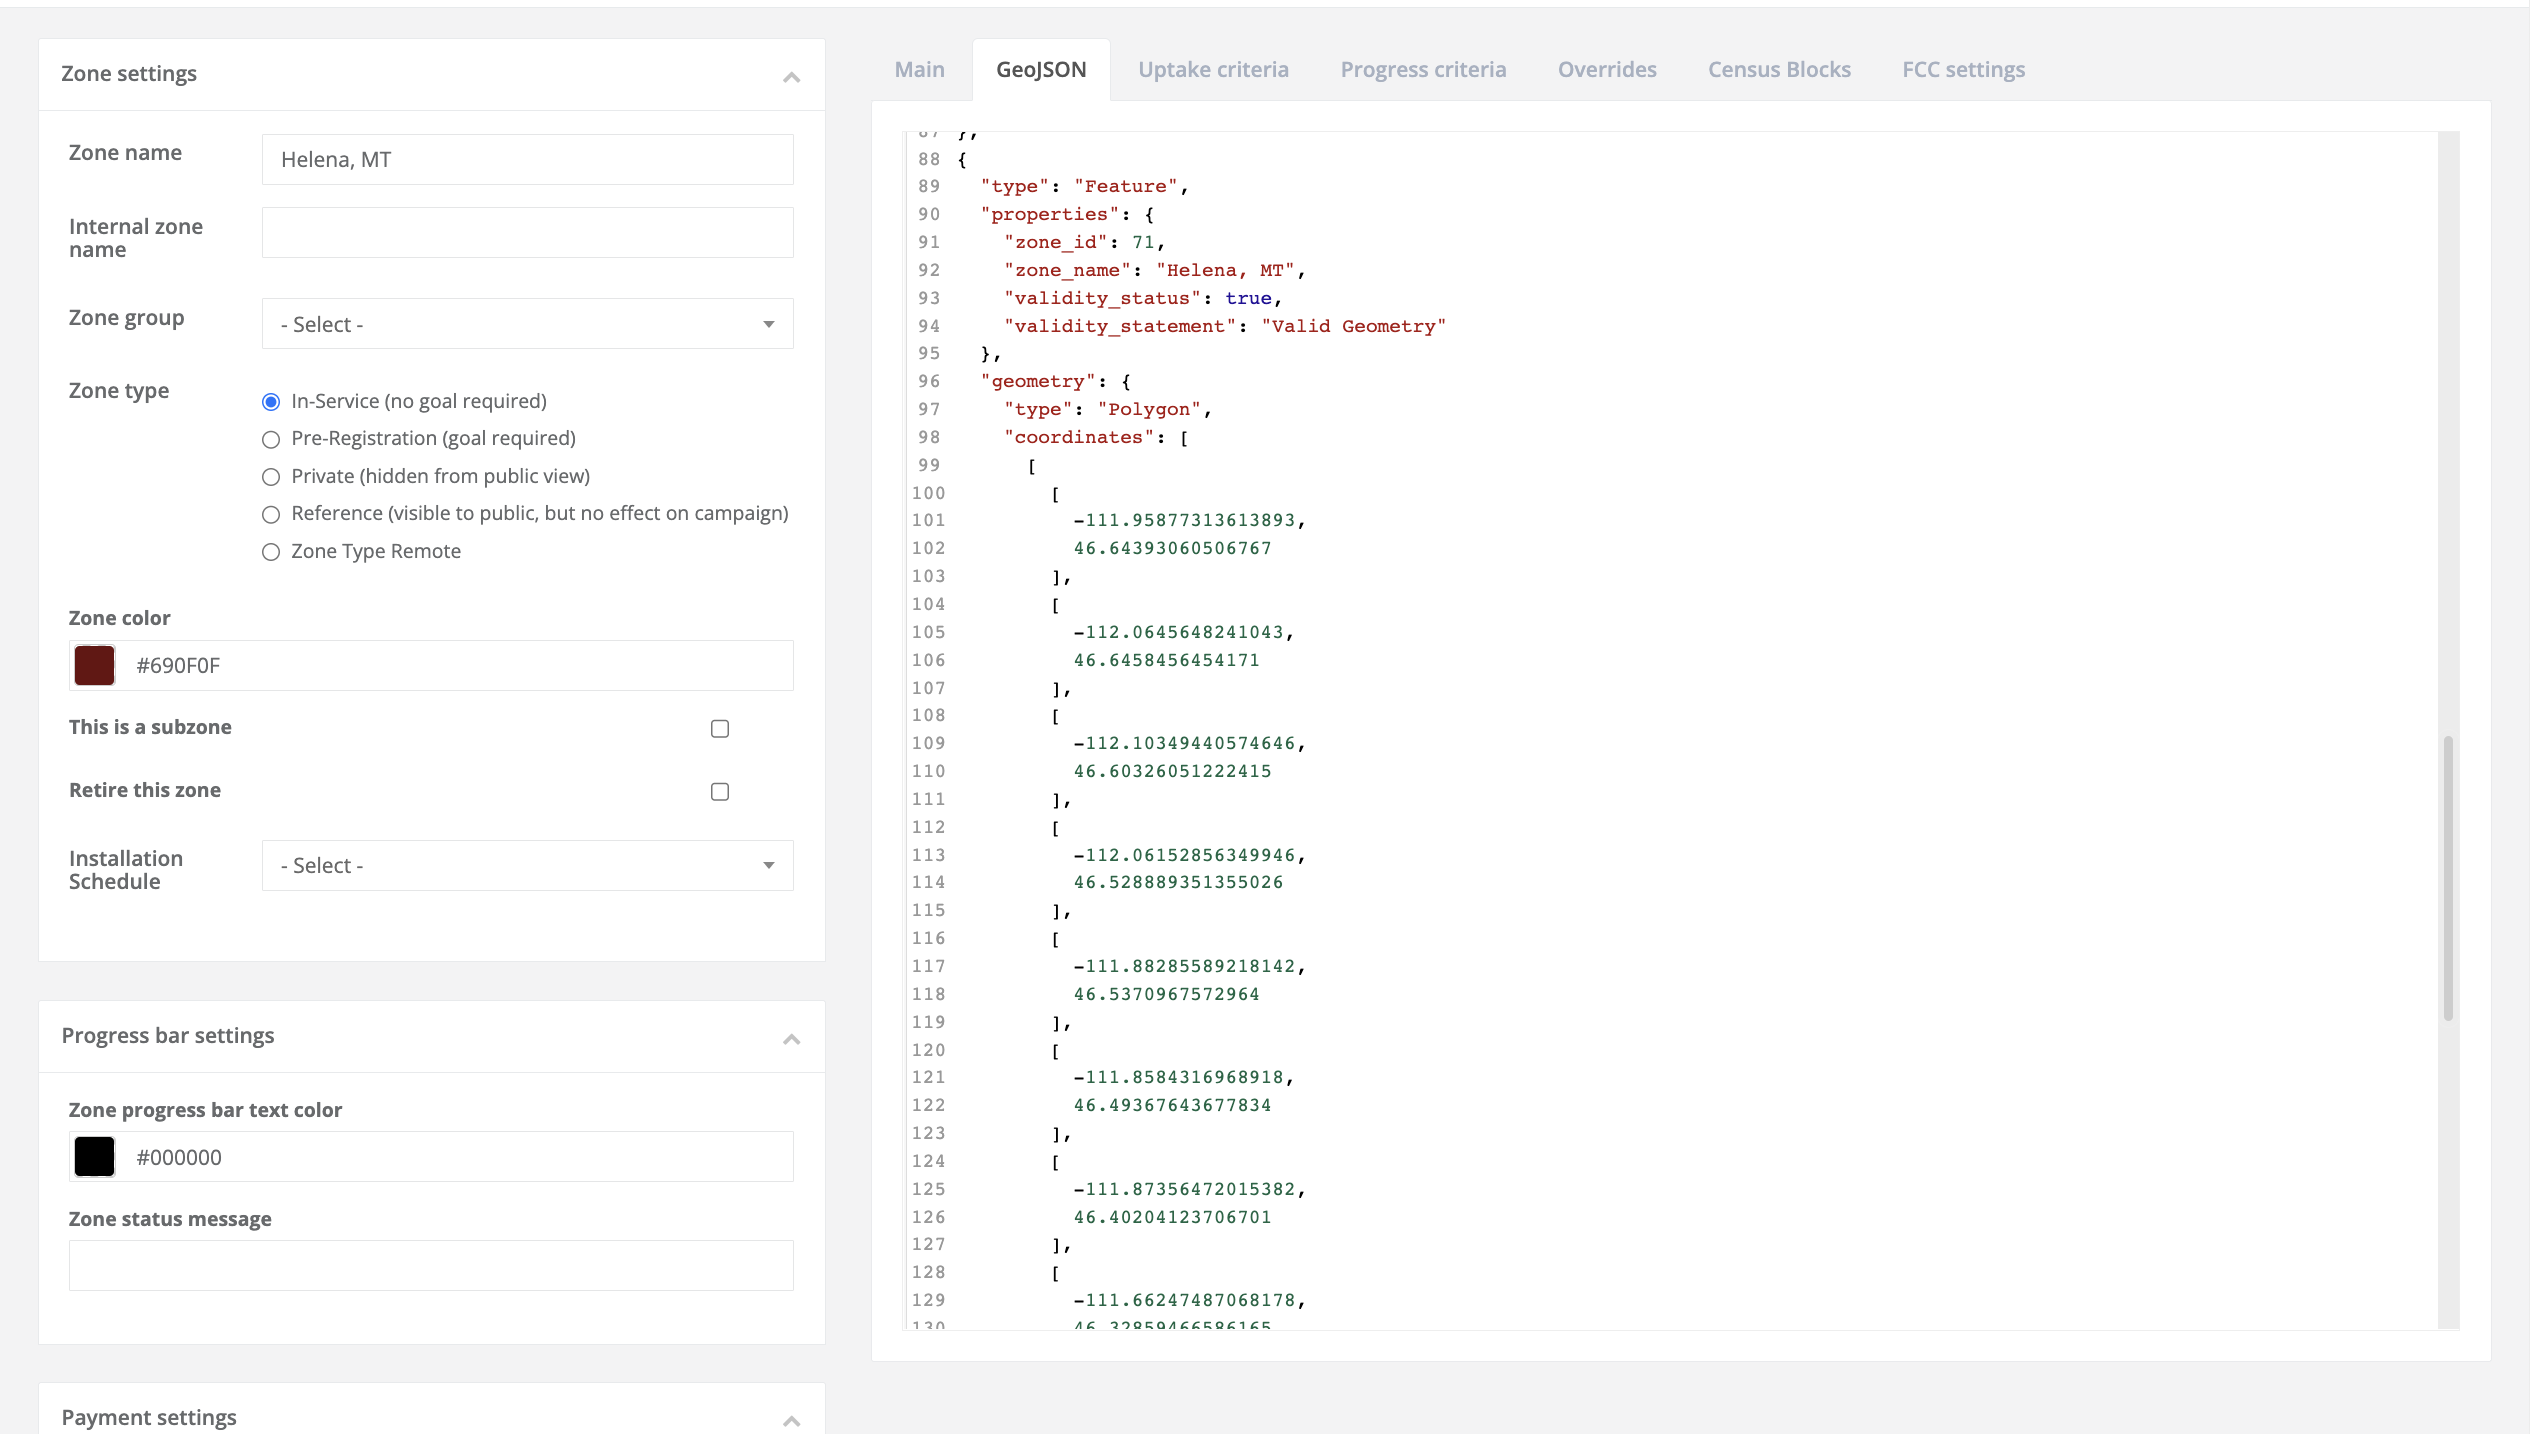
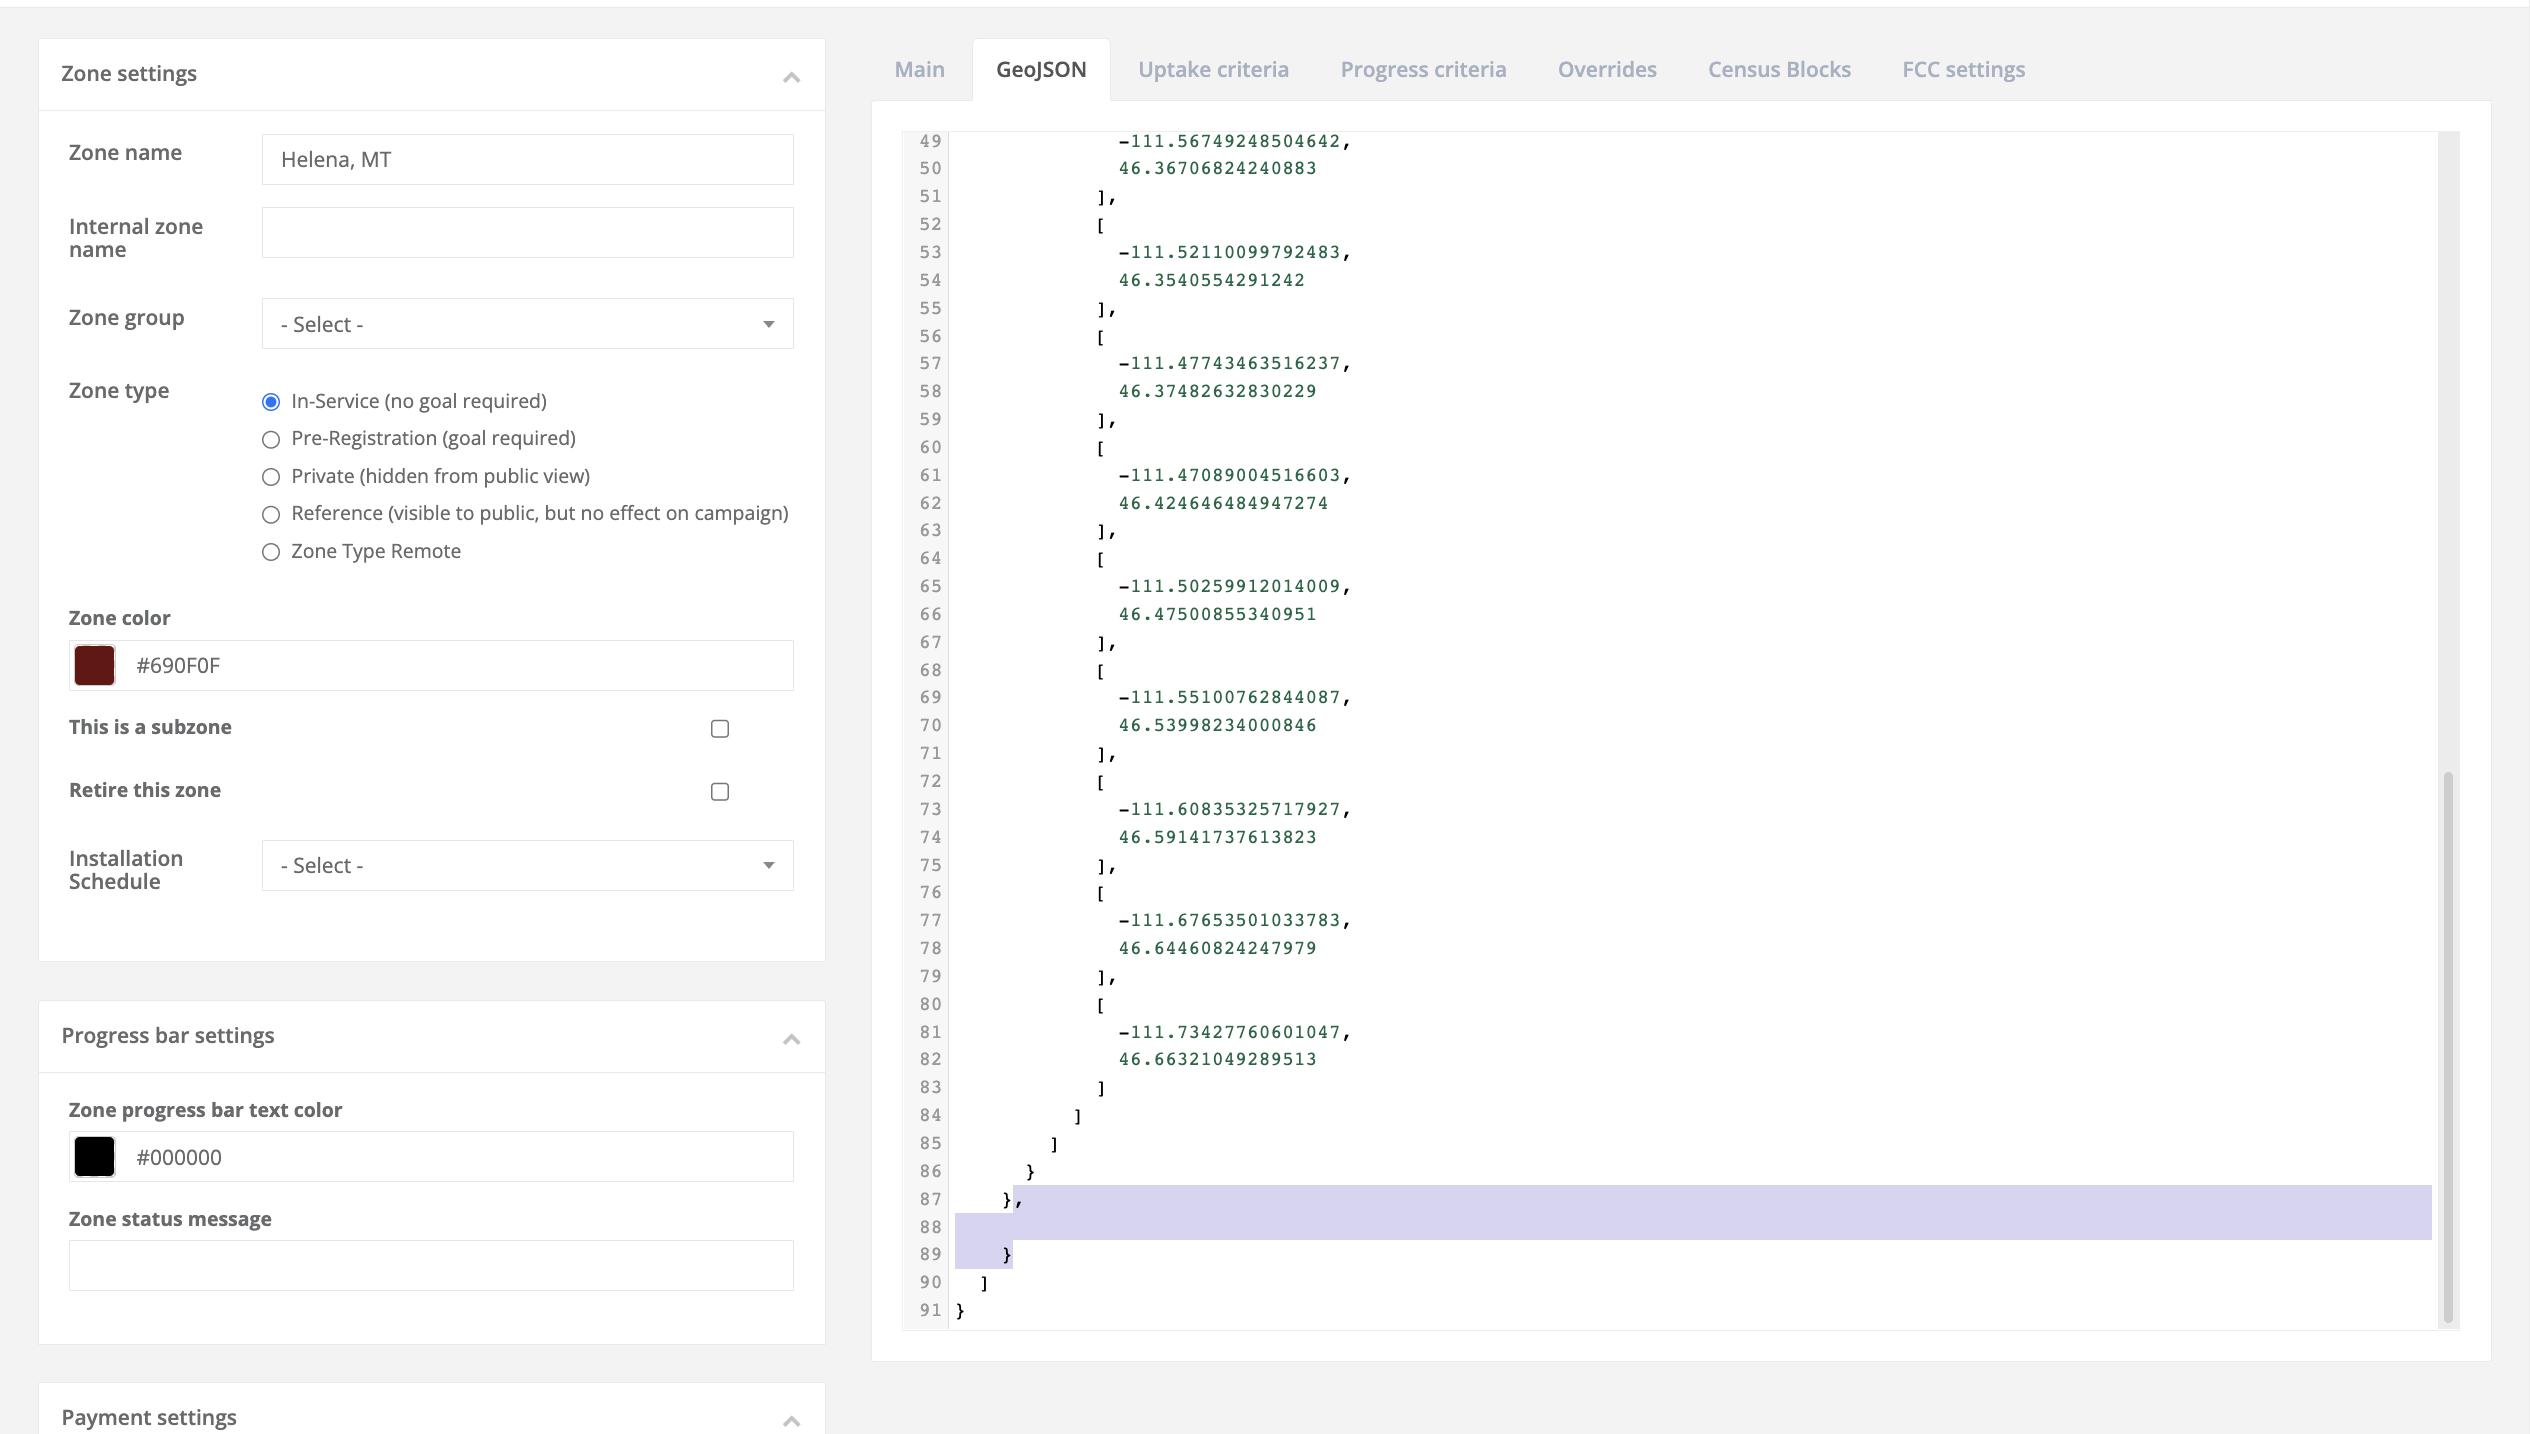
Refer to the feature that begins at lines 4 and 5, and the second feature (our soon-to-be donut hole) at lines 88 and 89
-
Here's a more in-depth review of the bracket format of a feature
- Each feature is enclosed within curly brackets and the properties of that feature are enclosed in their own set of curly brackets followed by a comma
- Next is the Geometry which is also enclosed in curly brackets then follows three sets of square brackets with the last one surrounding each of the coordinates
-
-
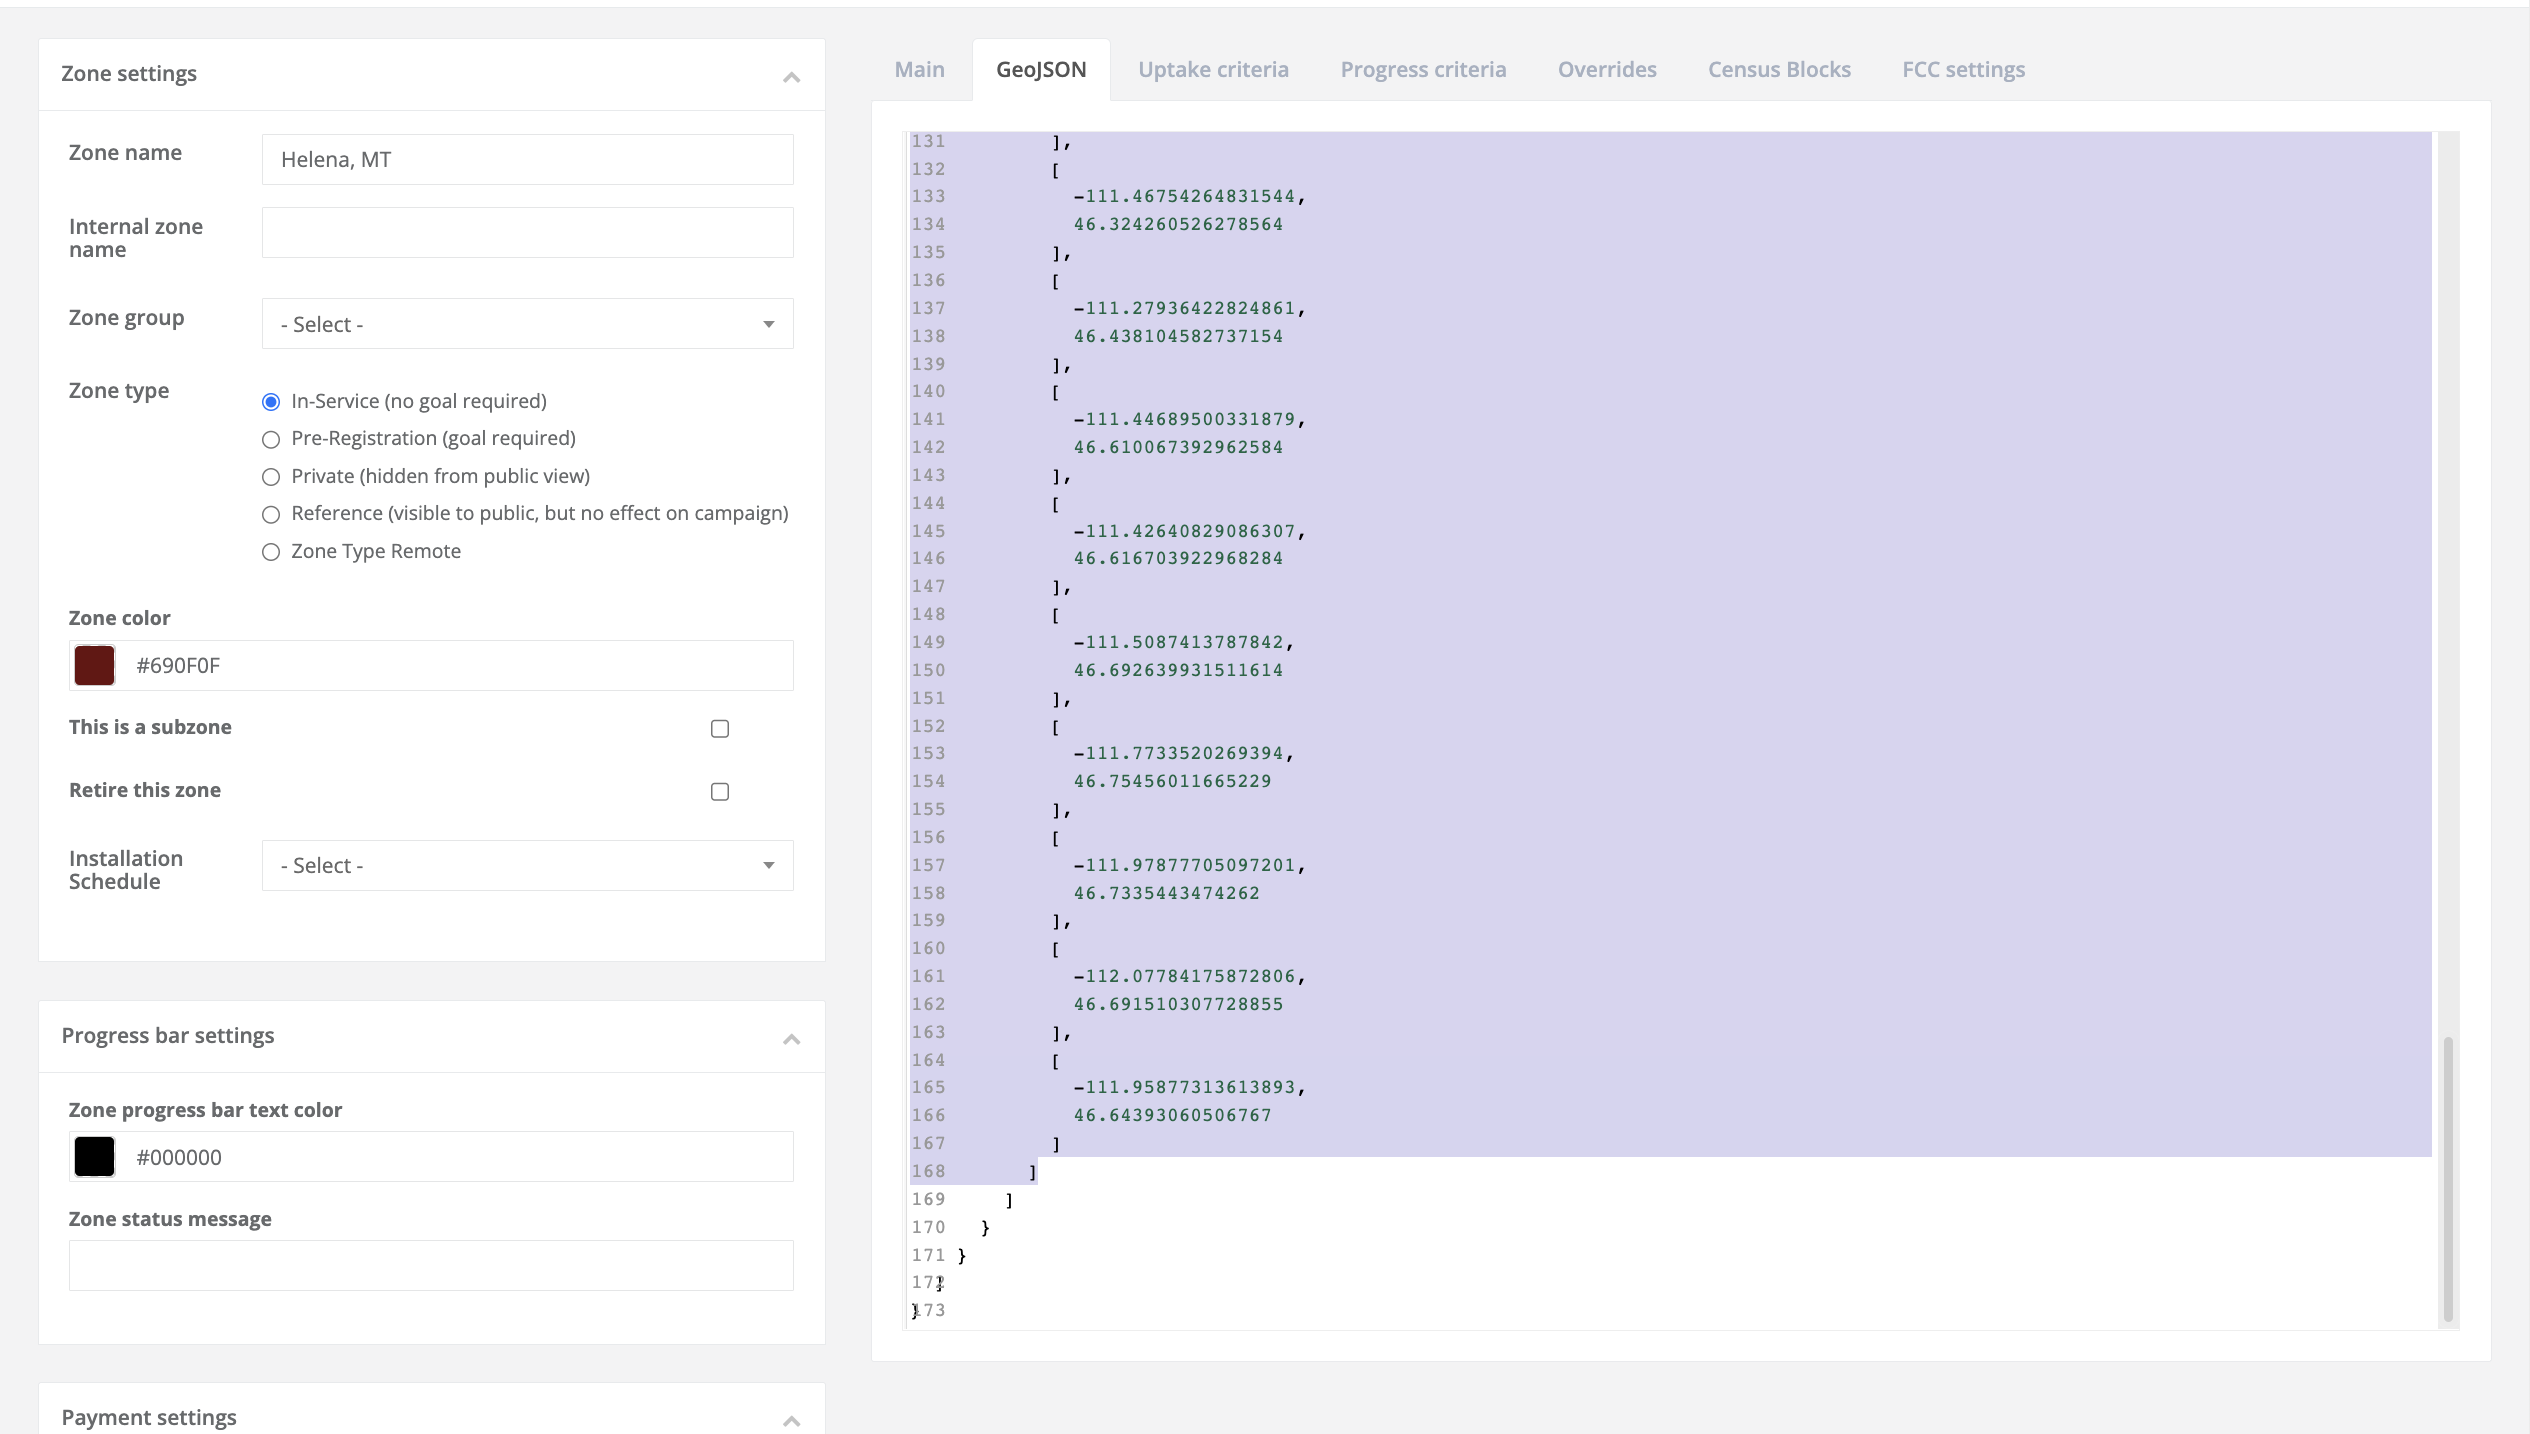
Cut the coordinate points including the second and third square brackets(refer to lines 99 and 100 on the image above) and the two closing square brackets at the end of the shape (refer to lines 167 and 168 on the image below)
- Make sure to save the coordinates; you’re going to need them in a future step.
-
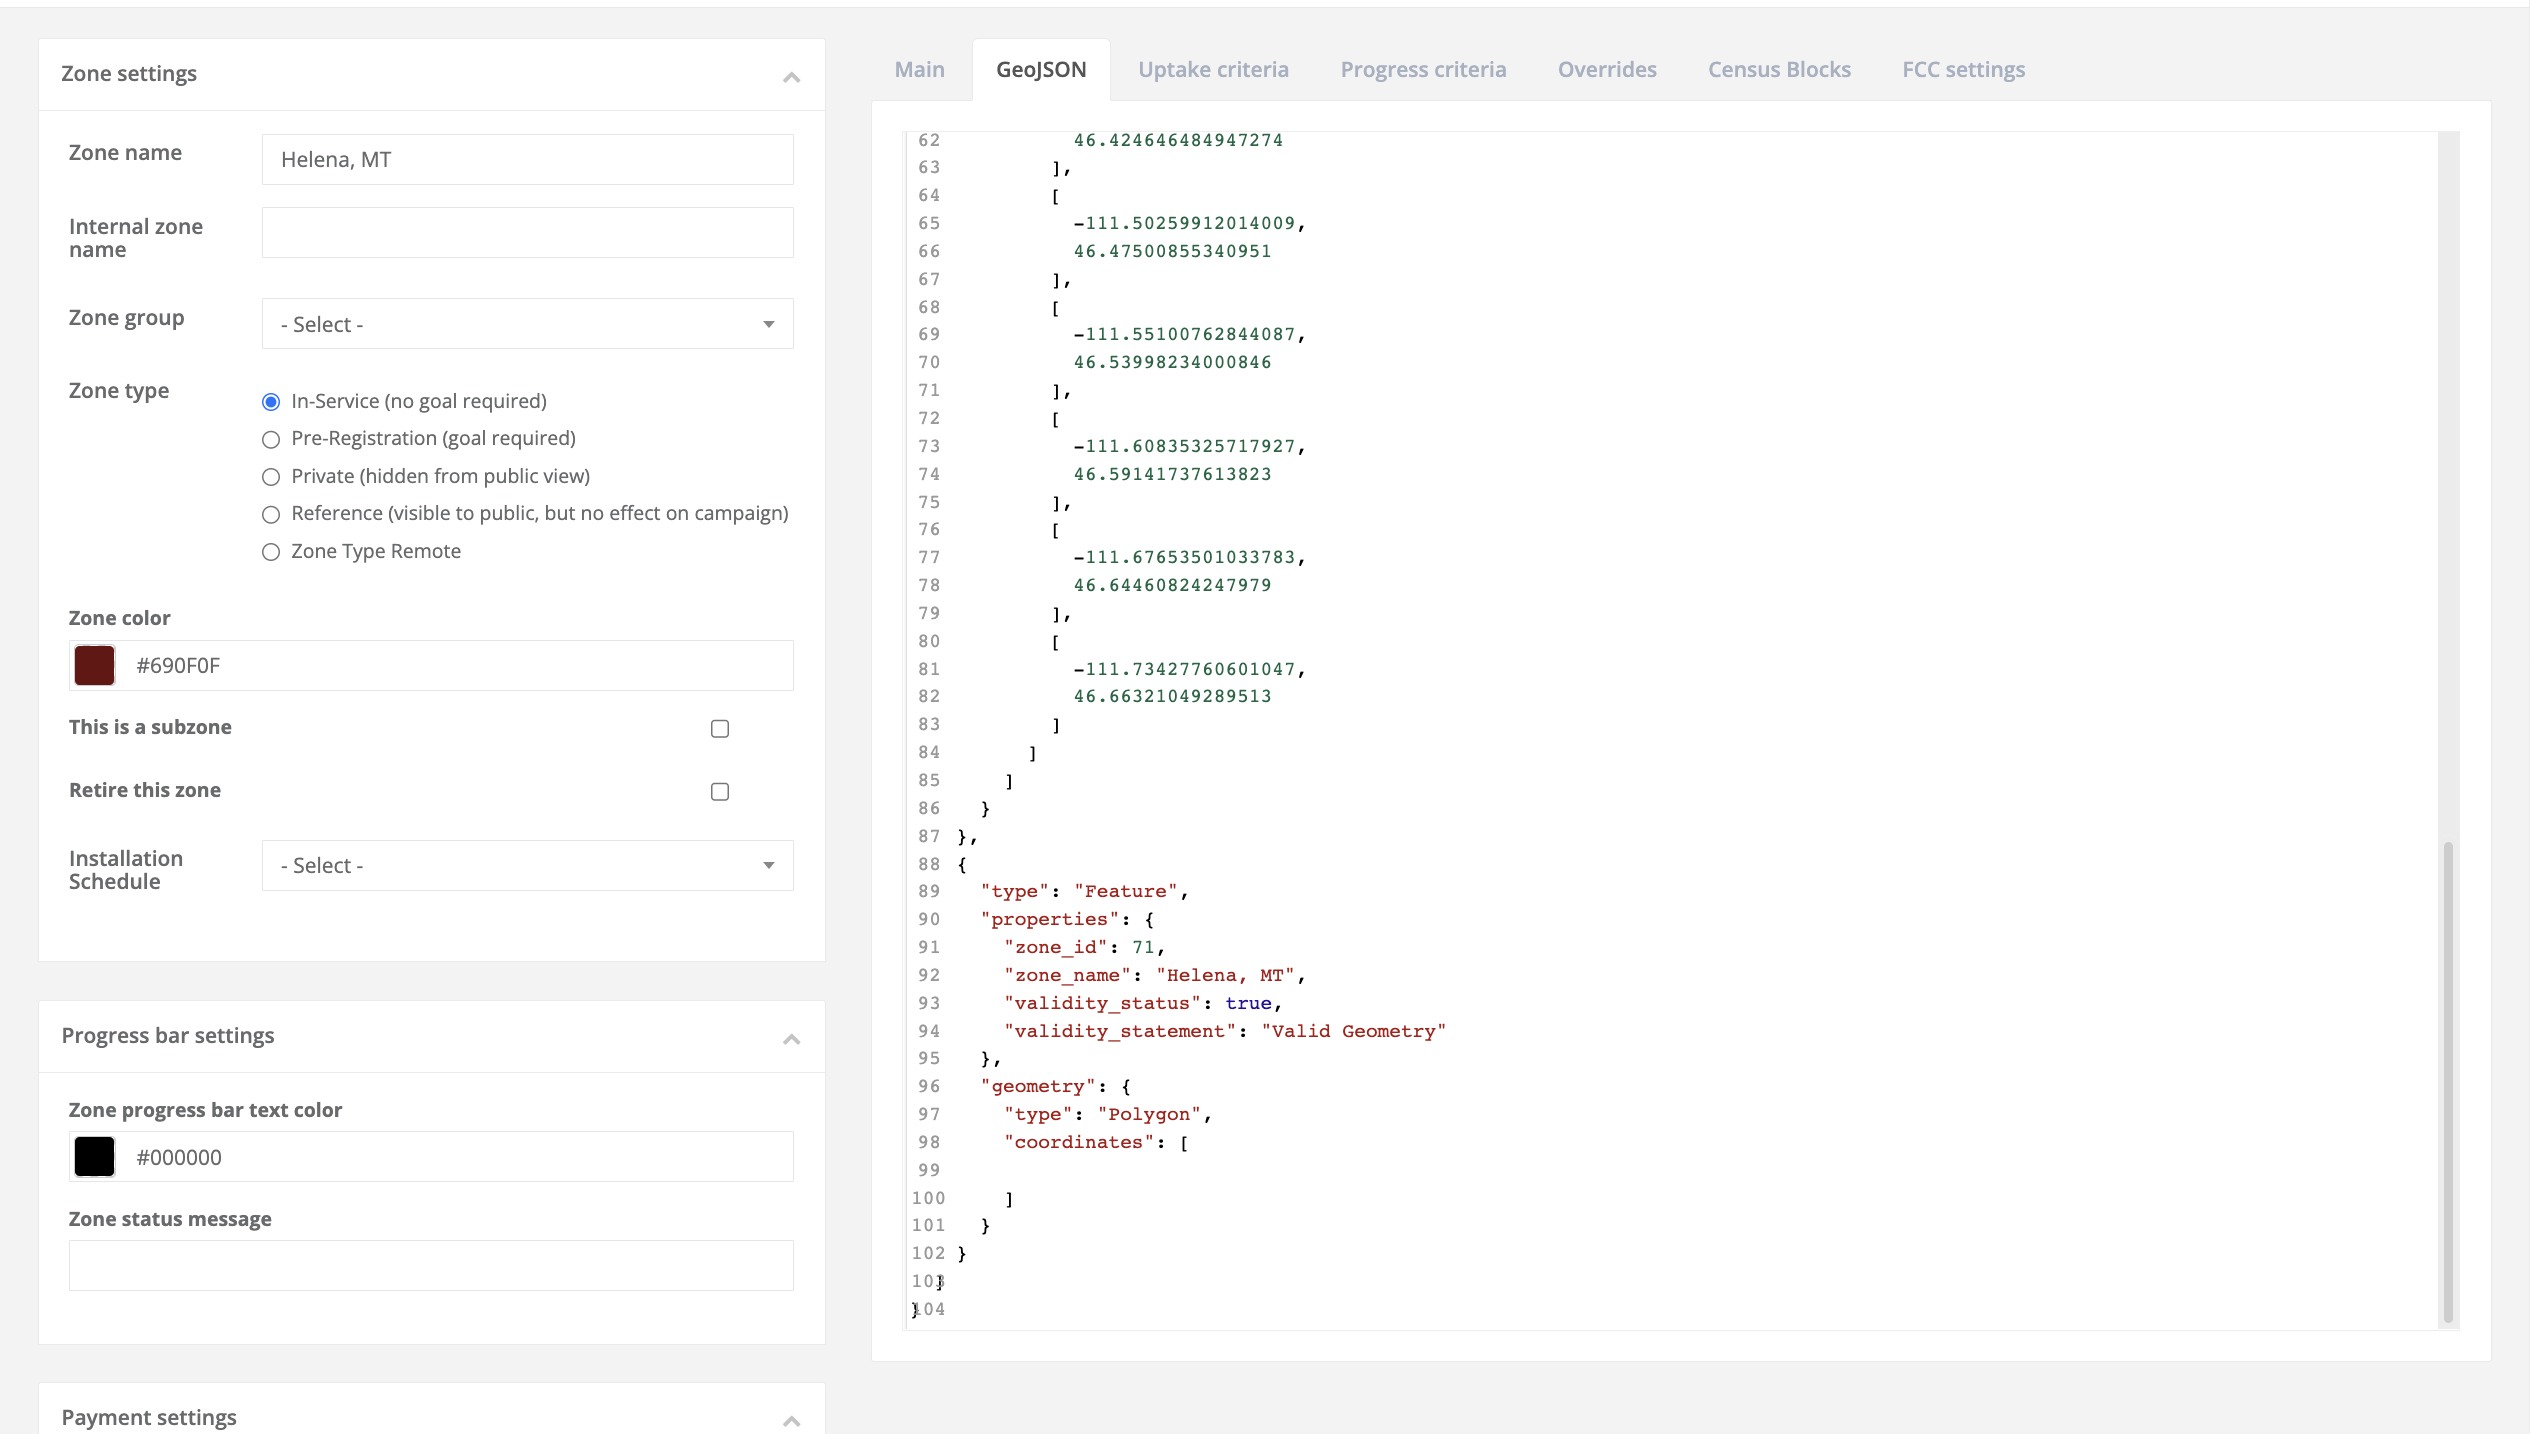
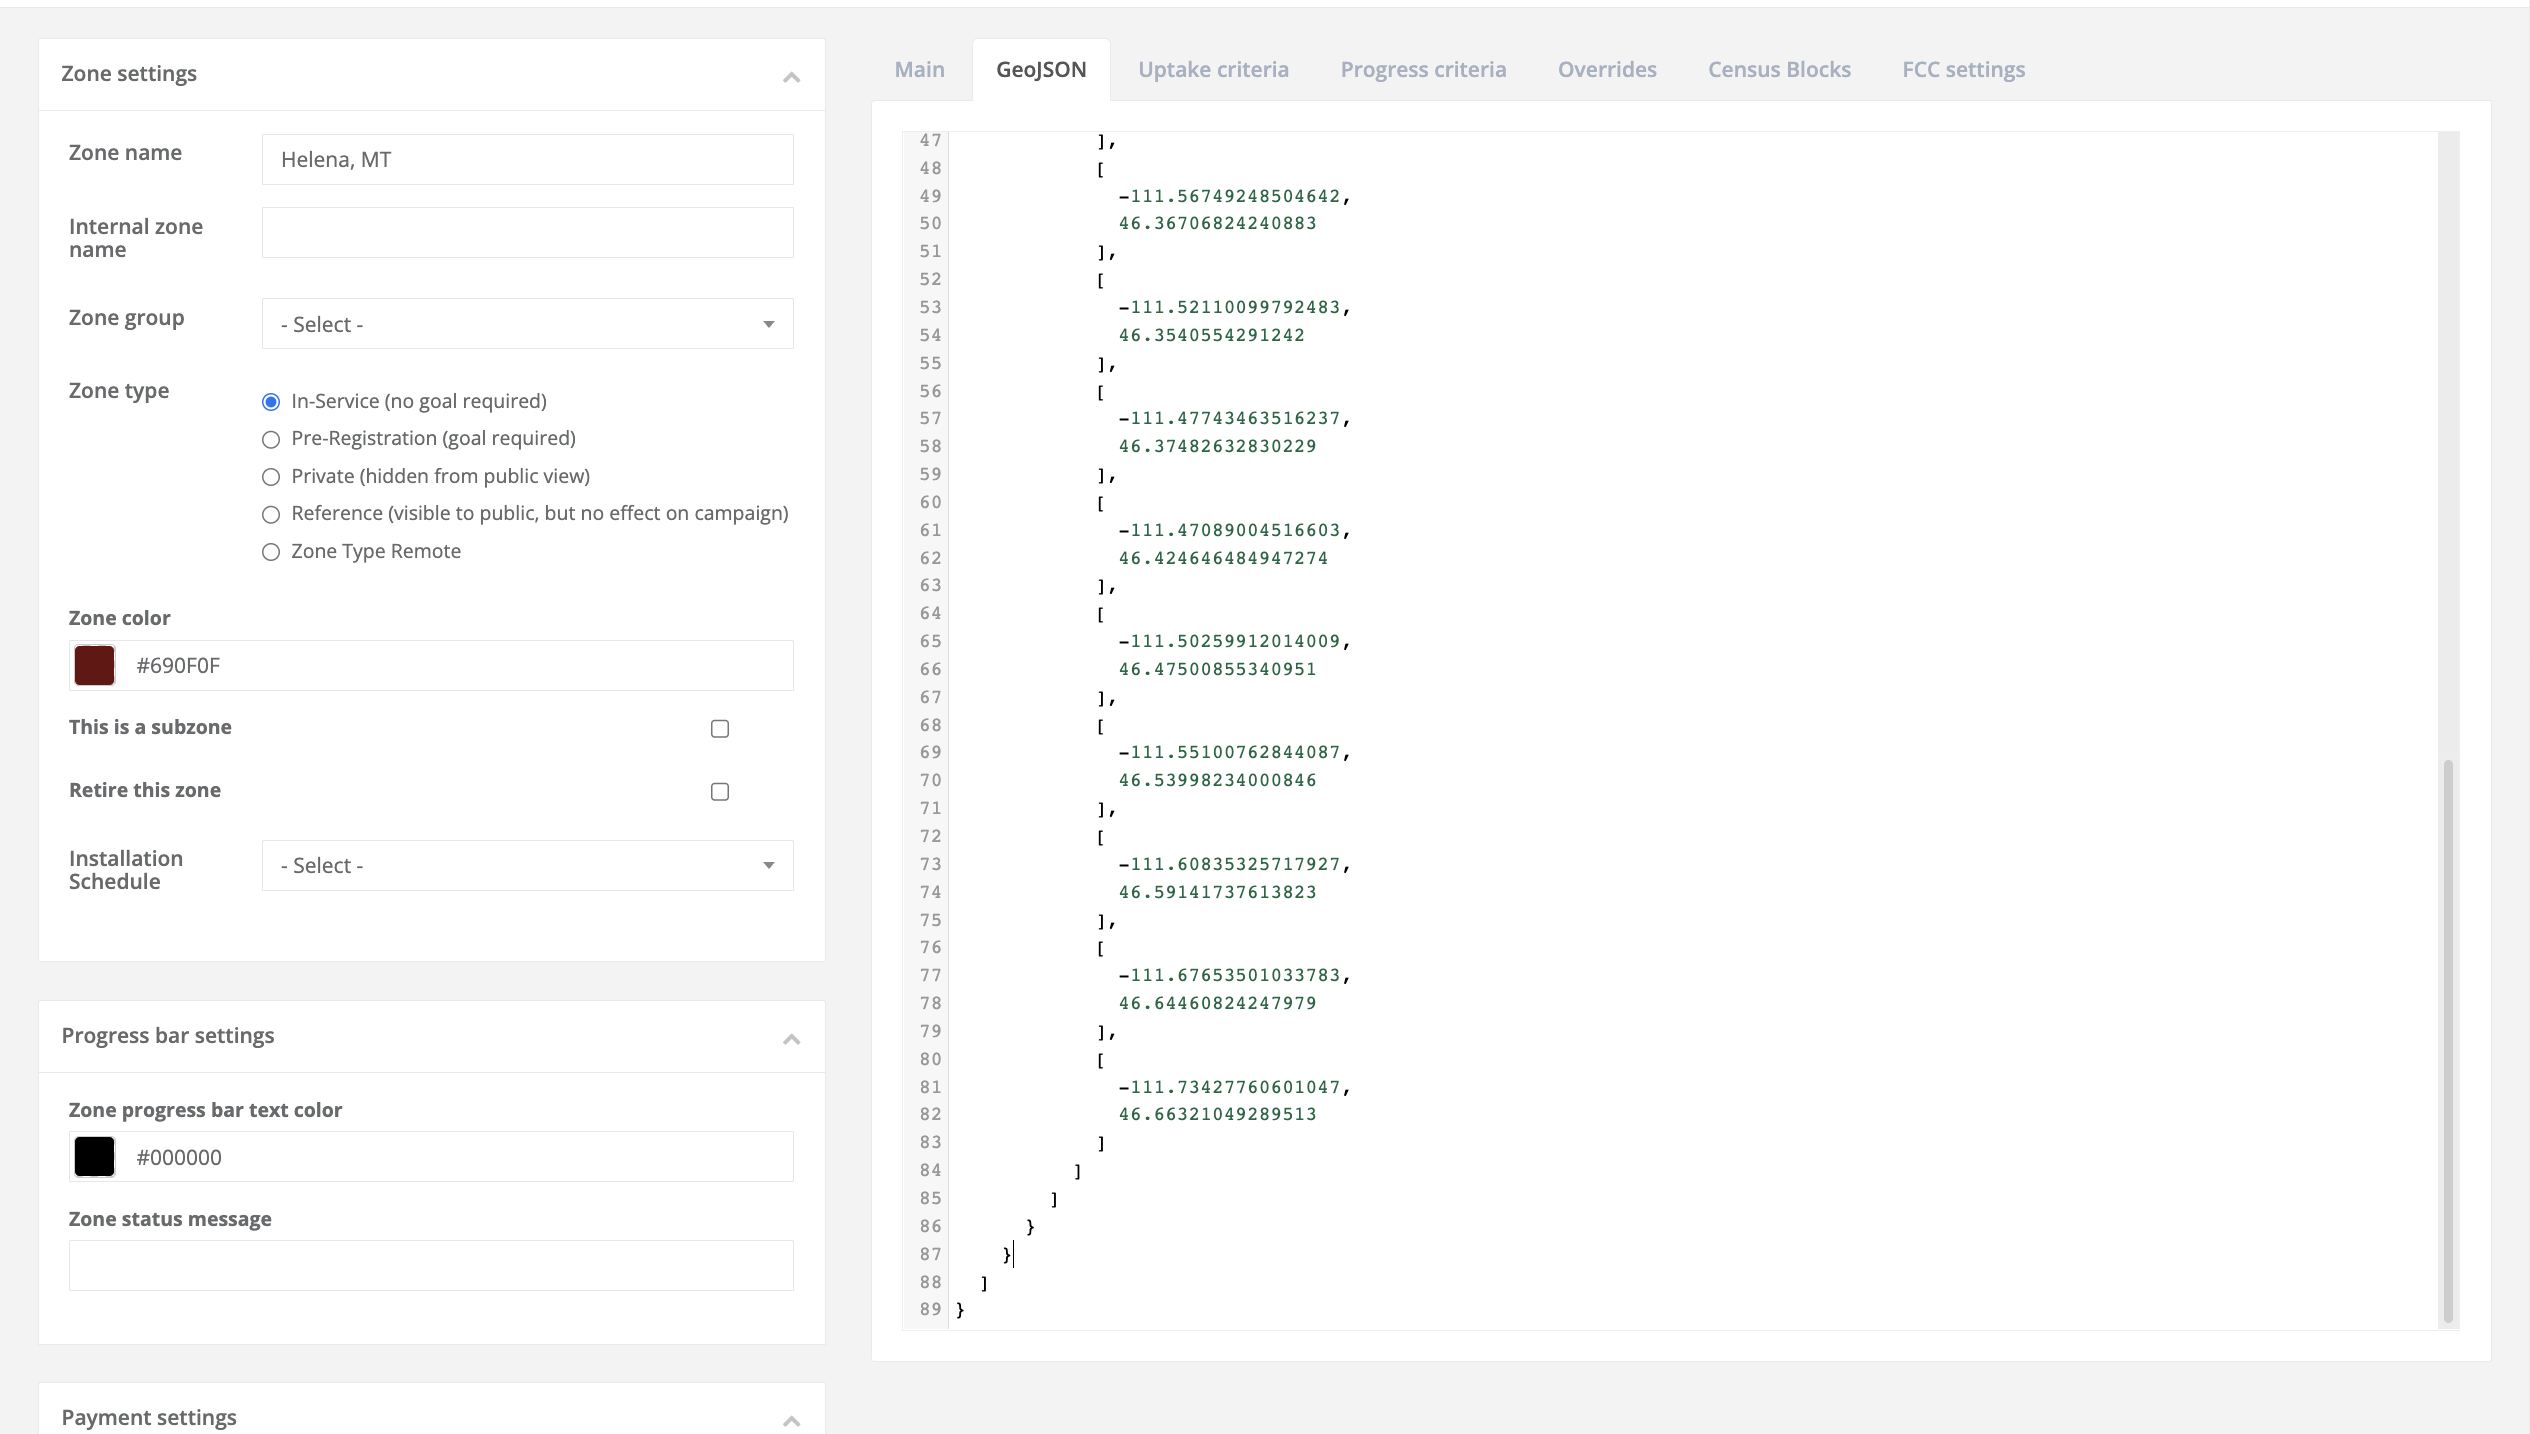
Your GeoJSON tab should now look like this
-
Highlight the feature that once contained the coordinates to your donut hole and delete them

- Note the current bracket (and comma) format in the image above; attempting to save the zone like this will result in an error
-
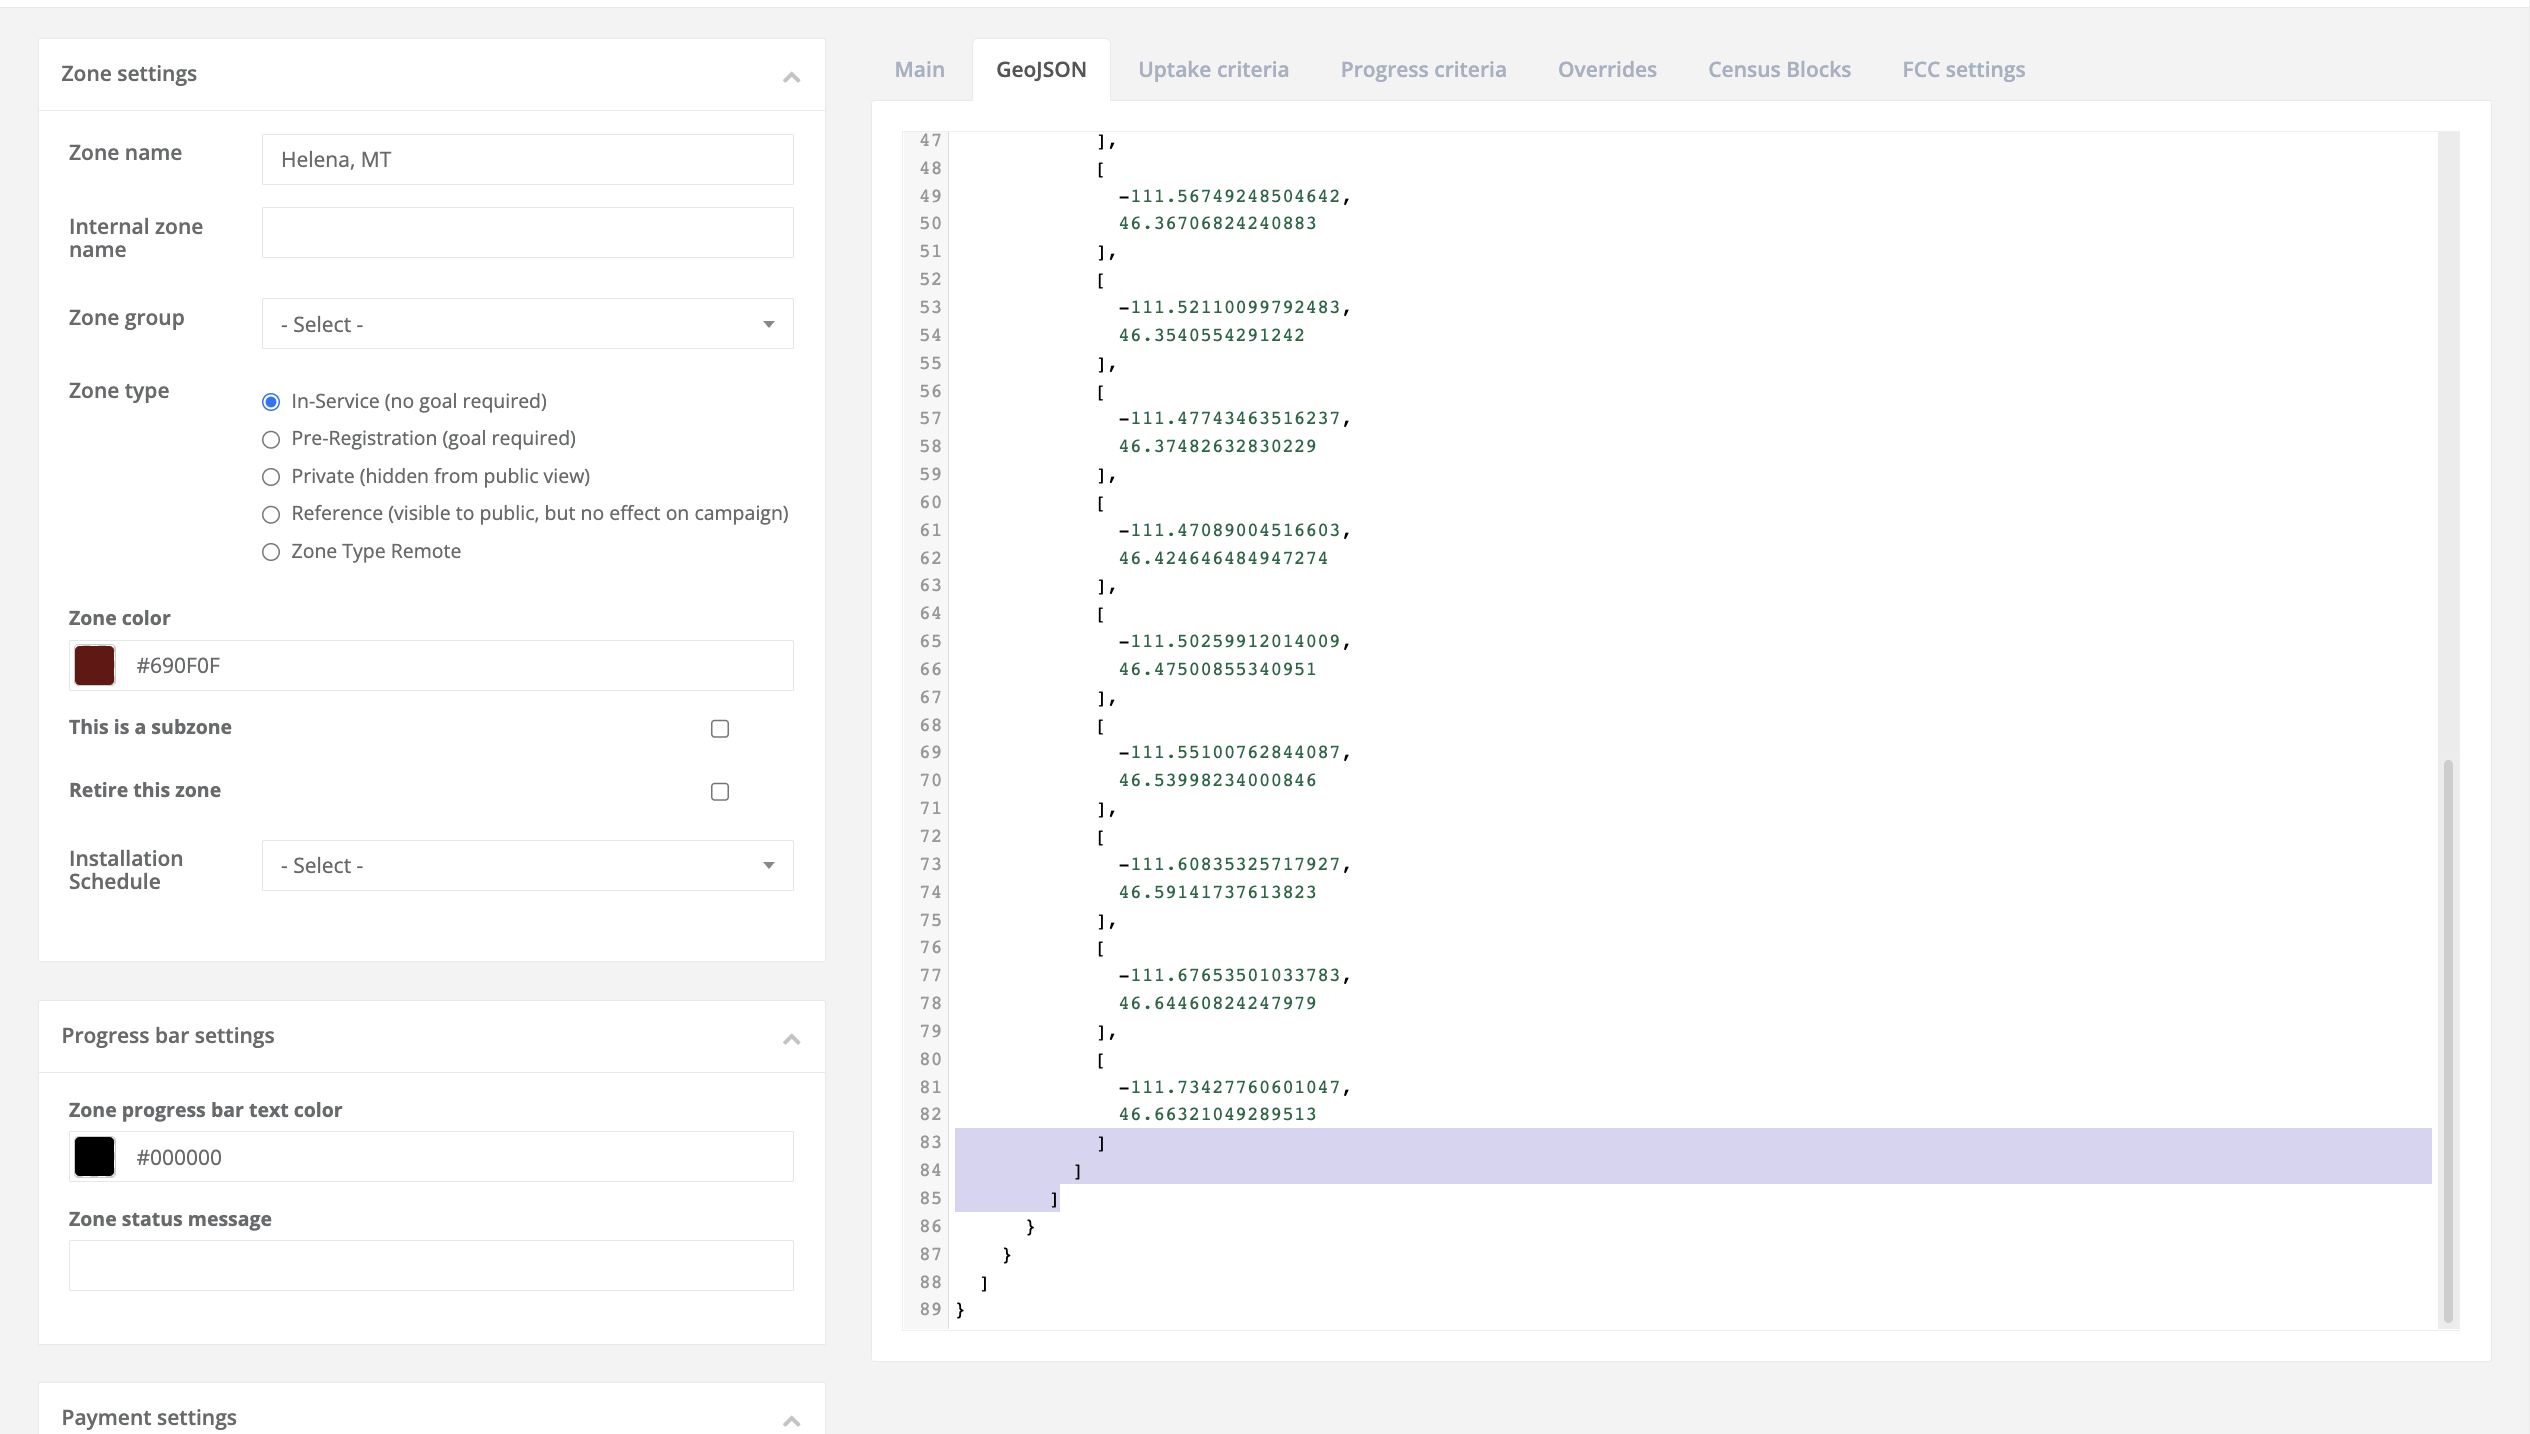
You'll want to ensure the format is appropriate, so delete any repeating closing brackets and excess commas
- You want the brackets to fall in an organized descending line, if you have one that's stacked on another, then you have too many brackets and you'll need to remove one.
-
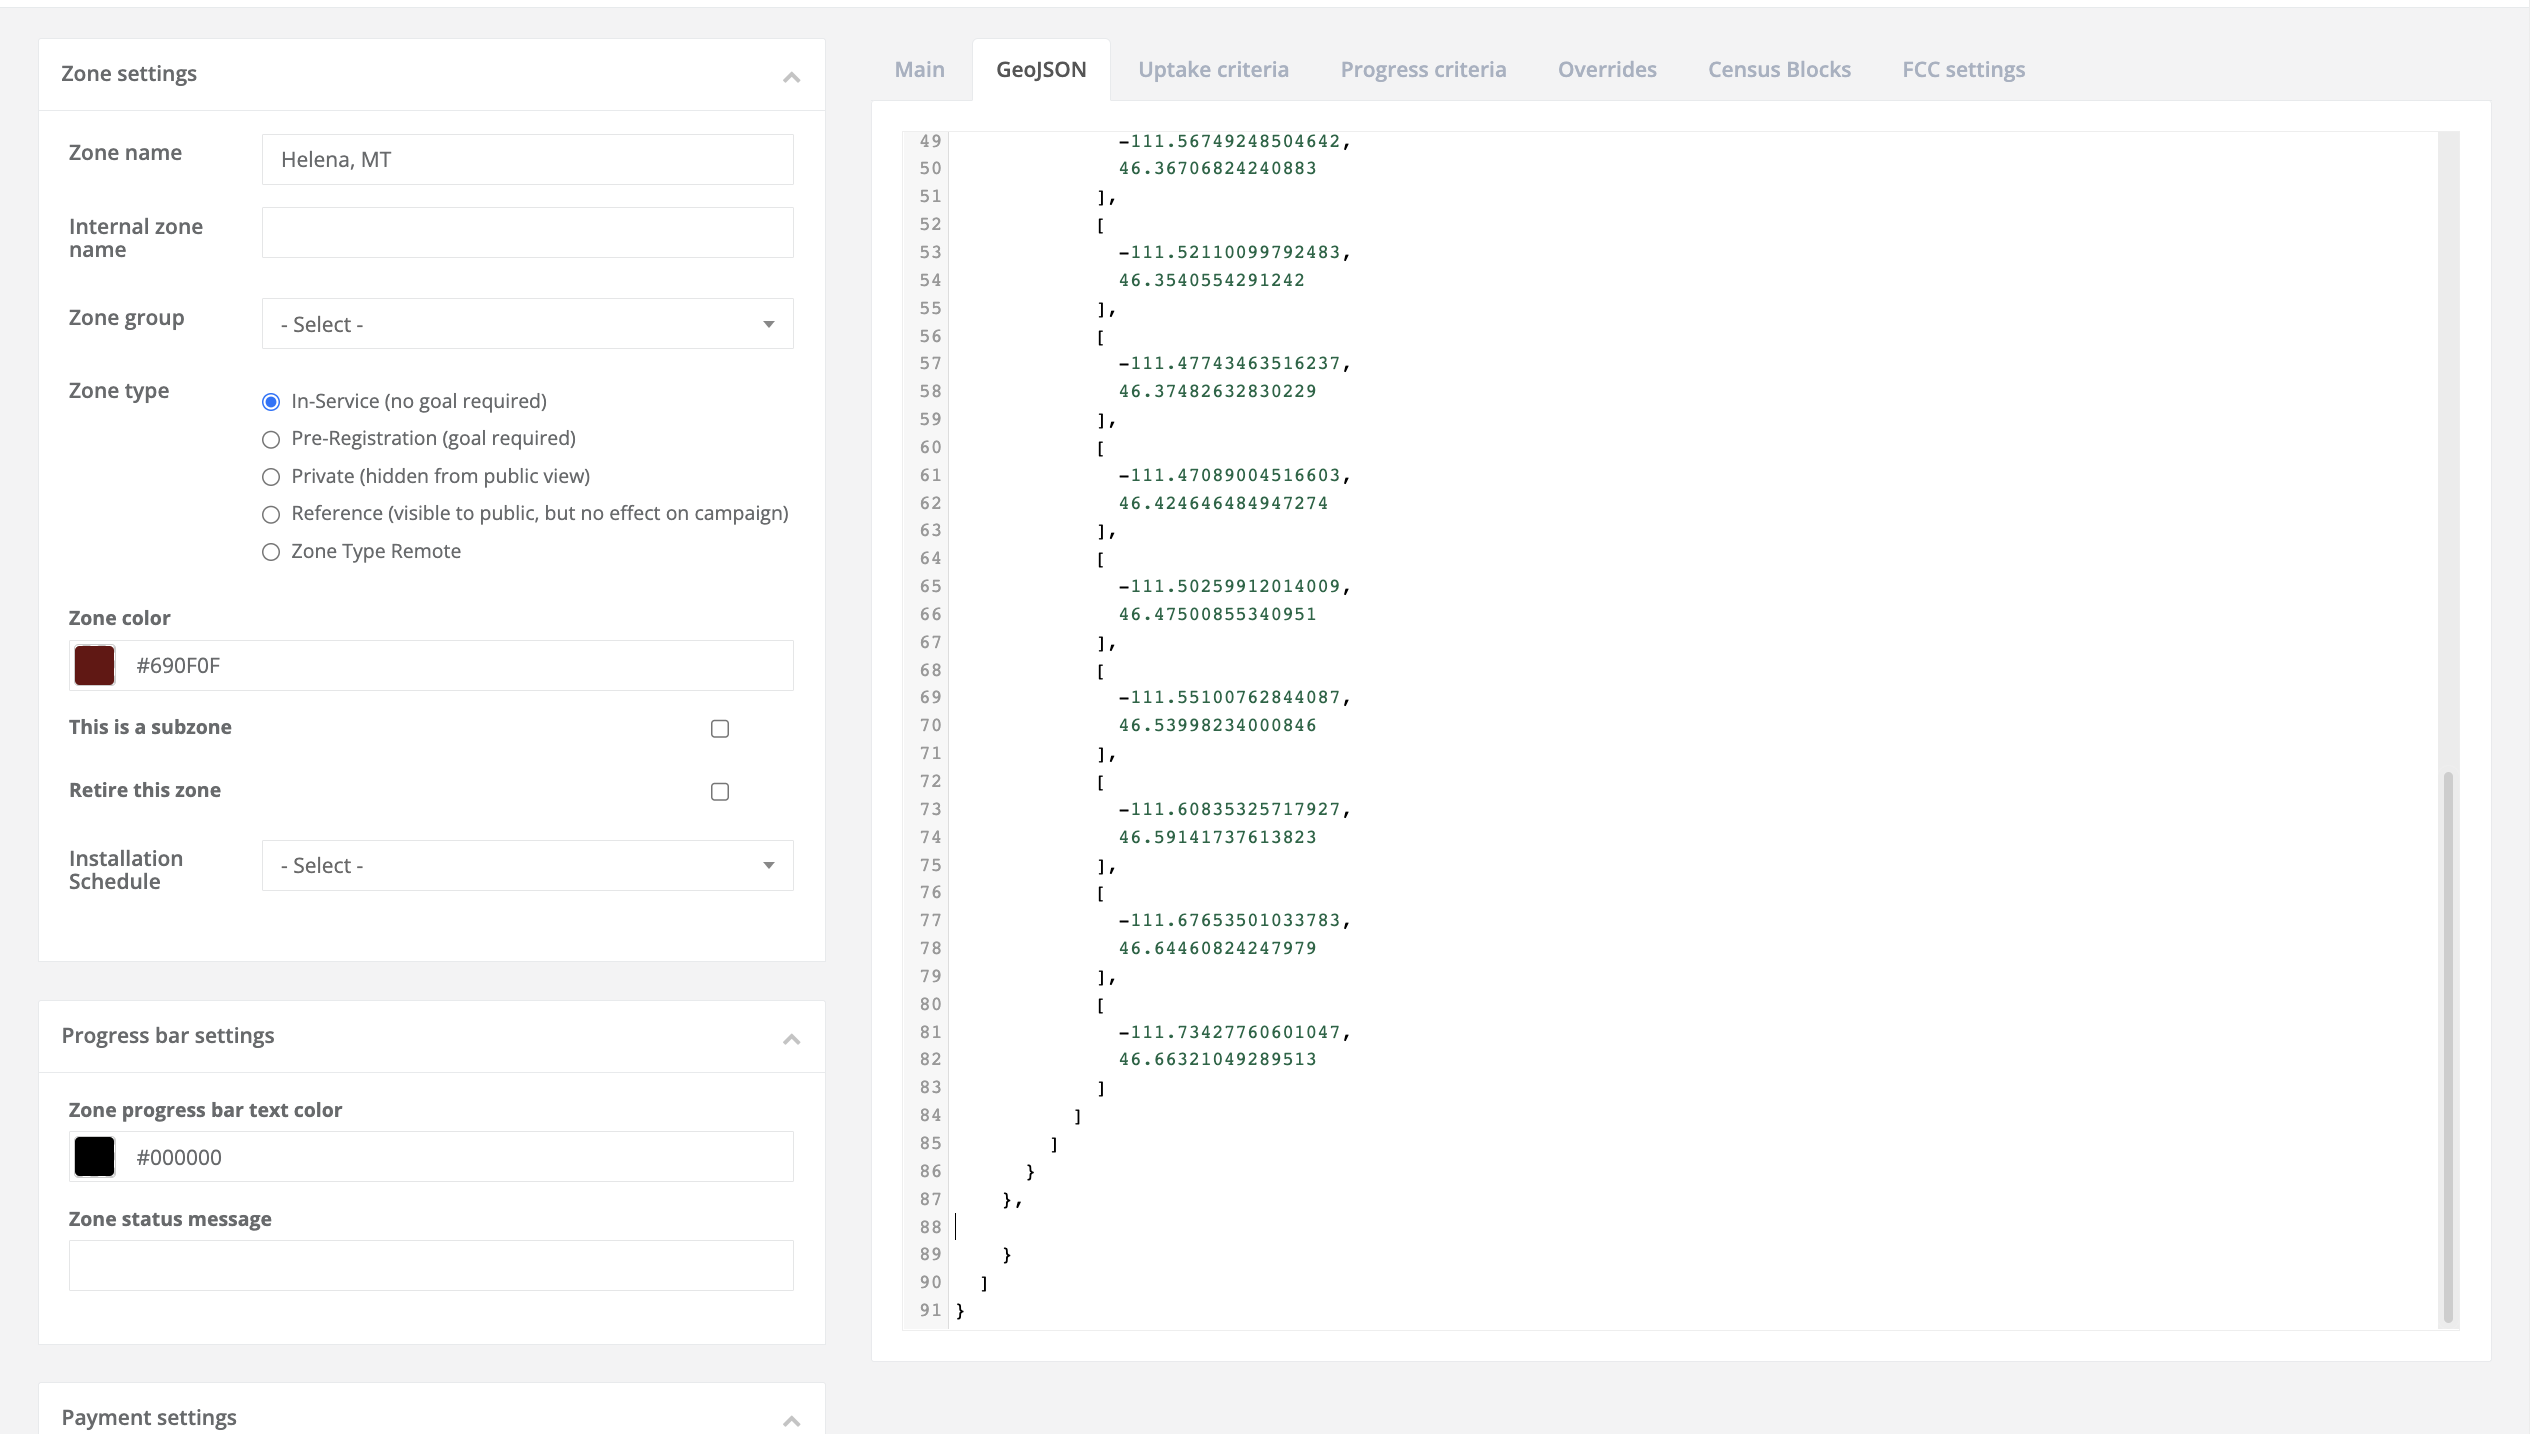
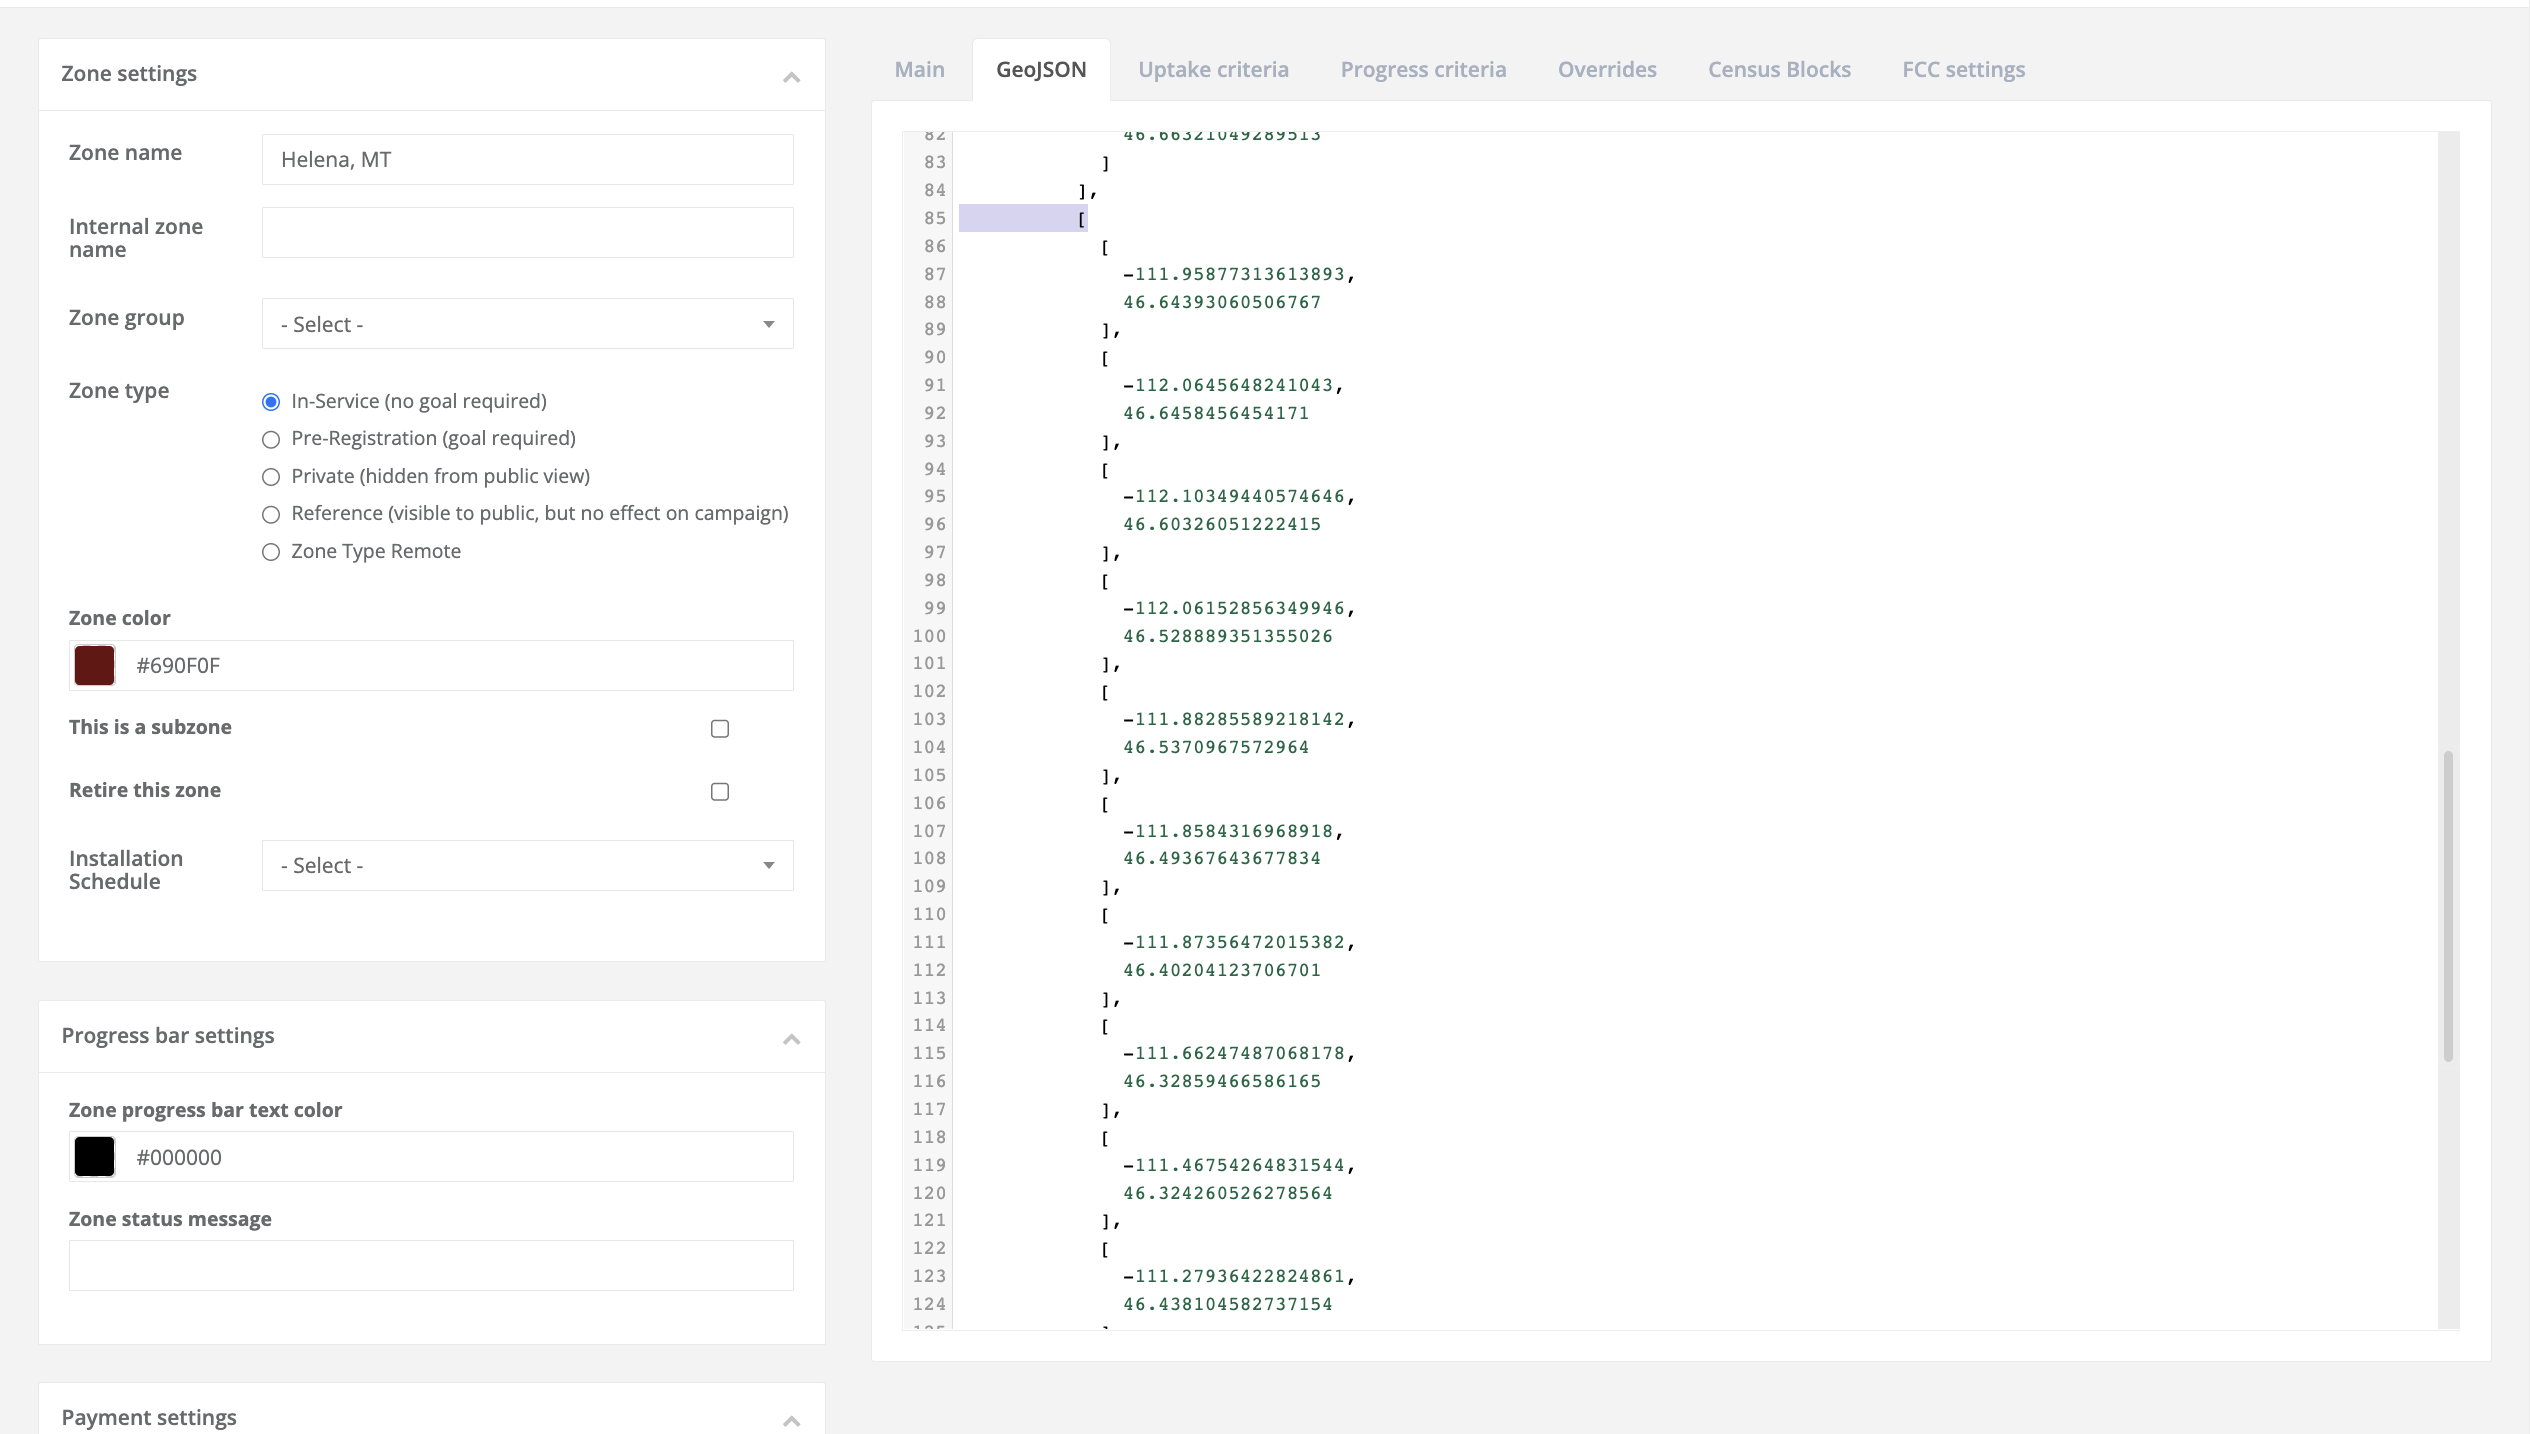
Scroll back to the feature where you want your donut hole to exist and navigate to the last three square brackets of the feature
-
Right after the middle bracket, place a comma and then tap enter/return


-
In that empty line (line 85), paste the coordinates you cut in Step 5
-
Then click back to the map tab
-
If the GeoJSON data is incorrect, perhaps due to a missing comma or an extra bracket that snuck in, then a pop-up will appear telling you that the data is incorrect
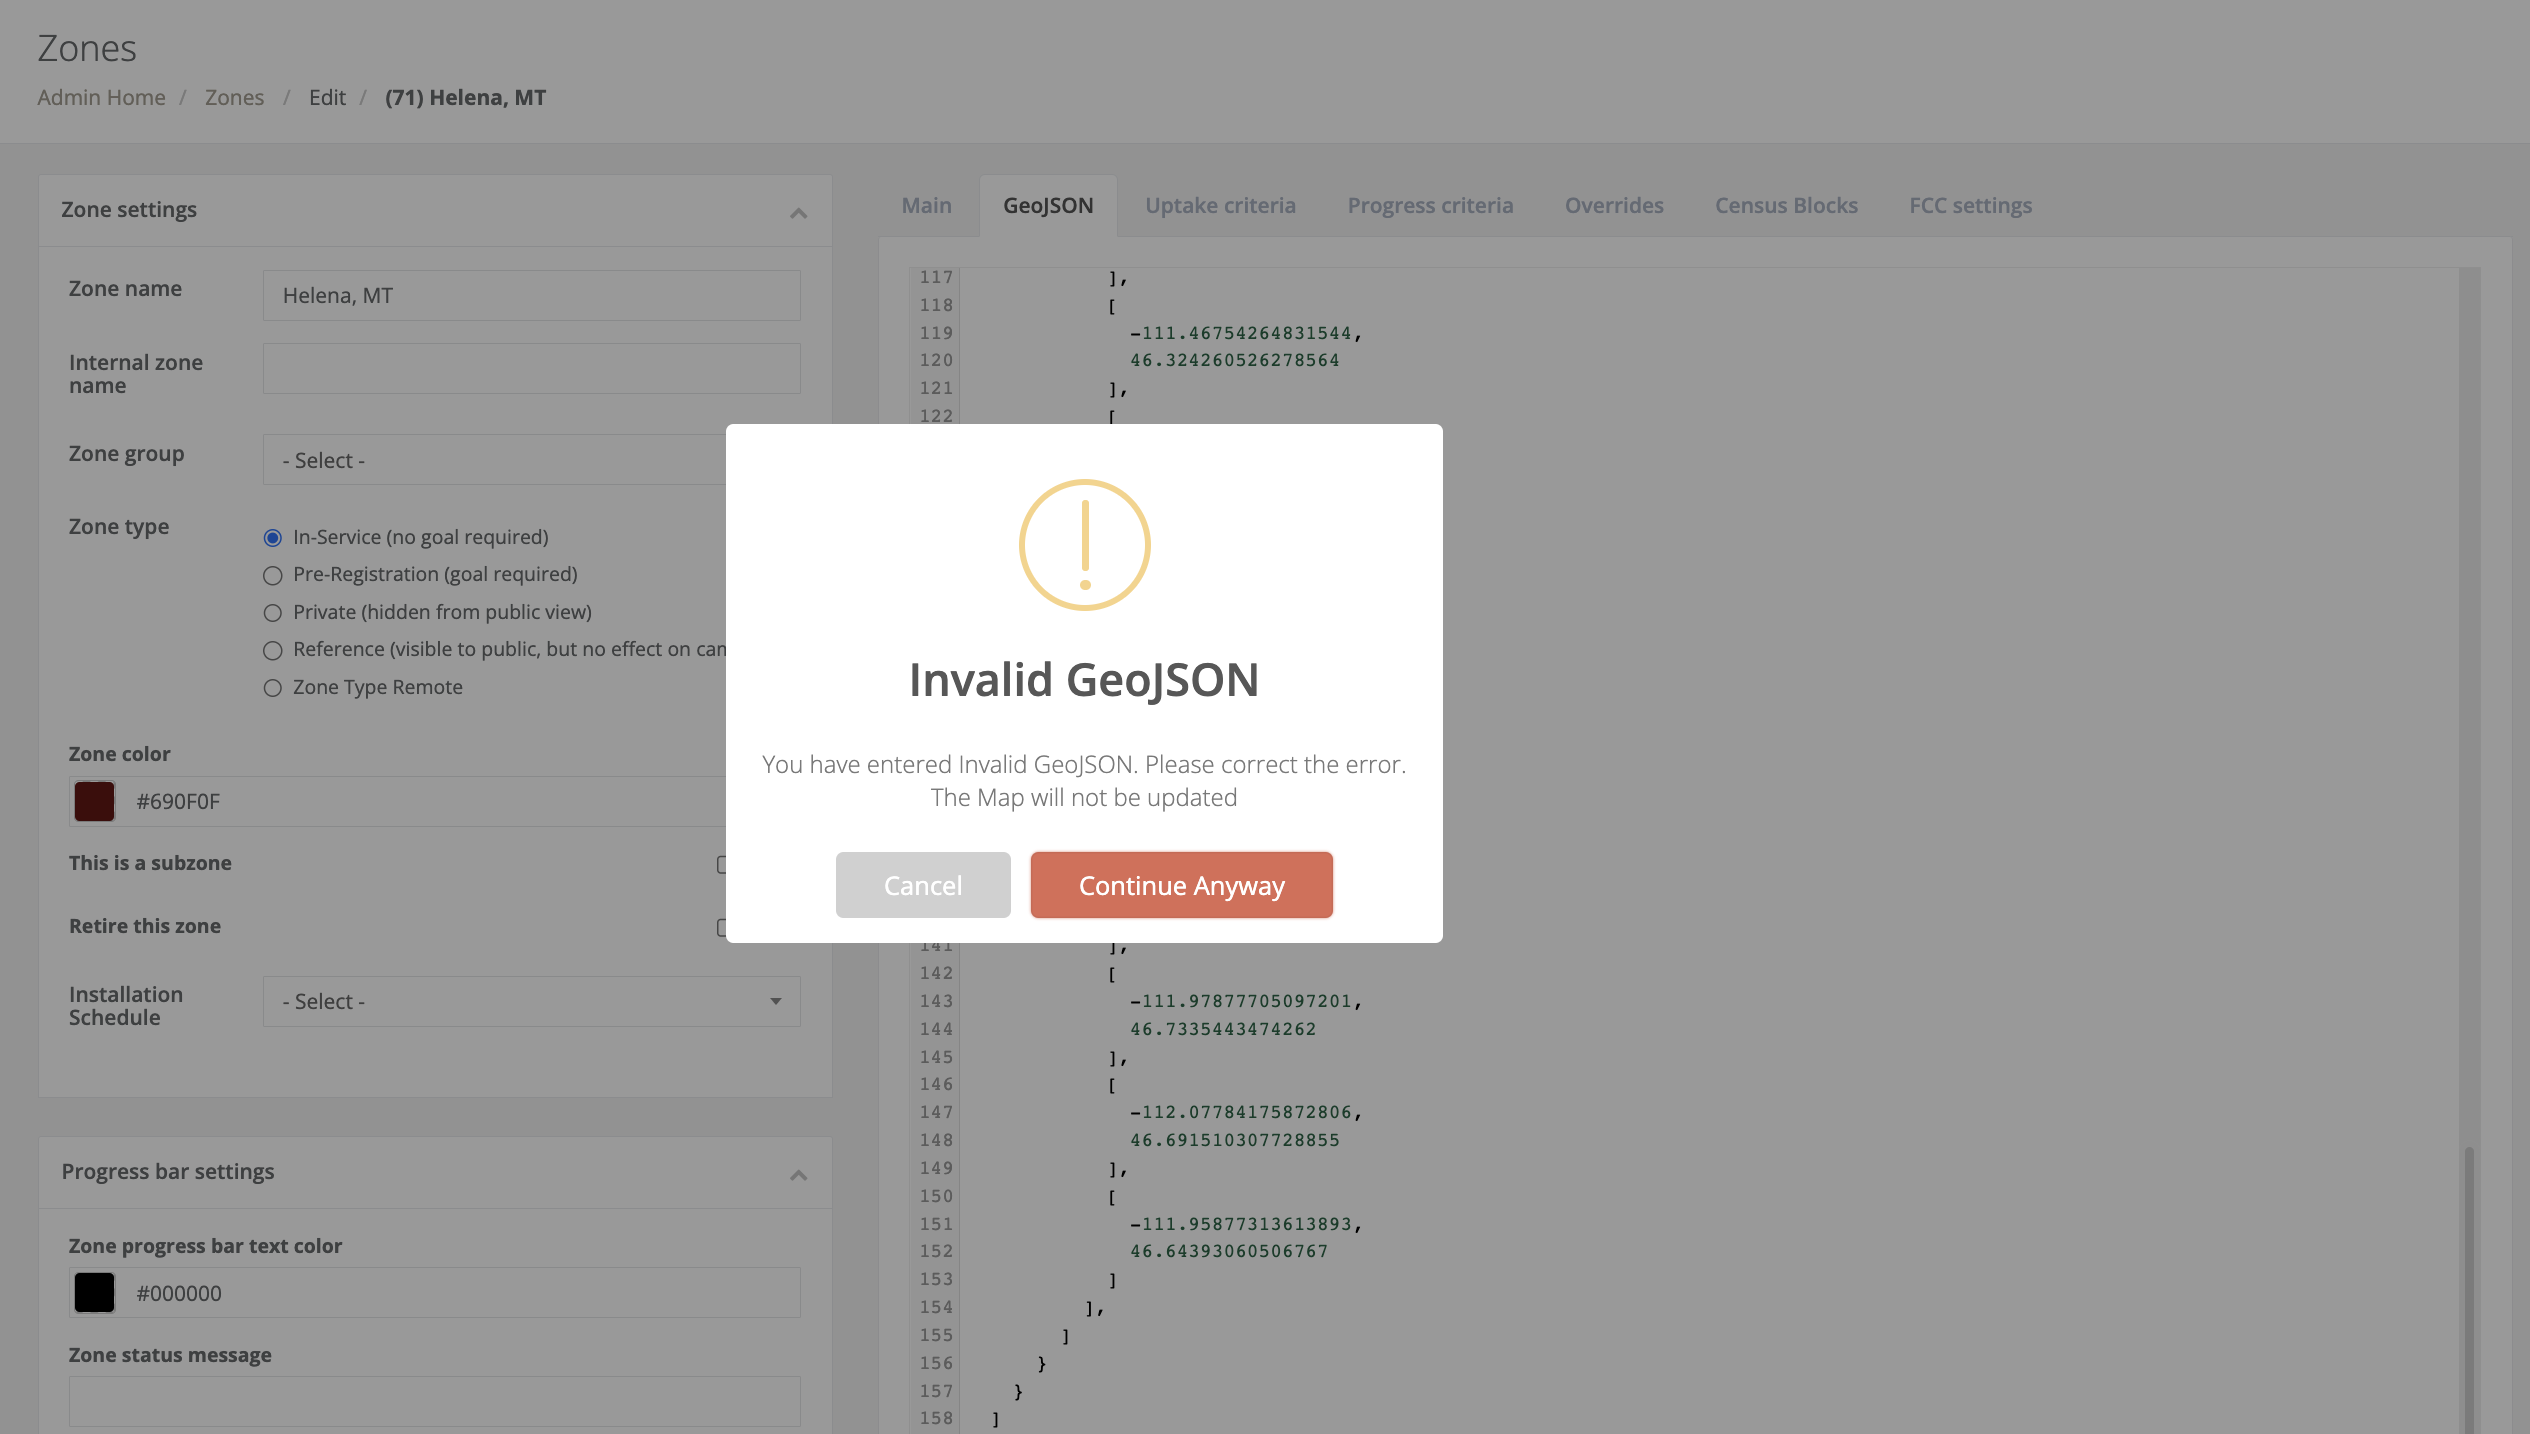
-
-
If no error pops up, then you should be able to see your new donut hole (don't forget to save your zone!)