Create a Test Zone
Test Zones are a vital part of ensuring new changes to your site run smoothly when they're released site-wide. In this article, I'll be going over how to set up a test zone and best practices.
How to Create a Test Zone
-
Create a new Zone Record

-
Fill in the zone name and type, and any other prevalent information including products, etc.
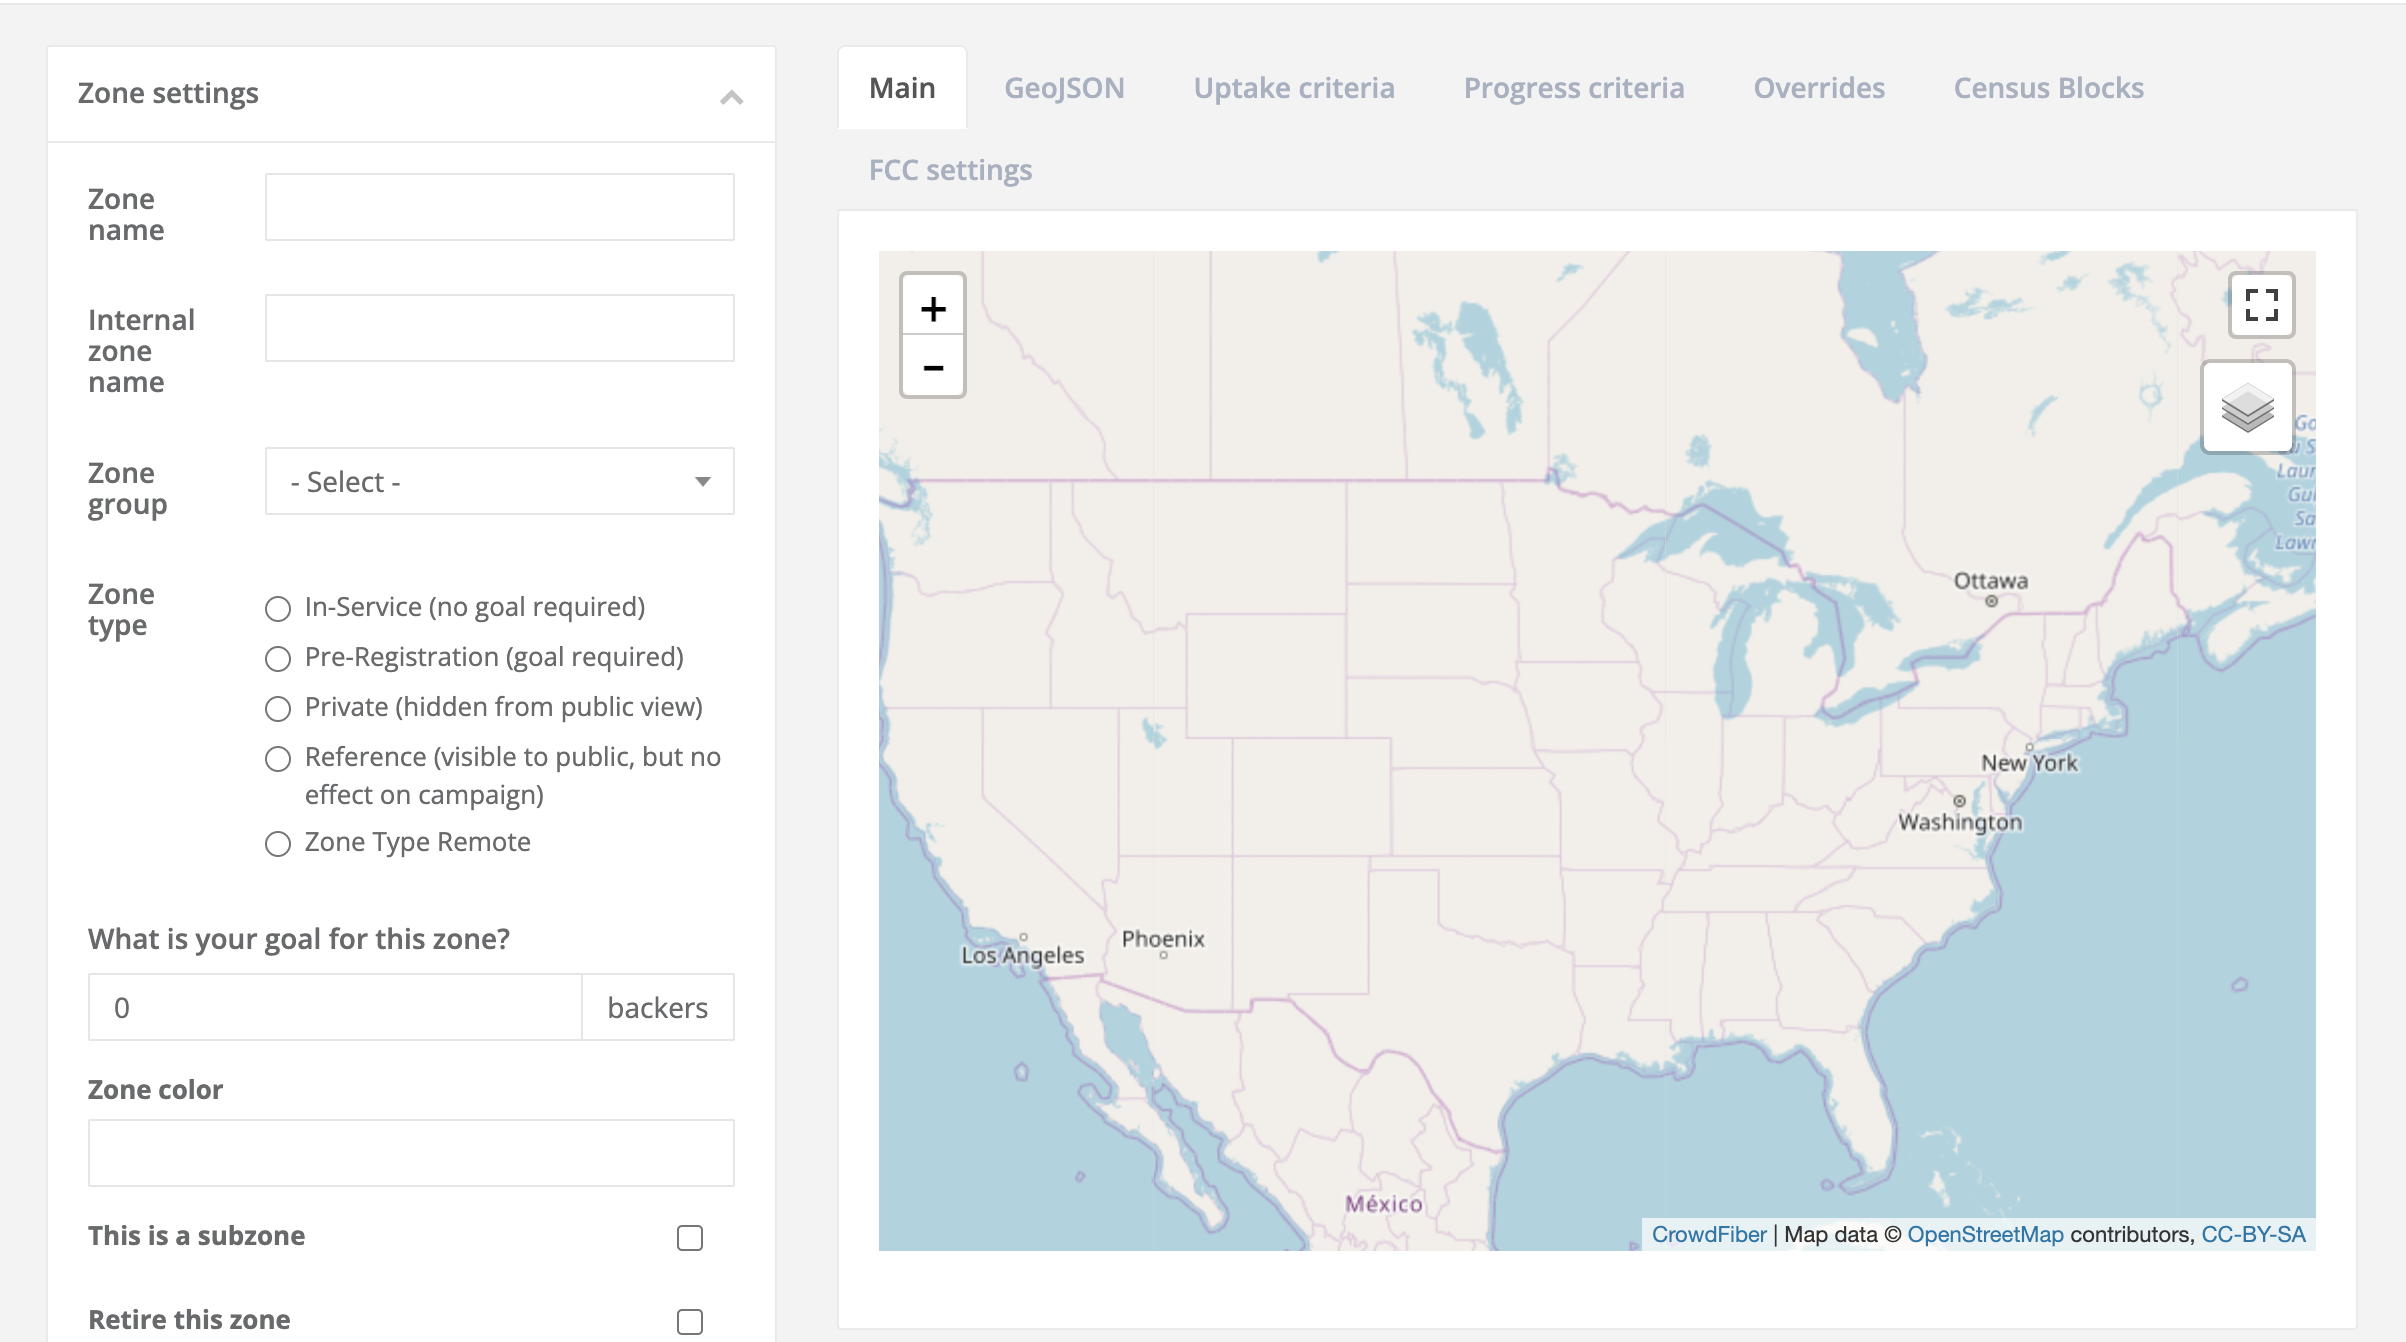
- The zone should not have any boundaries/geometry associated with it.
-
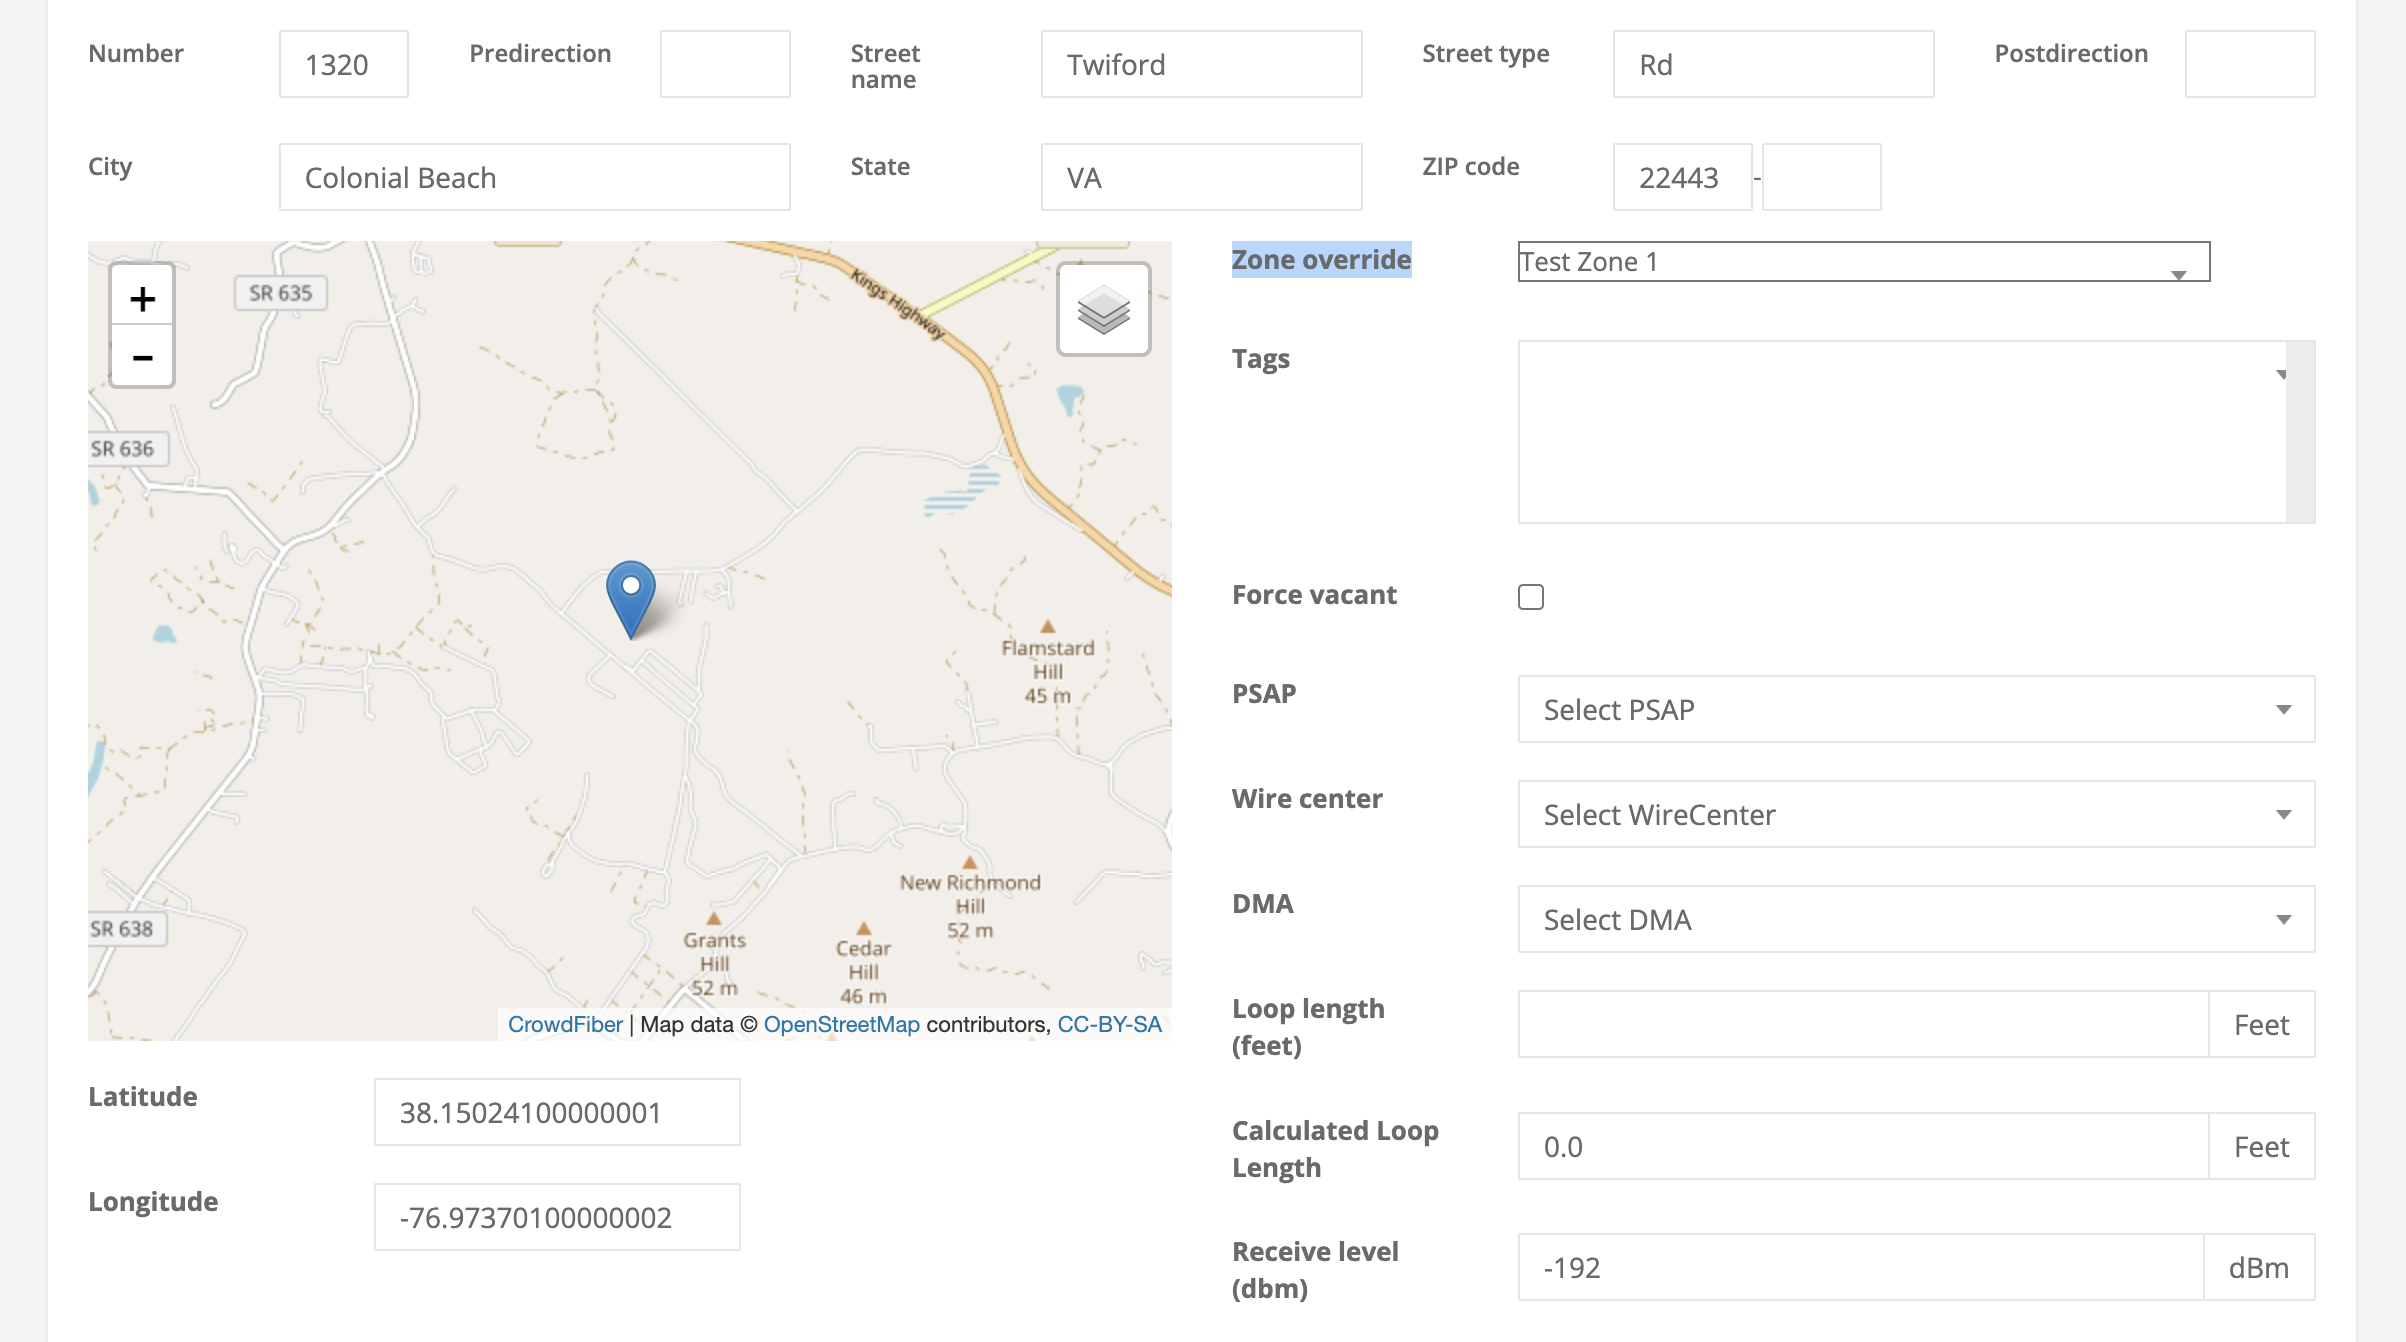
Navigate to the Address index and find an address you'd like to use for your testing (this can be a random address, or even something like the address of your home office, but you want to use an address that registrants won't stumble upon)
-
Open the Address record of the address you want to use and assign your test zone to the Zone Override box then save the Address Record
-
Now this address will be overridden into your test zone and will now resolve to your Test Zone, regardless of where address resides geographically.
TIP: To avoid having to go through a longer registration process when pushing test orders through, override the registration steps to only the steps you need, that way when you run your tests, you won't need to fill out unnecessary steps.
More information on Zone Overrides can be found here.
-
-
After you've saved your record, you'll be able to use the Check Address Feature (more documentation on that feature can be here and running test orders through on your homepage to ensure that the zone behaves and displays information correctly.
-
After you've saved your record, you'll be able to use the Check Address Feature (more documentation on that feature can be found here and running test orders through on your homepage to ensure that the zone behaves and displays information correctly.