Embed Google Analytics (Theme V3)
Creating a unique property ID for your CrowdFiber site allows you to clearly distinguish your proprietary website activity vs. your CrowdFiber website activity. Your Google Analytics Dashboard will display metrics for your primary website separately from the metrics accruing on your CrowdFiber site with a unique property ID.
Part 1) Create a Unique Google Analytics Property ID
-
If you are new to Google Analytics, here are three helpful links:
Part 2) Embed Your Google Analytics Tracking Script
Embed Your Google Analytics or Google Tag Manager Tracking Script
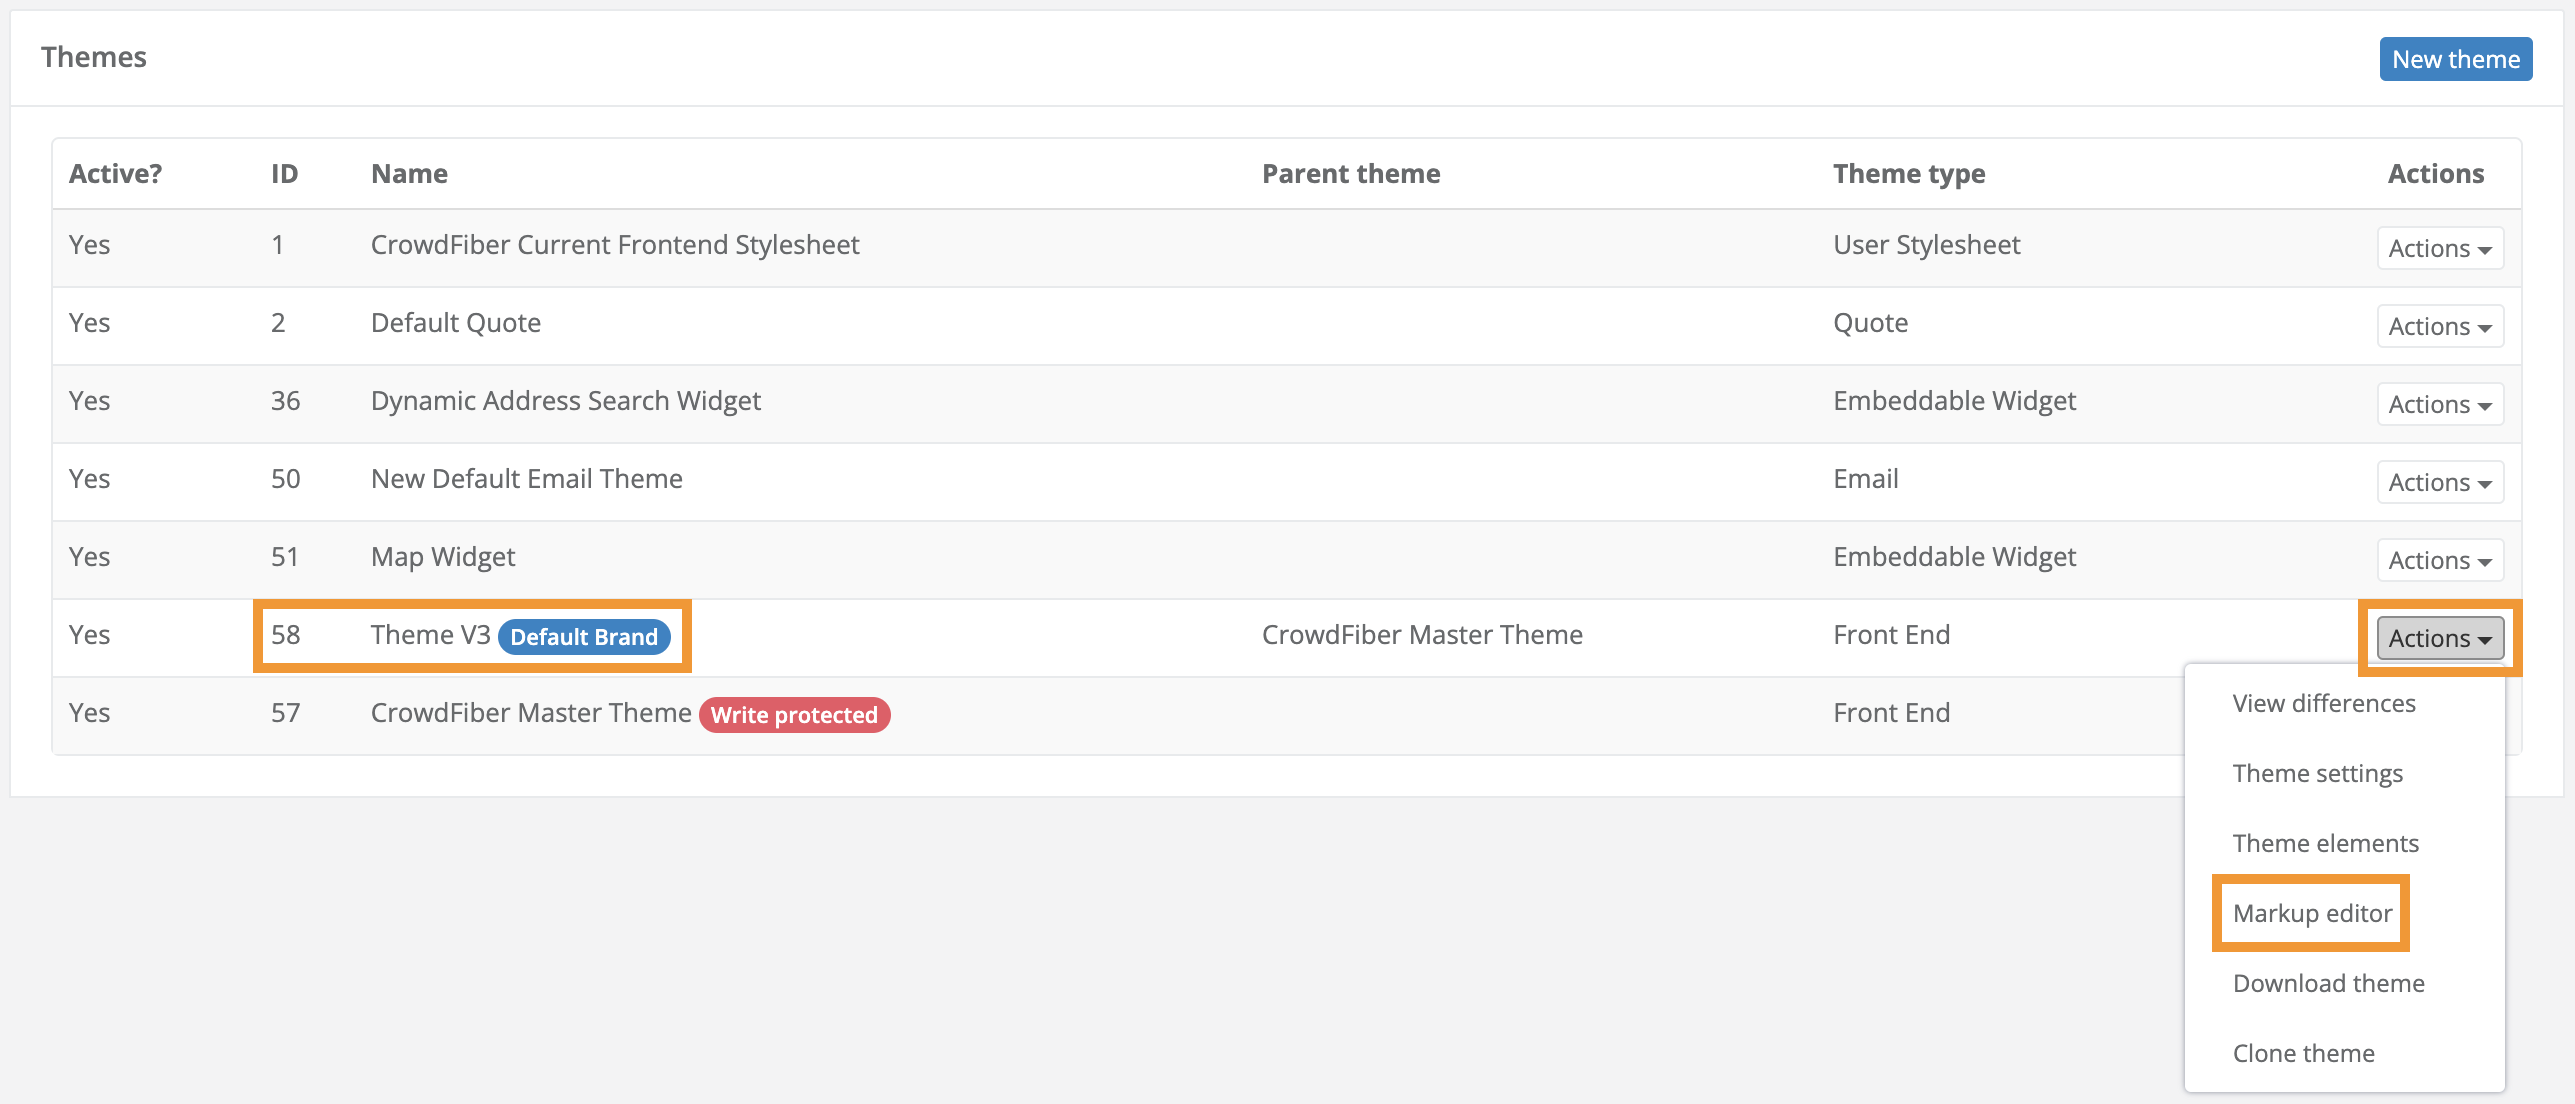
Step 1) Access Your CrowdFiber Website’s Markup Editor
- Copy your Google Analytics track script.
- Log into your CrowdFiber website.
- Click the Settings link located in the left-hand rail of your Admin Dashboard.
- Select the Themes link located in the Settings drop-down menu.
- On the following Themes Page, in the Name column of your Themes Index, locate the row containing the theme that displays a blue oval containing the text Default Theme.
- If you are using Multibrand locate the row containing the theme that displays a blue oval containing the name of the brand that applies to your Google Analytics tracking script.
- Click the Actions button located in the far right-hand column of this row.
- Select the Markup Editor link located in the Actions button drop-down menu.
Step 2) Add Google Analytics Tracking or Google Tag Manager to Your CrowdFiber HTML
You will need to embed your tracking script in two places:
- CrowdFiber Homepage (landing_template.liquid)
- CrowdFiber Registration panels (registration_process.liquid file)
CrowdFiber Homepage
-
In the markup editor file tree, click the landing_pages folder.
-
Click the landing_template.liquid file, located in the landing_pages folder. (upon clicking this file, an HTML markup editor will open to the right of the list of markup folders).
- In the HTML editor, paste your Google Analytics tracking script just below the opening tag.
If you've embedded a Facebook/meta pixel into your markup, paste the Google Analytics tracking script above the Facebook/Meta pixel script.
Paste the entire script into this section, from the opening to closing script tags (<script>code</script>)
CrowdFiber Registration Process
- In the markup editor file tree, click the registration_process folder.
- Click the registration_template.liquid file, located in the landing_pages folder. (upon clicking this file, an HTML markup editor will open to the right of the list of markup folders).
- In the HTML editor, paste your Google Analytics tracking script just below the opening tag.
If you've embedded a Facebook/meta pixel into your markup, paste the Google Analytics tracking script above the Facebook/Meta pixel script.
Paste the entire script into this section, from the opening to closing script tags (<script>code</script>)
Part 3) Track Registration Process Activity (Optional)
To track activity on certain panels in your CrowdFiber registration process you'll need to add an Event to the applicable panel(s).
-
In the markup editor file tree, click the cart folder.
Don't see a cart folder? Skip to the No Cart Folder section below.
-
Next, open the appropriate folder associated with the panel you'd like to track.
To identify the appropriate folder for your registration process step, see the table below.
-
In the appropriate folder drop-down, click the index.liquid file.
- Embed your Event script into Line 1 of the markup editor that appears on the right-hand side of the page.
-
Click the blue Save button located in the lower left-hand corner of the markup editor.
Registration Process Step Folder Name Contact Info contact Shop multi_products Survey questionnaire Speedtest speedtest Services services Review submit Success Folder: submit File: create.index * Not index.liquid
No Cart Folder
- In the markup editor file tree, click the registration_process folder.
- In the registration_process folder drop-down, click the cart folder.
- Then, open the appropriate folder associated with the panel you'd like to track.
To identify the appropriate folder for your registration process step, see the table below Step 6.
4. In the appropriate folder drop-down, click the index.liquid file.
5. Embed your Event script into Line 1 of the markup editor that appears on the right-hand side of the page.
6. Click the blue Save button located in the lower left-hand corner of the markup editor.
| Registration Process Step | Folder Name |
| Contact Info | contact |
| Shop | shop |
| Survey | survey |
| Speedtest | speedtest |
| Providers | providers |
| Review | review |
| Success | success |