Activate Payments
Part 1) Display a Payment Interface in Your Registration Process
The payment interface must be activated for each zone where you would like to collect payments.
- Navigate to Zone Payment Settings.
- Click the Zones link located in the left-hand rail of your Admin Dashboard.
- In your zones index, click the name of the zone where you would like to activate payments.
- In the zone record, scroll down to the Payment Settings section seen on the left-hand side of the zone record.
-
Turn on The Payments Feature.
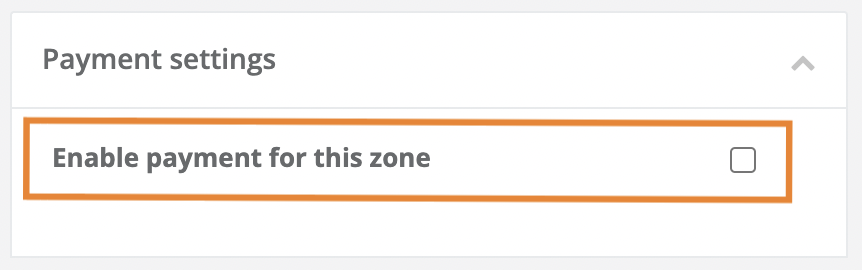
- Check the Enable Payment for This Zone checkbox.
- This checkbox, when checked, will display the credit card interface on the Success Panel of a Registration process.
-
Establish The Payment Amount for The Zone
- Click the Payment to collect drop-down menu.
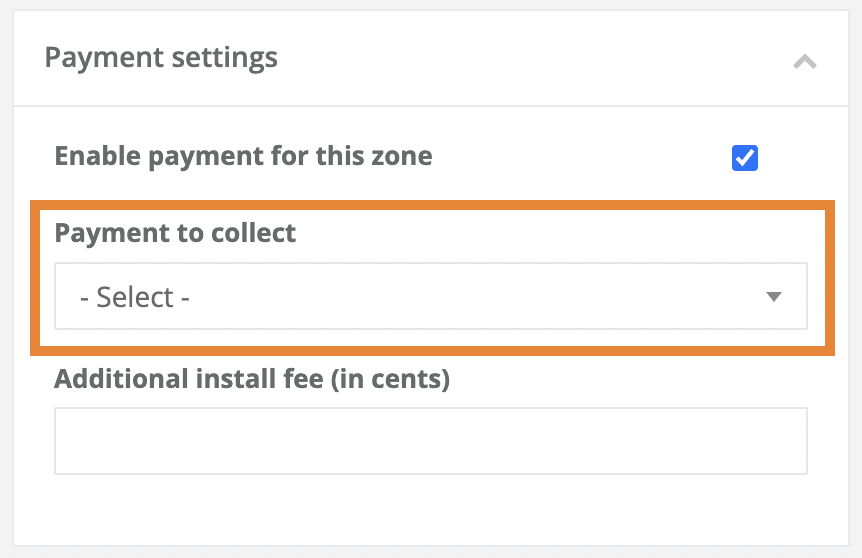
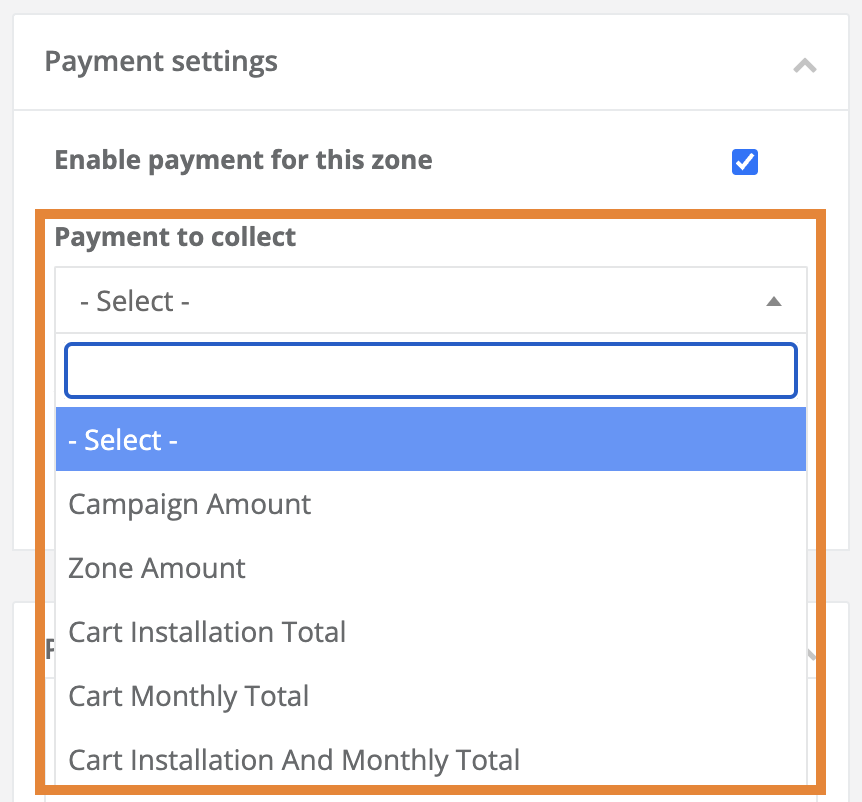
- Select one of the options from the Payment to collect Drop-Down Menu.
- Click the Payment to collect drop-down menu.
Payment to Collect Definitions:
- Campaign Amount
- Charge the Default Amount established in your Global Payments Settings.
- Zone Amount
- Establish a unique payment amount for the zone (in cents).
- Zone Amount
- Charge the Default Amount established in your Global Payments Settings.
- Cart Installation Total
- For use with zone displaying an eCommerce experience in its registration process.
- The registrant will be the total cost of installing all products purchased in the order.
- For use with zone displaying an eCommerce experience in its registration process.
- Cart Monthly Total
- For use with zone displaying an eCommerce experience in its registration process.
- The registrant will be the total cost of one month of service for products purchased in the order.
- For use with zone displaying an eCommerce experience in its registration process.
- Cart Installation And Total
- For use with zone displaying an eCommerce experience in its registration process.
- The registrant will be the total cost of installing all products plus the total cost of one month of service for products purchased in the order.
- For use with zone displaying an eCommerce experience in its registration process.
- Save Your Payment Settings
- Click one of the blue Save buttons located in the bottom of the left-hand corner of the zone record to save and activate your settings.
Part 2) Test a Payment
With your global payment settings set to Test Mode, you can test your payment process in each applicable zone.
Testing Payment your payment process allows you to:
- Verify the payment interface in your CrowdFiber user experience is functioning properly.
- Verify that payments are being received by Stripe.
Review the Payment Interface
-
Proceed through a registration process for a zone where payments are active.
- Click the Submit button at the end of your registration process.
If your Payments feature is working correctly, your payment interface should display on the following page.
-
Make a Test Payment
- Enter the following numbers across the Credit Card Number, Expiration Date, and Security Code text boxes:
4242424242424242
If your Payments feature is working correctly, you should see a payment receipt display on the screen after you submit your payment.
- Enter the following numbers across the Credit Card Number, Expiration Date, and Security Code text boxes: